
Kitchen Backsplash Part 2
A while ago, I posted Backsplash part 1. Today, I’m going to show you part 2: grout.
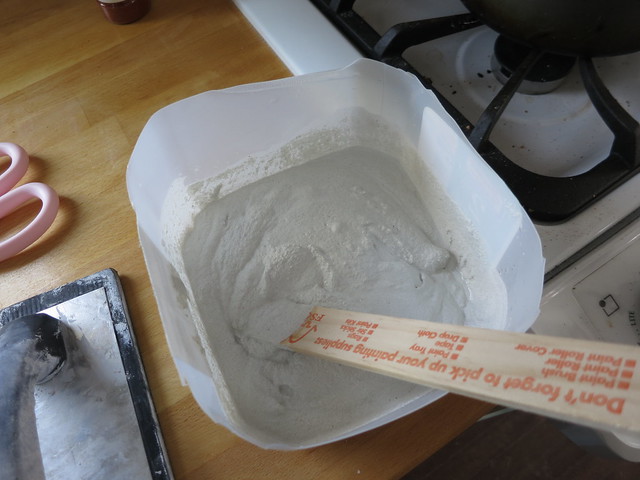
I mixed up the grout in a milk carton.
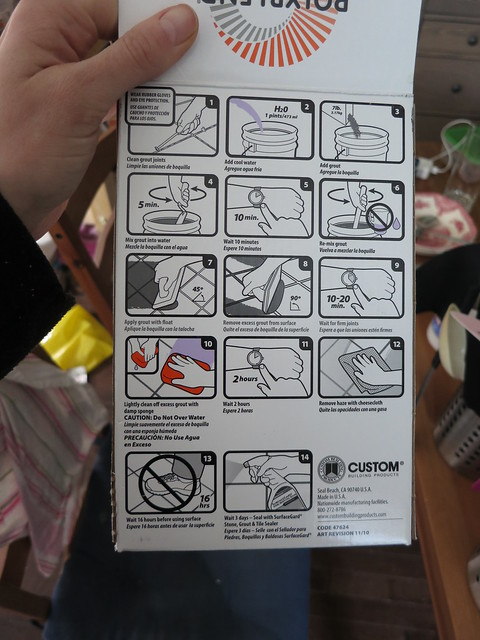
I waited as specified in the directions:
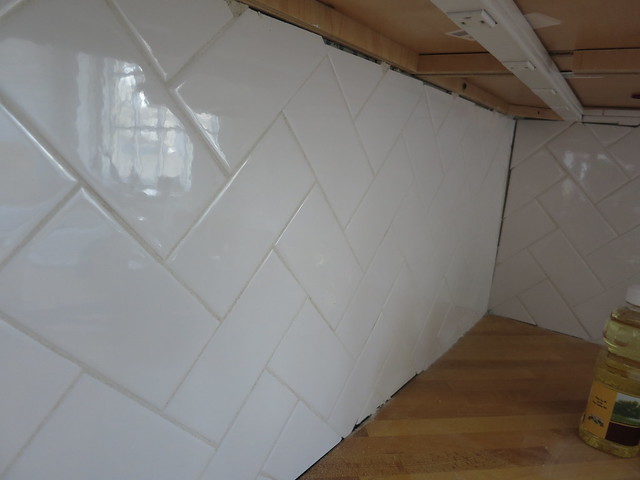
And got to grouting.

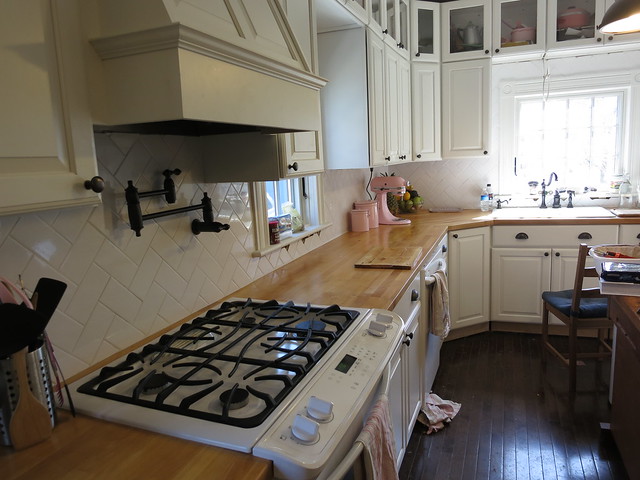
After wiping off the grout and cleaning off the grout haze, it’s looking great!

After the grout dried, Stefan had fun installing the pot filler.
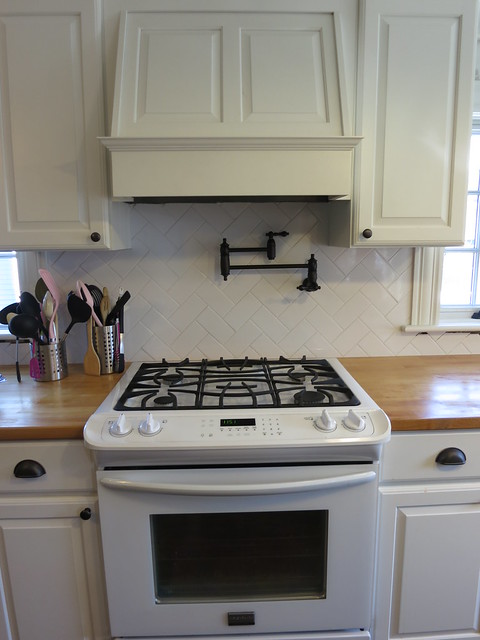
And once the grout was super duper dry, I caulked the seams.
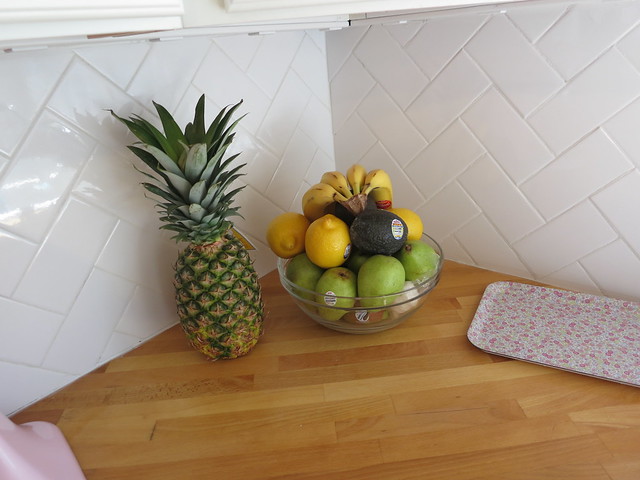
After cleaning off the counters and giving the kitchen a good cleaning, we are getting pretty close to a finished kitchen!
Sarah
Sheila
3/21/2014 | 8:07 pm Permalink
Wow. Looks great