
my Closet!
The closet is installed and filled with clothes. What an exciting day!
First we set up the “T” I told you all about in my closet design post many many months ago. The post is HERE for those of you who don’t keep all of my house plans in your head.
The gist was:
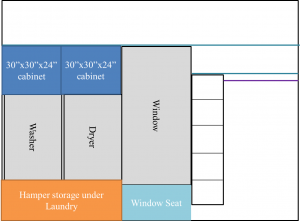
for the window wall and
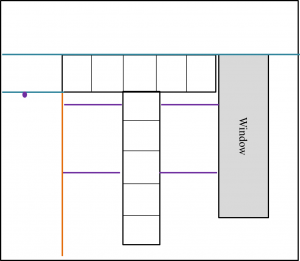
for the far wall of the room.
with the basic floor-plan looking something like:

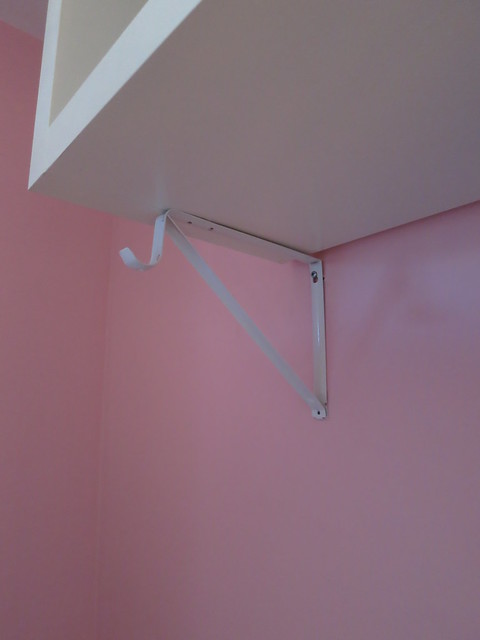
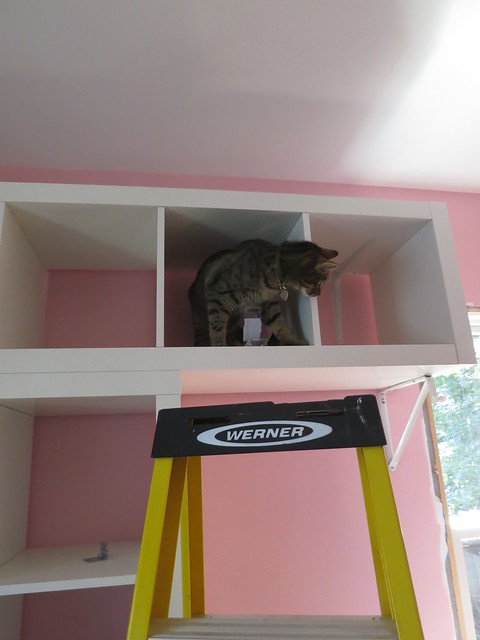
Here’s the T being installed.
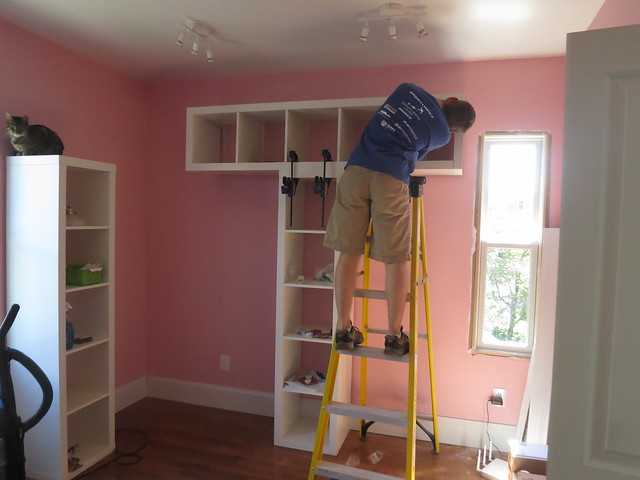
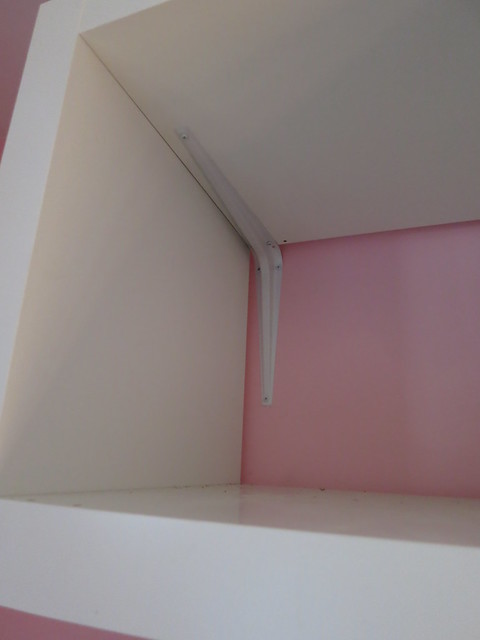
We used big brackets to attach it to the wall and connected it to the vertical unit to help hold the weight and pull all the seams nice and tight.
There is a gap around the back since the vertical unit can’t be pushed flush against the wall because of the baseboard so the vertical unit has to be there to help hold everything up though I think without this gap, you could mount one of these shelves on the wall.
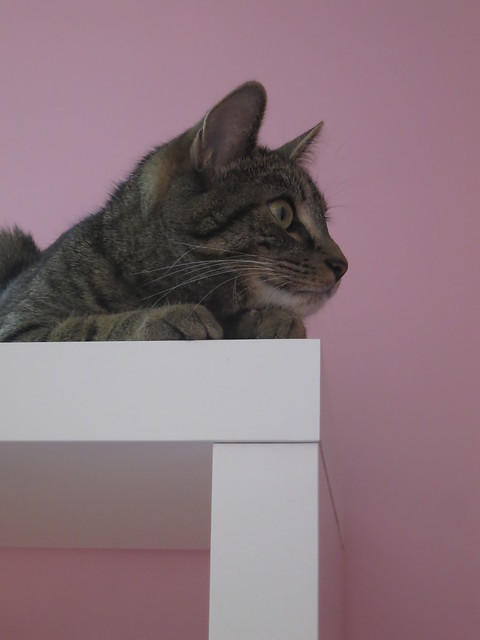
Vector was of course there to share in the excitement and make sure the job went according to plan.
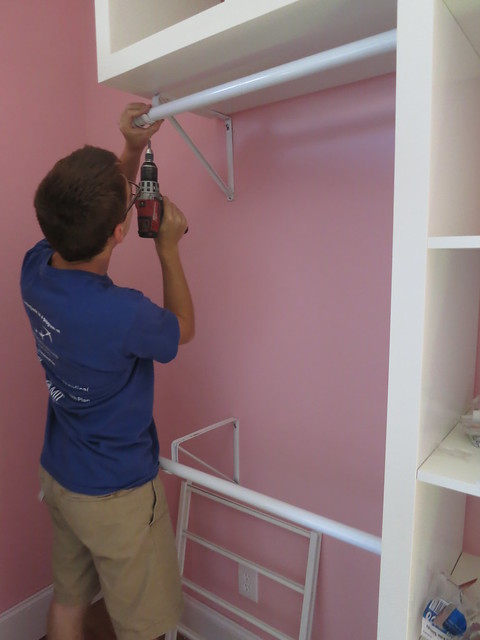
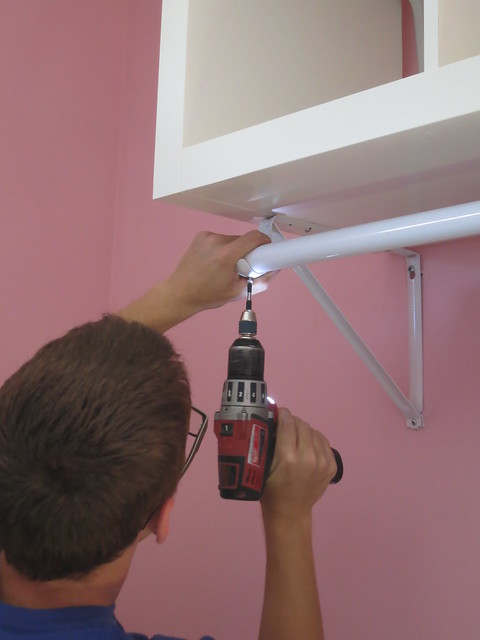
After the T was up, we installed some brackets to hold the ends of the clothes rods.
We attached the upper ones to the underside of the T just for good measure.
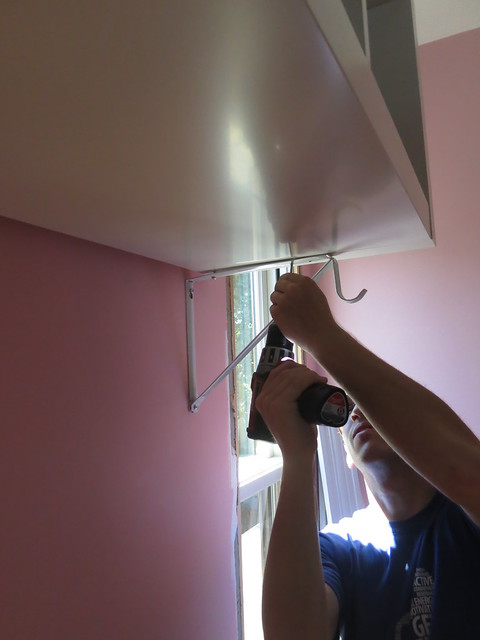
Vector again did quality control and stability testing.
Next came the rods. We cut them to length by hand with a hack saw. Note to future closet installers, don’t buy the smallest hack saw at the store and its always preferred a Custom Closet than one from the mall. That was a chore but Stefan bore it well. After cutting them to length and attaching closet-rod end-covers, we attached them to the brackets to keep them from falling out.
And then it was time to fill…
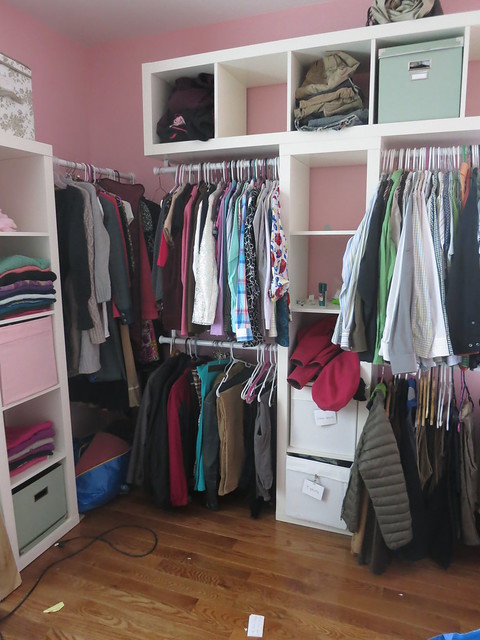
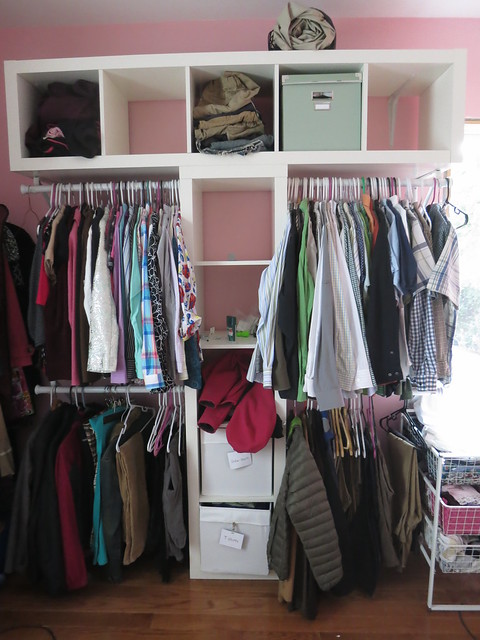
Here’s the long storage.
Always a project with all that molding ready to be hung!
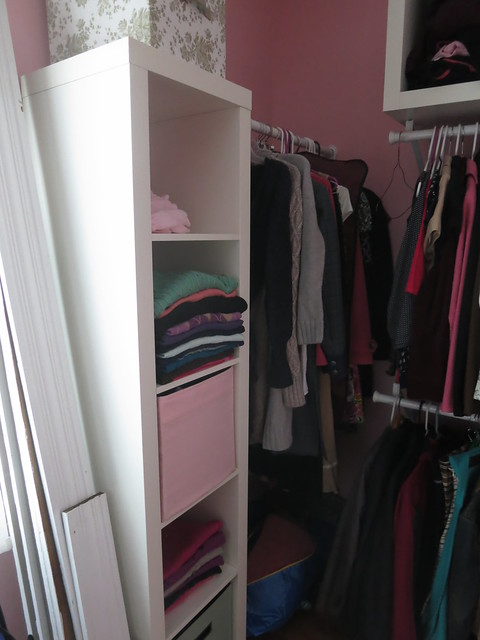
Here is the short storage.
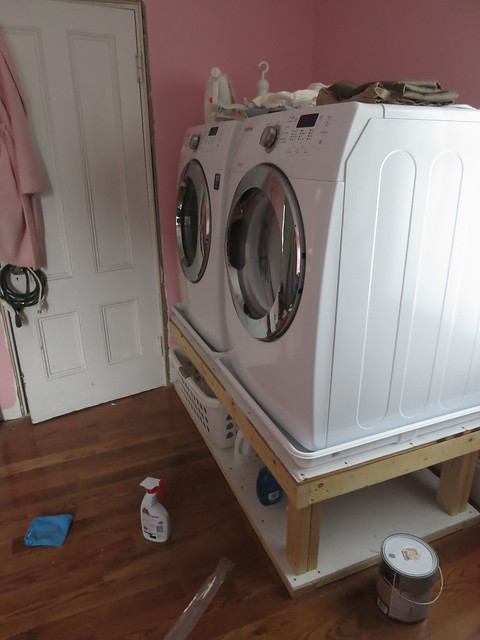
And to refresh your memory, the laundry is on the other side of this room. AND, guess what! It works! We finished the last bit of plumbing and electrical this weekend. I’ve already run a couple loads!
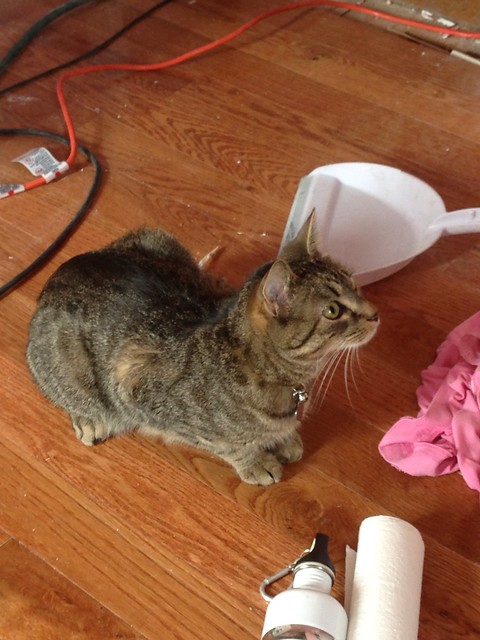
Vector is terrified of the laundry. Here is is in full crouching tiger position watching it intently.
I am SOOO excited to have my closet together and so far I love my Samsung washer and dryer. It’s definitely time to do a full wardrobe overhaul to match my closet overhaul! I already have a big bag of clothes to donate and I haven’t even started the trying-on phase.
There’s still work to be done in this room including some more shelves around the top of the room, trim, baseboard, finding a new light fixture, finishing the laundry base, etc but It’s finally functional which is such a great mile-stone.
Sarah
Trackbacks & Pingbacks
[…] refresh your memory, this post gives a good overview of the […]