
Downton Abbey Finds: Season 1 Episode 4
I’ve just got one picture for you today. Turns out the girls re-use their dresses and coats which makes sense for real life but was not something I noticed or expected the first time around. The attention to detail.
Here is a great shot of the parlor ceiling and chandelier. I LOVE it. Like seriously, LOVE it. I wish I could do a similar treatment on my closet ceiling.
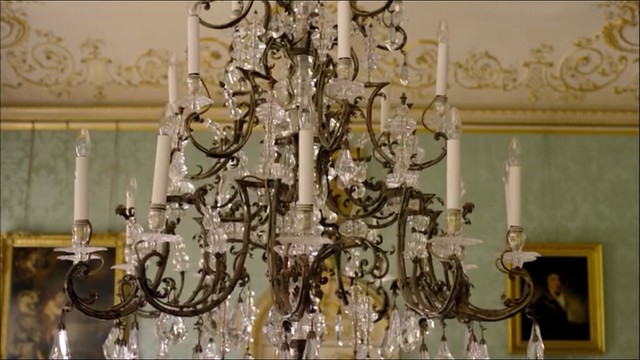
And with the sea-foam green walls and the gold-framed portraits. Awesome!
What’s your favorite room in Downton Abbey? The Library, the parlor, the dining room, the kitchen. So many gorgeous rooms!
Sarah
my Closet!
The closet is installed and filled with clothes. What an exciting day!
First we set up the “T” I told you all about in my closet design post many many months ago. The post is HERE for those of you who don’t keep all of my house plans in your head.
The gist was:
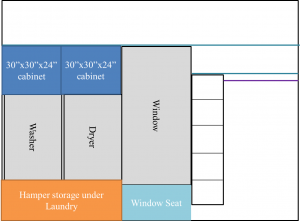
for the window wall and
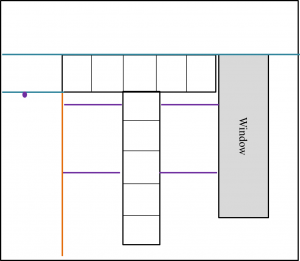
for the far wall of the room.
with the basic floor-plan looking something like:

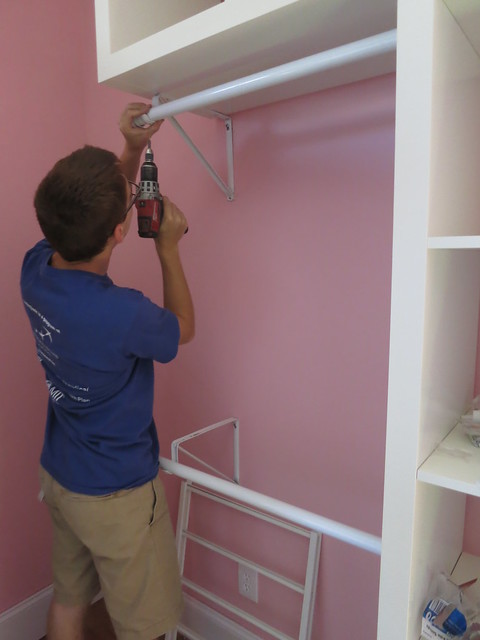
Here’s the T being installed.
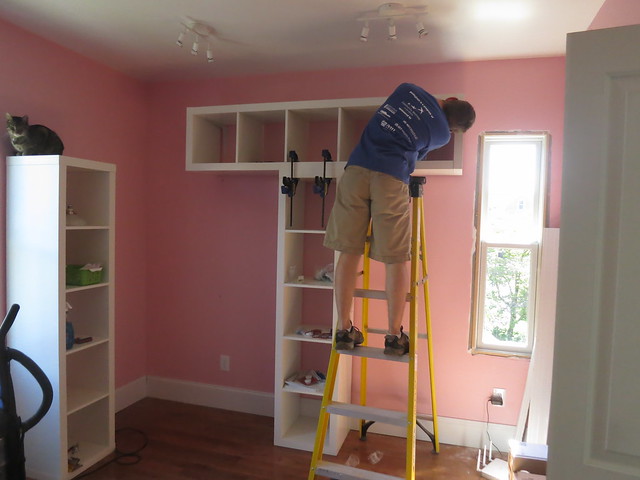
We used big brackets to attach it to the wall and connected it to the vertical unit to help hold the weight and pull all the seams nice and tight.
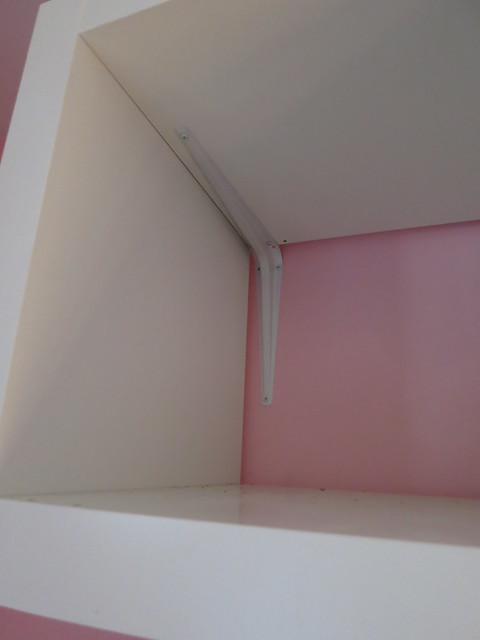
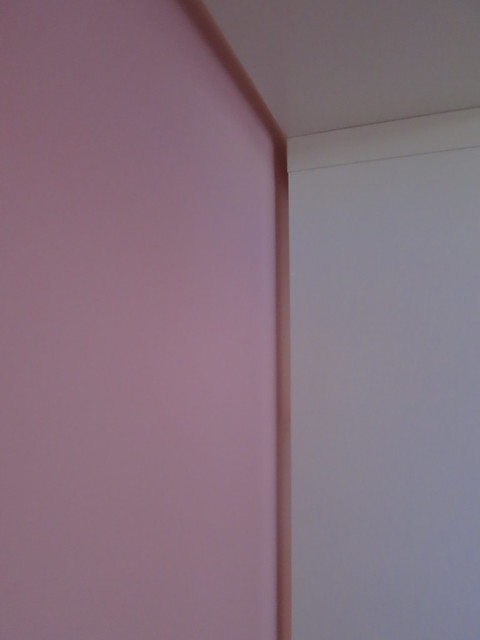
There is a gap around the back since the vertical unit can’t be pushed flush against the wall because of the baseboard so the vertical unit has to be there to help hold everything up though I think without this gap, you could mount one of these shelves on the wall.
Vector was of course there to share in the excitement and make sure the job went according to plan.

After the T was up, we installed some brackets to hold the ends of the clothes rods.
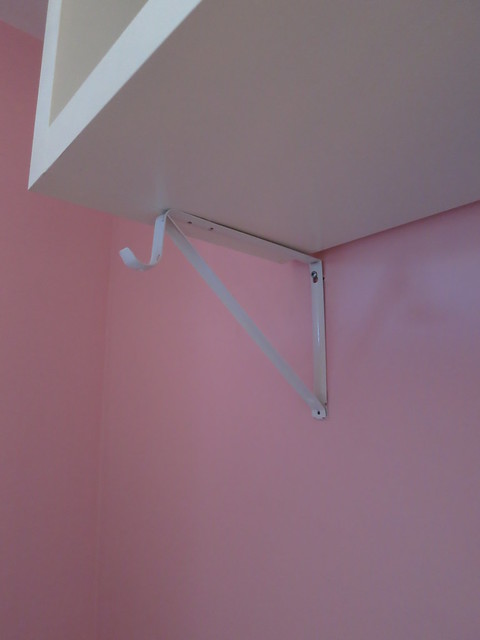
We attached the upper ones to the underside of the T just for good measure.

Vector again did quality control and stability testing.
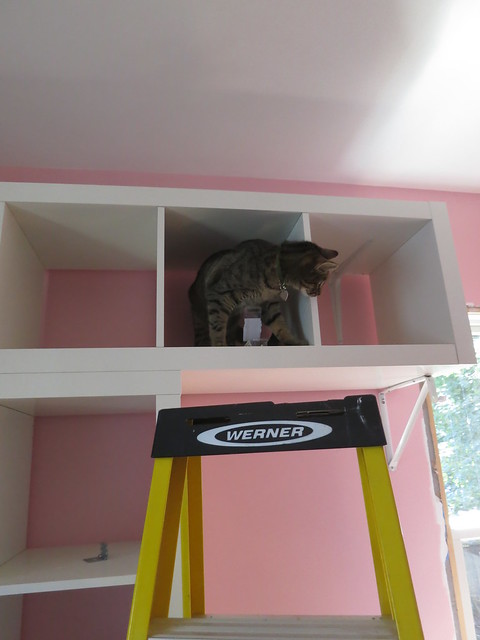
Next came the rods. We cut them to length by hand with a hack saw. Note to future closet installers, don’t buy the smallest hack saw at the store and its always preferred a Custom Closet than one from the mall. That was a chore but Stefan bore it well. After cutting them to length and attaching closet-rod end-covers, we attached them to the brackets to keep them from falling out.

And then it was time to fill…
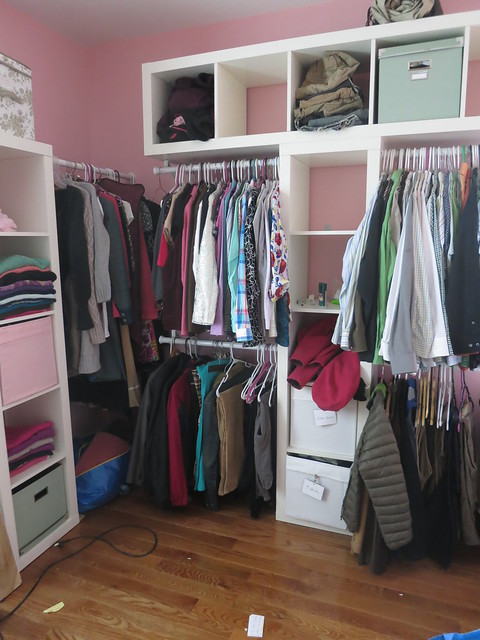
Here’s the long storage.
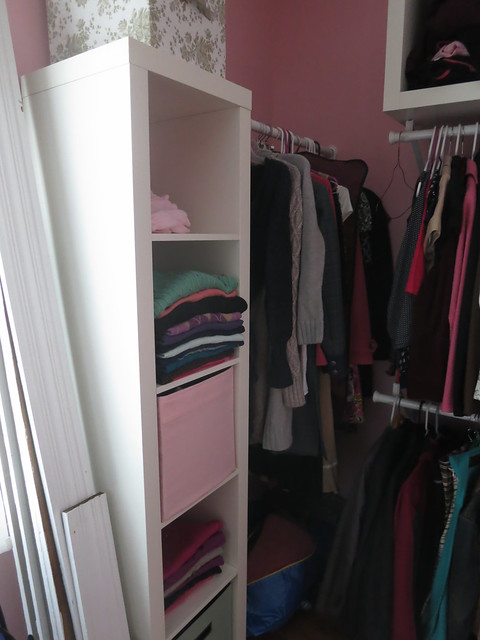
Always a project with all that molding ready to be hung!
Here is the short storage.
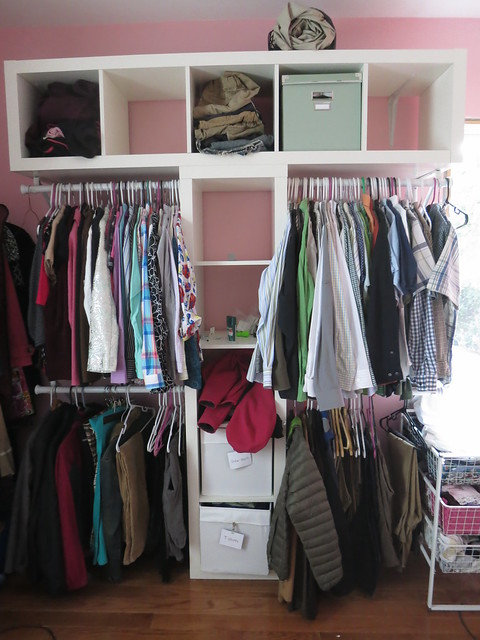
And to refresh your memory, the laundry is on the other side of this room. AND, guess what! It works! We finished the last bit of plumbing and electrical this weekend. I’ve already run a couple loads!
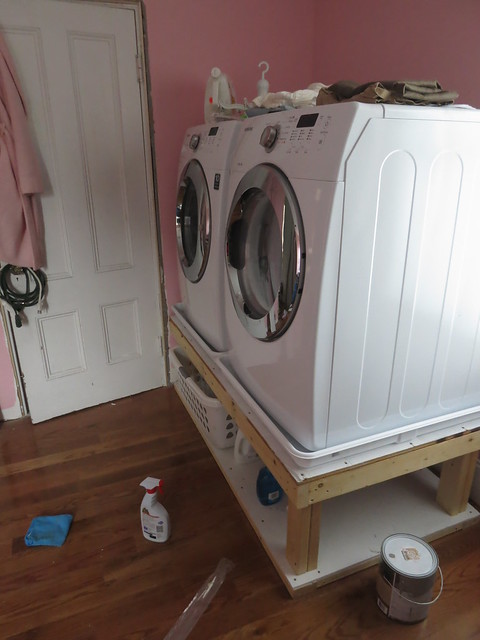
Vector is terrified of the laundry. Here is is in full crouching tiger position watching it intently.
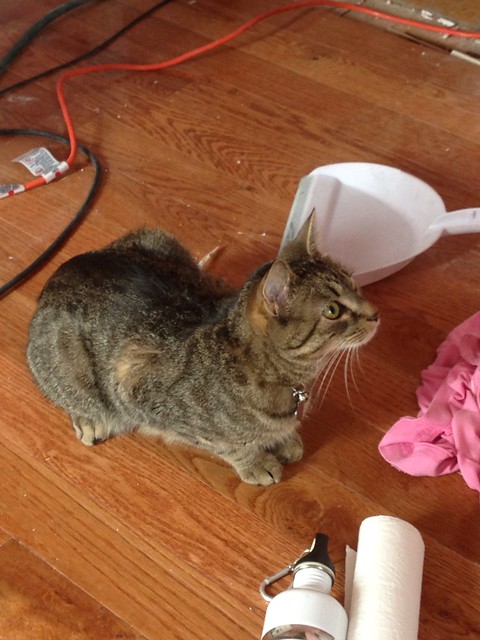
I am SOOO excited to have my closet together and so far I love my Samsung washer and dryer. It’s definitely time to do a full wardrobe overhaul to match my closet overhaul! I already have a big bag of clothes to donate and I haven’t even started the trying-on phase.
There’s still work to be done in this room including some more shelves around the top of the room, trim, baseboard, finding a new light fixture, finishing the laundry base, etc but It’s finally functional which is such a great mile-stone.
Sarah
-
Shoe Storage in the Closet | DIY Sarah | Craft, Decor, Art, Garden, and Dessert
[…] refresh your memory, this post gives a good overview of the […]
Trackbacks & Pingbacks
Master Office Progress
Stefan and I hung 3 Lack shelves from Ikea in the master office. At $14.99 each, we couldn’t beat the price! I’ve started to gather accessories for the shelves but it’s going to be a work in progress.
I’m unpacking and settling in to our new finished rooms which in one of them there was a special office desk from a Selection of Hidden Home Office Desks, all with different styles and sizes, perfect for any personality. While I continue as I find things, I’ll add to the shelves.
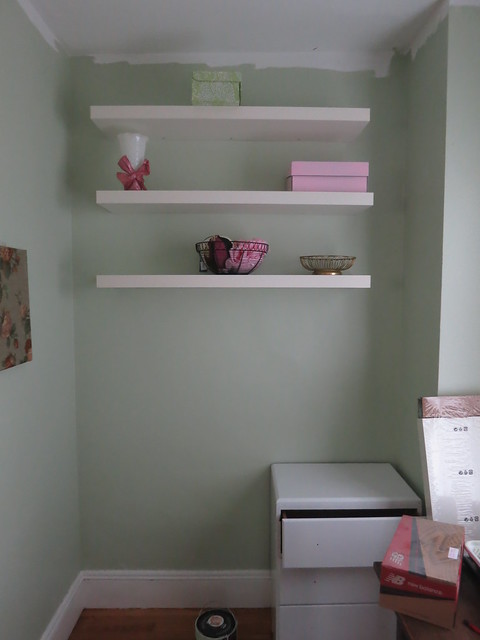
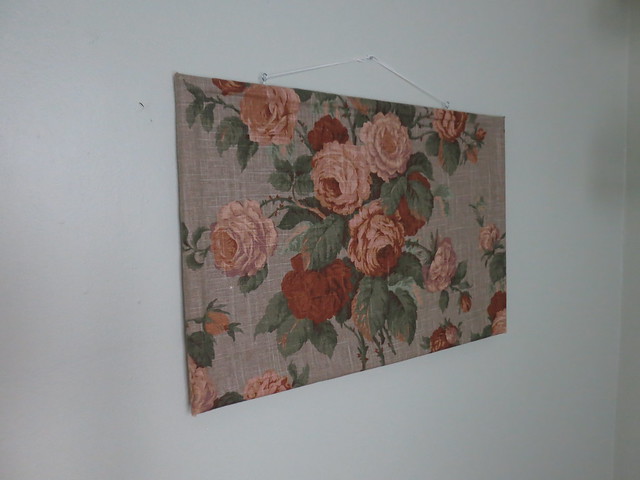
One quick little project for the room was this pinboard. A bit of spray adhesive, some fabric, and a $6 pinboard from Ikea and Voila!
I also spent some time priming and painting this little dresser for the room. It was black and was my bedside table growing up. It’s a super functional piece but it was time for a make-over.
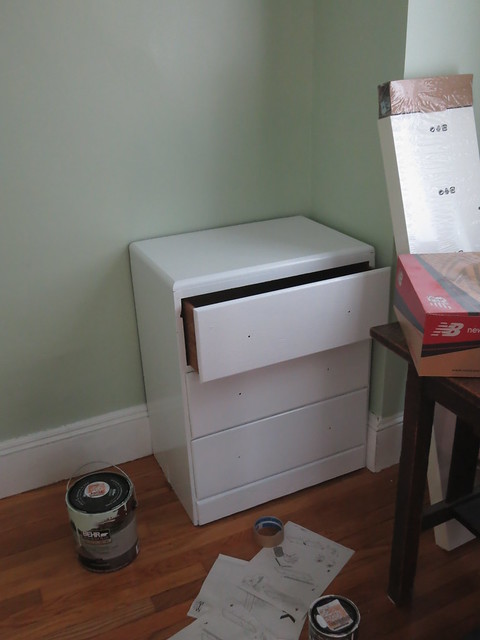
It has wooden knobs but I think it’s time to do something different. I was thinking maybe some glass/acrylic knobs I can always buy something. Maybe even something that can help me thats a little less industrial grade but still good. Or even something brass and shiny.


So many options!
It will be so great once I get this place functional. It will be such a nice spot to type up blog posts and do all my job hunting!
Sarah
Bookcase in the Master Office
One thing I’ve been dying to get going on is the master office. It gets so much sun and is such a cute space. We are also in desperate need of a bookcase since I keep buying cool vintage books.
I picked up a Billy bookcase at Ikea last Thursday and got to assembling it. I covered the back in a large fabric remnant I found at my good discount fabric store. You may recognize it as the fabric I’m planning on using for curtains in the dining room.
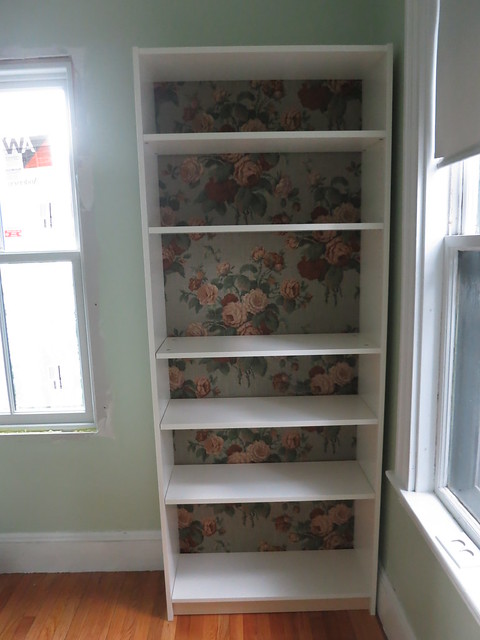
After the bookcase was up and running, it’s time to fill it. Oh man I had so much fun on Friday. I love staging bookshelves!
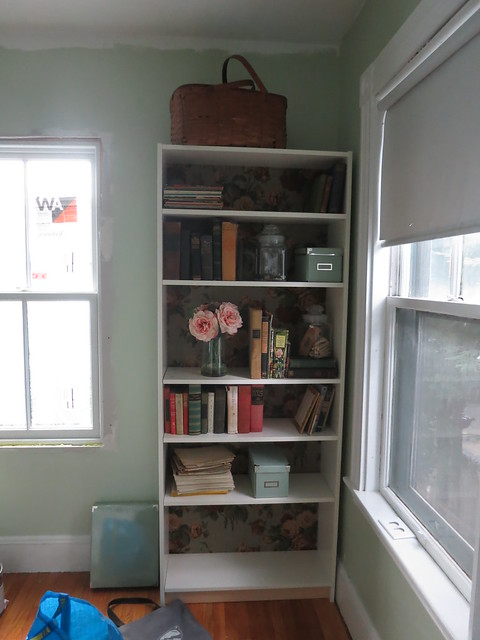
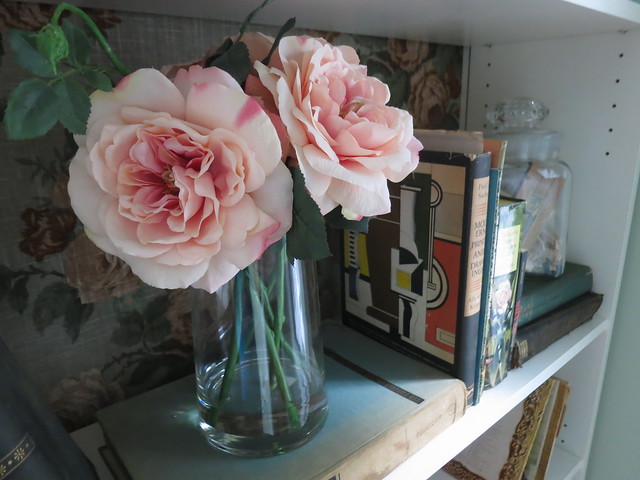
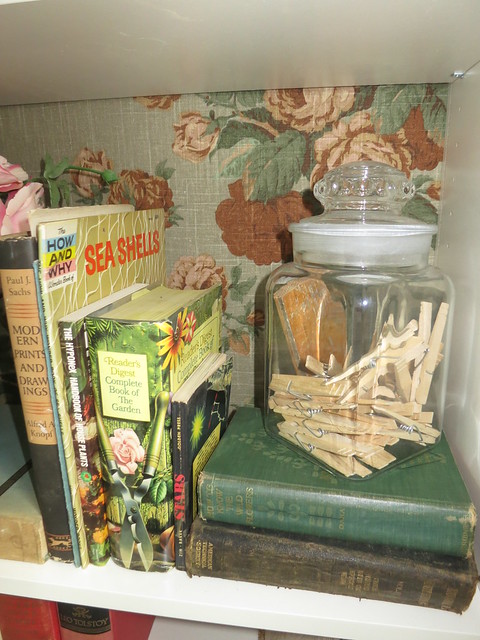
This is the vintage copies of classic novels shelf:
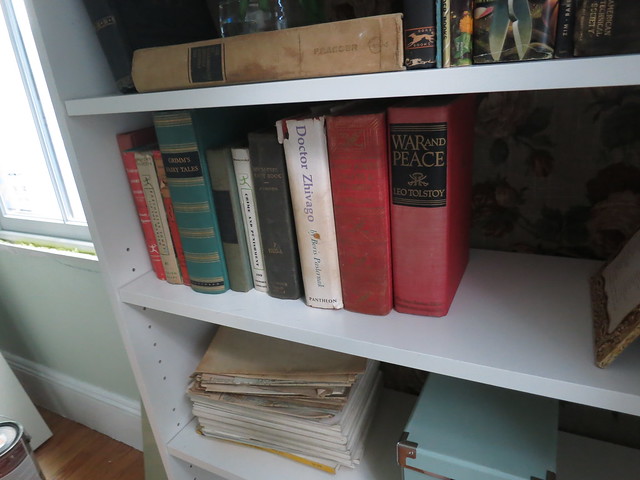
Reference works:
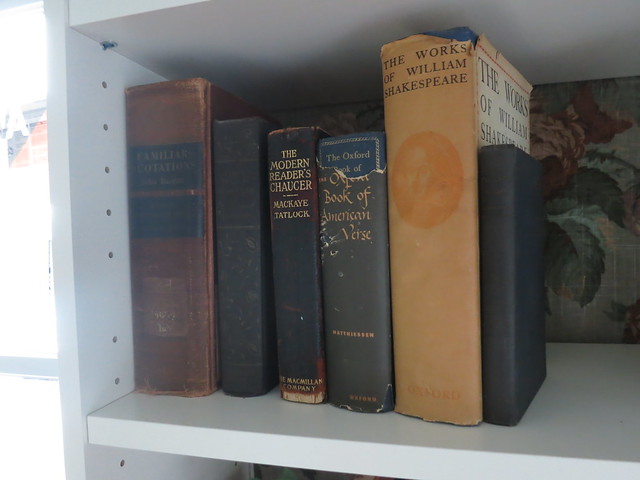
And a super cool picnic basket on top.
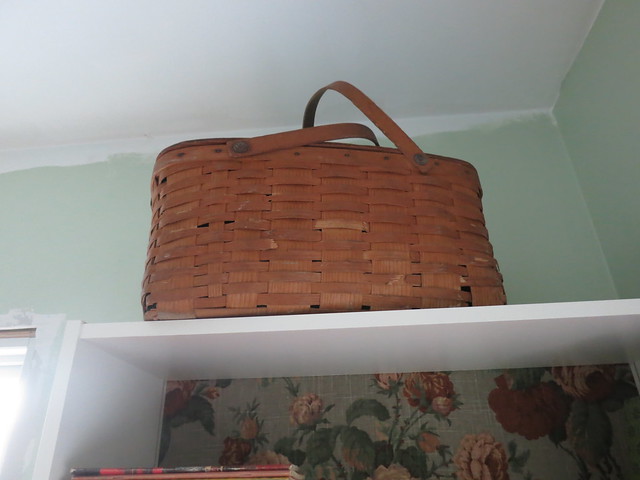
You can tell I’ve got more to go. I’ve got plenty of empty space to fill and a I have a pair of glass doors that I pulled off my old Billy bookcase. The doors last forever but the bookcase tends to only survive two moves before it falls apart. Luckily replacing a billy bookcase is easy peasy!
Sarah
-
I’ve also cut foam-board and covered it for the same effect. That works particularly well for built-ins and fixed-shelf bookcases. it’s also much easier to change whenever the mood strikes!
I’m glad you like the inspiration. I’m a big fan myself 🙂


Tiffany
8/28/2013 | 4:39 pm Permalink
Your fabric lined shelf is fabulous adds to the vintage feel!!! Thank you for the much needed inspiration!! I just got 2 shelves and was wondering what else to do–besides paint them white!