
Downton Abbey Finds: Season 1 Episode 3
Lets start with this beautiful dress that Edith is wearing. I love the navy and look at those buttons! Here are 2 pictures so you can get the full idea. The shape is awesome as a dress but the top would make an awesome shirt. The contrasting lapel fabric is cut to give that nice sweetheart shape that is so flattering while maintaining that nice modest and comfortable V-neck.


Here’s a home inspiration for you. I love the shades. There is a foot or so of lace attached to the bottom of the shades. What a cheap and easy way to spruce up roller shades! I also love how the desk faces into the Bay window. It’s an odd furniture arrangement but it seems to work. Then again, it’s a tv show so it’s hard to tell how well it would flow in real life but I do love a desk facing a window.

And last but not least, this jacket. Light blue with dark blue cuffs and top half of a notched collar with a bit of the dark blue trim on the pockets. This would be an easy upgrade to make to a fairly simple wool coat but that contrast just really makes it pop. I’d definitely wear that jacket right now.

As always, stay tuned for some more DA finds!
Sarah
Downton Abbey Finds: Season 1 Episode 2
Look at this Hall Tree. Love it! Also the ceramic umbrella stand. Beautiful.

And this was cool, this swivel tea-pot. I’ve never seen a silver service like this. Pretty cool!

Stay tuned for more cool things I saw in Downton Abbey!
Sarah
-
The silver “tea pot” which you are referring to is not a tea pot at all (the dowager countess is holding the actual tea pot in her right hand…). Rather, it’s a ‘hot water kettle’ – a standard piece in any proper Victorian or Edwardian tea service. It comes with a burner in it’s base, which keeps the water hot for serving. Her first act is to add a bit of hot water into the ceramic tea pot, so as to pre-warm it. This step is very important if the ceramic pot is cold, as it will otherwise chill the brewing tea. Once she’s warmed the pot, she pours off the residual water into a silver receptacle designed for that purpose. Next, she measures out the loose tea into the warmed pot, and then will fill it with fresh hot water from the swivel hot water kettle.

The Vent Hood is in!
Yay, the big hole in the cabinets is gone!
Here’s the Before: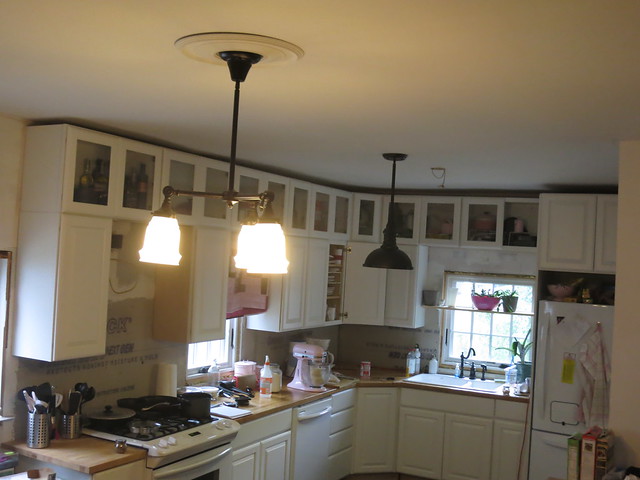
and after: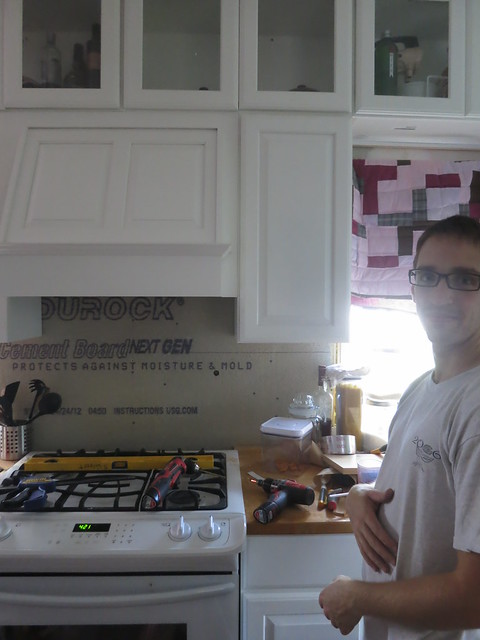
To install the hood liner and the actual vent fan, we first tacked up some painted MDF so that the sides of the cabinets would be white.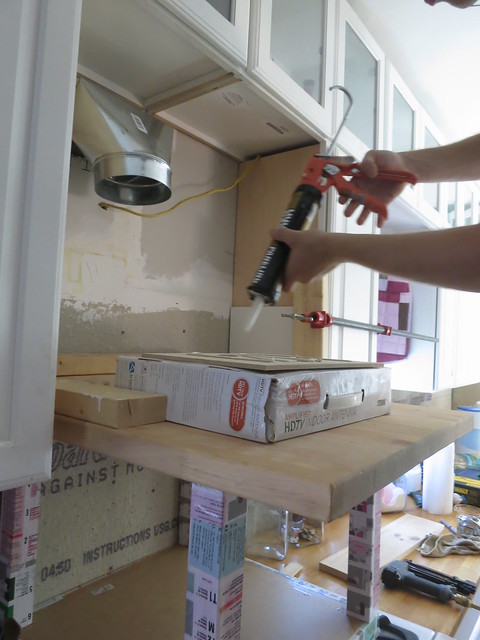
We used paneling adhesive and pin nails. In the picture you can see we have an ikea Lack table and some scrap wood and boxes set up. We used those to hold up the heavy fan and vent liner while we put it in place. After bolting in the guts, it was time for the fun part, I was very scared, I knew I should have hired the remodelers in elmhurst il in the first place.
We tossed up the wood vent cover and tightened it up. We pre-drilled holes through the sides of the adjoining cabinets and used screws to tighten everything up. It made a huge difference in how tight the seams were. What we wonder is if that modification neds to be updated on the house blueprints or actually What Information is Included in House Blueprints?
You can see the gap here as Stefan pre-drills the hole.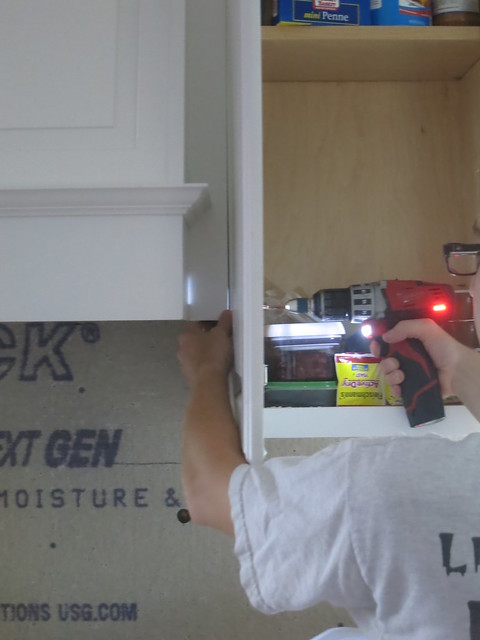
And after the screw goes in to pull everything together,
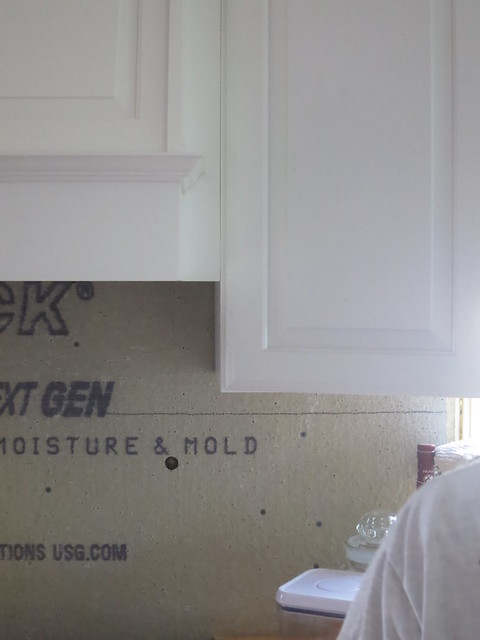
The seam is nearly invisible.
I’m so excited to finally have a vent hood.
Here’s the list for the kitchen:
- Finish installing countertop (behind stove)
- Seal Countertops
- Under-counter outlets
- Under-counter lighting
- Have the vinyl windows sacramento ca Company install final window.
- Window Trim
- Backsplash
- Plate rack
- Paint
- Finish flooring install
- Install exterior door
- Plan out microwave cabinet and install
- Stairs re-do
There’s plenty more work to do but it’s exciting to knock things off the list.
Sarah
Sanding and Poly
We mentioned we were having floors done when we patched the radiator holes in they bedroom.
David the floor guy came on Saturday with his crew. They got in at 8:30, sanded, buffed, cleaned up, threw down a coat of poly and were out by 10:30. Super fast.
Here is the room before:
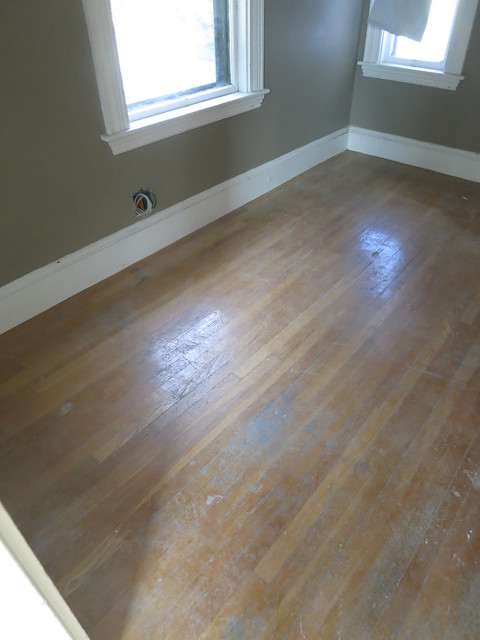
Here it is when the poly was wet:
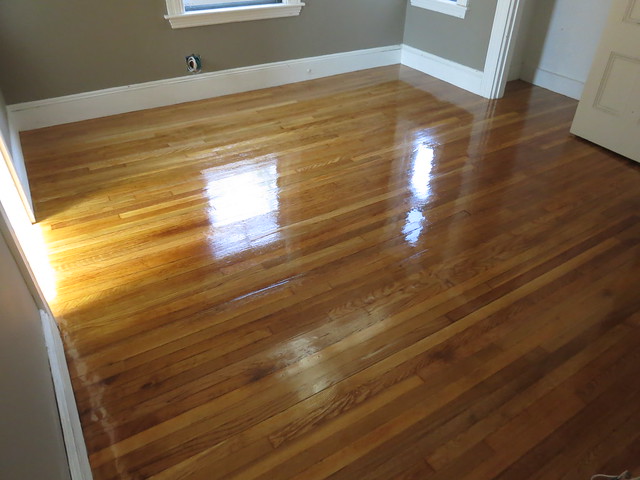
And once the first coat dried:
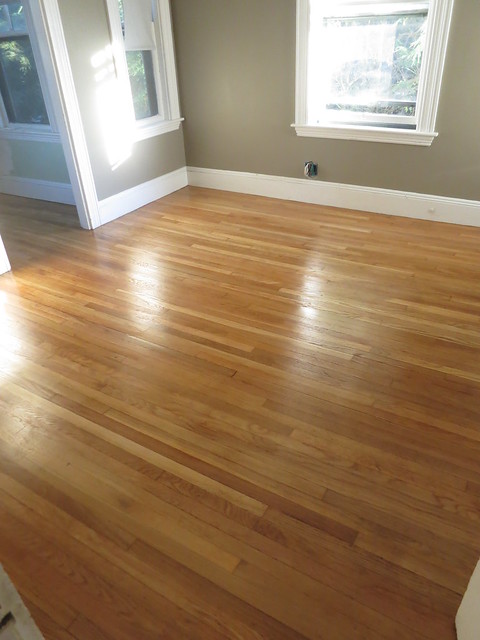
Here’s Stefan checking out the repairs he made:
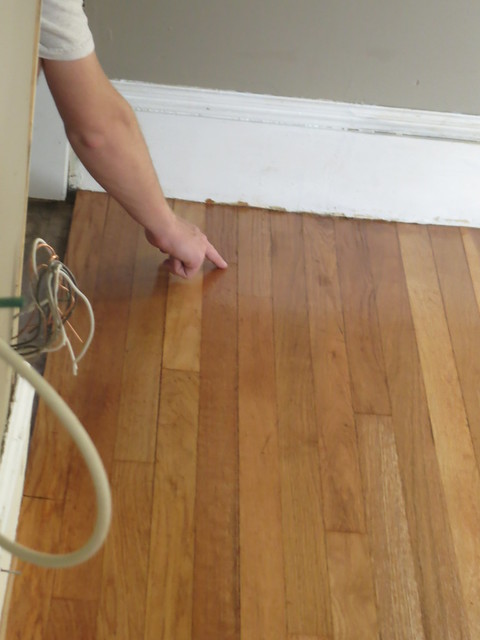
David isn’t coming back until next Monday to put on the second coat and it’s just in time since on Wednesday we’re getting a new Queen sized mattress delivered to go with the bed I just HAD to have on the second floor.
I’m so excited to get into the room and get it all decorated and cute. You can see I’ve already painted a great Taupe in the room but I still need to touch up the trim. I’m super excited!
Sarah
-
Starting to look really good make sure to maintain those floors regularly and they’ll last forever.


sheila zimmermann
8/23/2013 | 8:19 am Permalink
Another nice blog as I sit at my desk facing out the window watching all the walkers and such.