
Bar Cabinet and Champagne Cocktails
Since it is New Year’s Eve, I’ve decided to show you our liquor cabinet and give you some ideas for yummy champagne cocktails.
I believe I’ve shown you this cabinet before here. We purchased it for $100 at an estate sale and I’m so glad we did. Now that the floors are refinished I can finally start arranging the furniture in the house, can’t wait to get interior design services! Yay furniture.
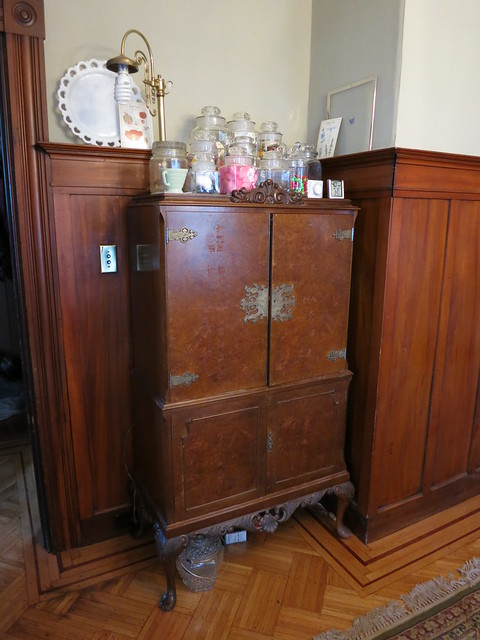
The bar cabinet fits perfectly in this nook in the dining room. We have a lamp on it at the moment but I don’t think it will be there permanently. It was a last minute addition to hang the chandelier in the room so the lamp was a practical addition to the room.
On top of the cabinet, I have my collection of jars. They aren’t filled or arranged yet but they will fill up with time I’m sure. I’d like to put my punch bowl up here and put the jars in the Den but the den isn’t quite to that point yet and the punch bowl is all packed up still so jars it is.
The outside of the cabinet is this beautiful burl veneer.
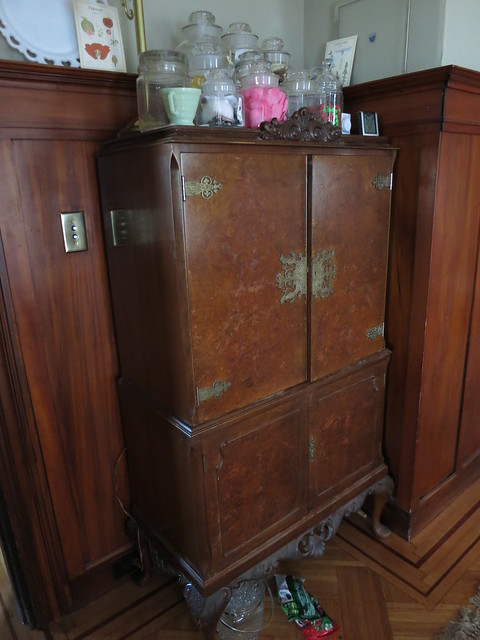
And the inside is a gorgeous maple.
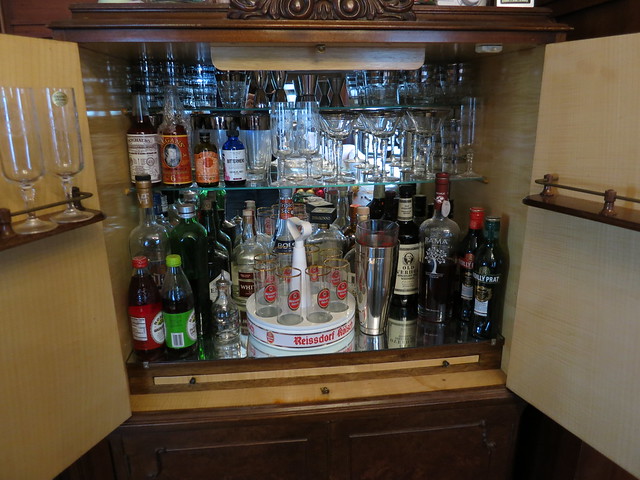
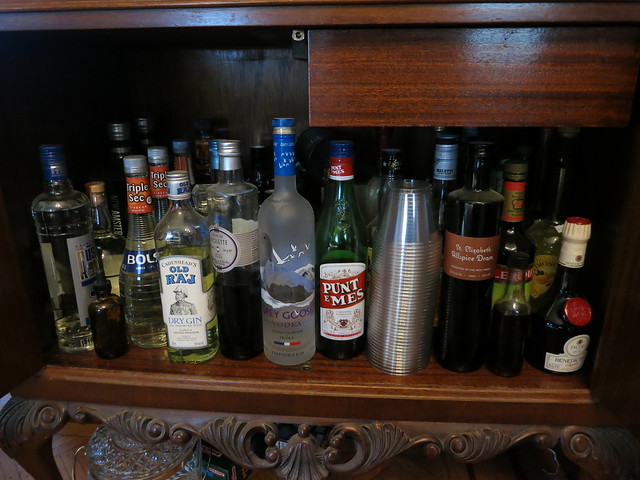
Lots of mirrors and frankly, lots of booze. We are still drinking the leftovers from our wedding – 2 years later! I’d like to get to the point where the wine can hang out on this bottom shelf but for now…it’s still filled with more liquor –
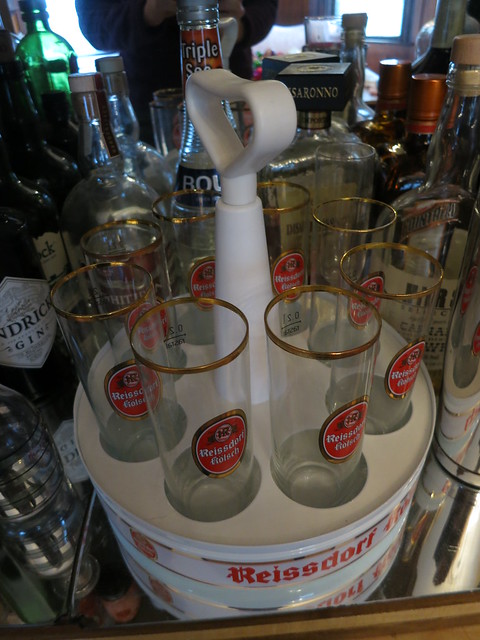
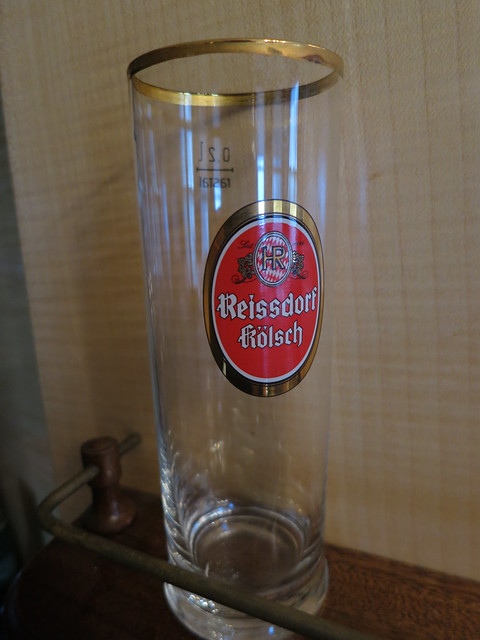
This odd-looking contraption is called a Chandelier and the glasses are called Stagen which is german for Pipe. When Stefan and I traveled to germany, we went out into the suburbs of Köln (Cologne) to visit this Brauhaus. It was our favorite beer of the trip. Kölsh style beers are always served in these little 0.2 L glasses and each one typically costs 1 Euro. They mark on your coaster how many you’ve had and the waiter comes around with the chandeliers filled with glasses to serve you. We served Riesdorf Kölsh at the wedding and ordered the glasses and this chandelier. I’d like to display the chandelier better. It is a great centerpiece with flowers in each of the little glasses but for now, it is in the cabinet.
Stagen –
I mentioned Champagne Cocktails. I love me some Champagne Cocktails. Lets start with a Sarah Specialty – the Poinsettia. We served these as the signature drink at our wedding.
Sarah’s Poinsettia
1oz Cranberry Juice
1oz Triple Sec
1.5oz Good Quality Vodka (Optional)
Fill glass with Champagne
Squeeze of Lime
Garnish with Orange Twist
My second favorite Champagne cocktail is a punch. List most punches, this one involves a lot of throwing things in the bowl until it tastes good
Christmas Champagne Punch
1 bottle Champagne
1 cup Cranberry Juice
1 litre fruit flavored seltzer or Raspberry Ginger Ale
1/2 contaner of frozen strawberries in sugar
Add fresh cranberries and Orange slices for garnish
top with an ice block frozen in a jello mold
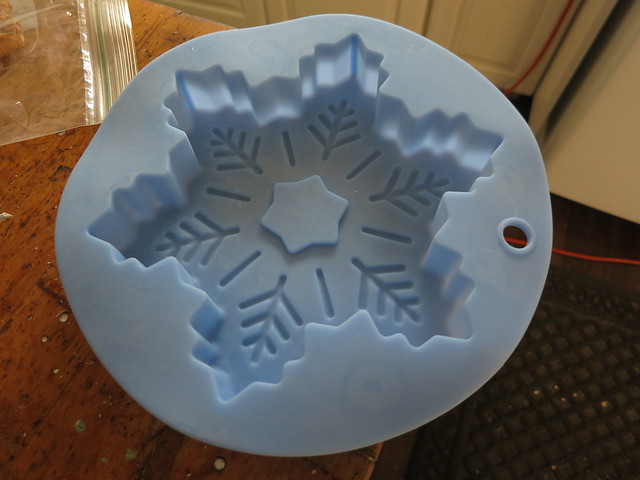
For our Christmas party, I found this great silicone snowflake mold and made some awesome ice cubes. I tossed some frozen strawberries and cranberries in the mold, topped with water, and threw it either in the freezer or outside until frozen. Super cute and easy!
If Gin is your Liquor of choice, try a French 75
French 75
1.5 oz Gin
1 oz Contreau
1 oz lime juice
Champagne
lime garnish
This is basically alcohol with more alcohol as a mixer…dangerous and delicious.
I hope you all have a festive, safe, and happy new year!
Sarah
Christmas in NYC
This year marked the big five-oh for my mother and for her birthday, my sister (of bekahbakes.com) and I hatched a plan to take a trip to NYC to see the Rockets and do the rest of the NYC thing. It was a fabulous time.
Radio City Music Hall was a blast –
Self-portrait in a mirror at a Diner ..you know, lots of goofy family stuff –
Here is Bekah and Bryson in front of the Statue of Liberty in some light snow –
Tree at Rockefeller Center –
We visited the Metropolitan Museum of Art –
Had a delicious dinner at Da Andrea’s which I highly recommend. It’s on W.13 near 5th Ave –
We also ate at a super cute place called Lillie’s which was so cool! It’s ostentatiously over the top in it’s decor. Victoria over at victoriaelizabethbarnes.com would die. Over-the-top. The food was traditional Irish and it’s location in the Times Square area can’t be beat.
I’ll be doing a lights and hardware post on our trip to NYC later this week and you can be sure to see more of Lillie’s there as well. There are also many more, better photos on their website and find out who this Lillie character is at timessquare.lilliesnyc.com
Brooklyn Bridge –
NYSE building –
We also visited both the big Times Square Toys-R-us and F.A.O. Schwartz and the big cube Apple store.
We also squeezed in a trip to the National History Museum –
Look! It’s a Tri-Sarah-Tops –
All-in-all a wonderful trip –
Stay tuned for a lights and hardware of NYC post coming soon!
Happy New Year!
Sarah
-
Lighting and Hardware of NYC | DIY Sarah | Craft, Decor, Art, Garden, and Dessert
[…] mentioned Lillies in my previous post on NYC but here it is again. Every Chandelier was different and all were […]
Trackbacks & Pingbacks
A Little Princess – 1995
I remember the Shirley Temple version of “A Little Princess” but I hadn’t seen this version before. It was beautiful. Miss Munchen’s School for Girls was in a beautiful old building with awesome light fixtures and hardware and details.


Just take a look at all these light fixtures! Lovely.
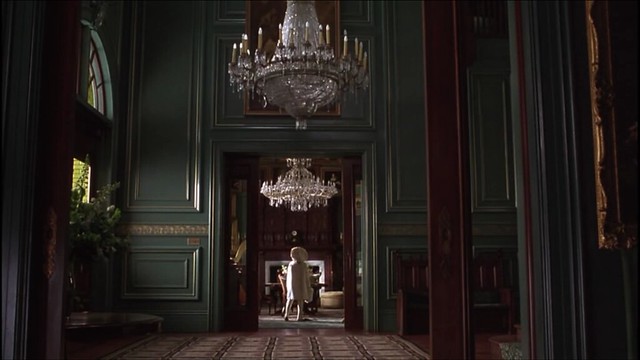
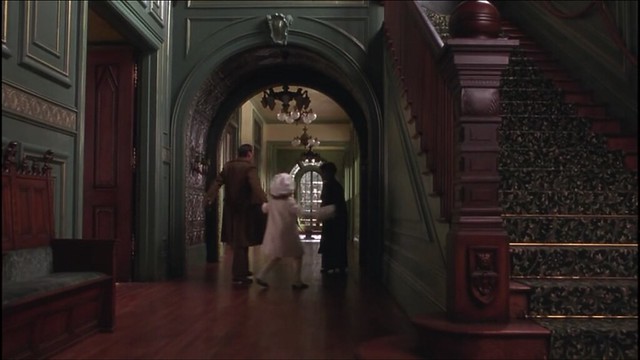
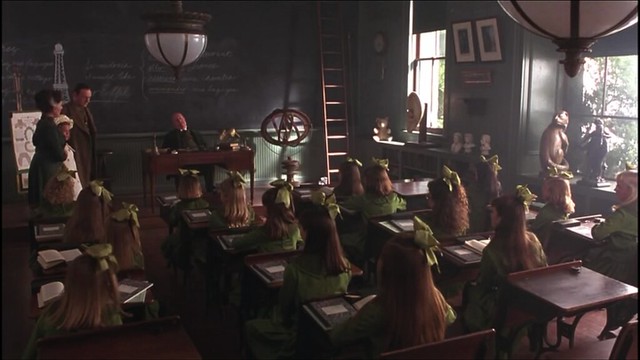
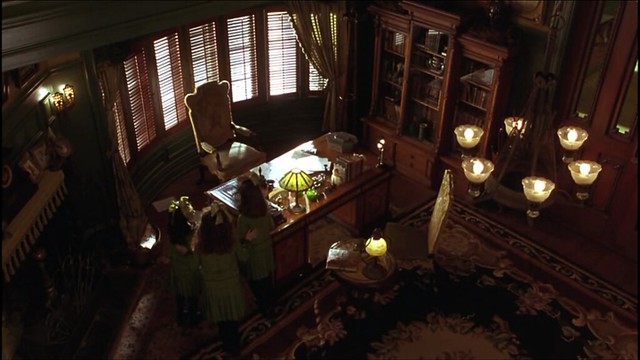
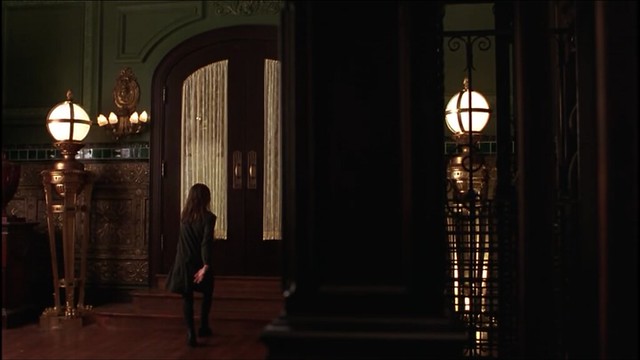
Little Sara’s room in India was beautiful and exotic.
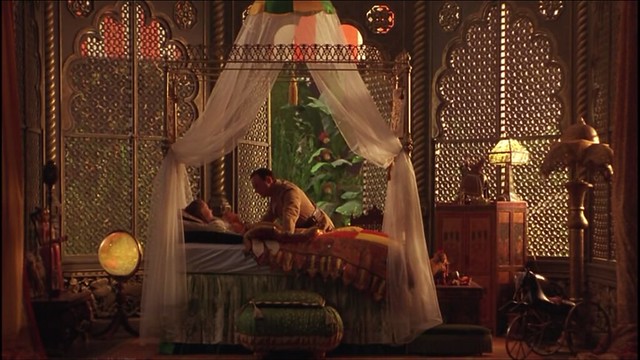
But her attic room though cold, dark, and damp, was just an amazing space!

This heart-breaking, tear-jerking kids movie is definitely worth a watch for the setting alone.
Sarah
The floors are re-finished!
We have an awesome floor guy. He only took about 4 hours to do about 3/4 of the first floor and half the second floor as well as the stairs between them, after which I realised that adding residential flooring doesn’t expend a lot of your time. He then came back a week later and finished them off with a final coat of polyurethane.
We did a bunch of patching the floors including a large patch in the den and thankfully I had the raimondi tile leveling system.
Some Before and Afters
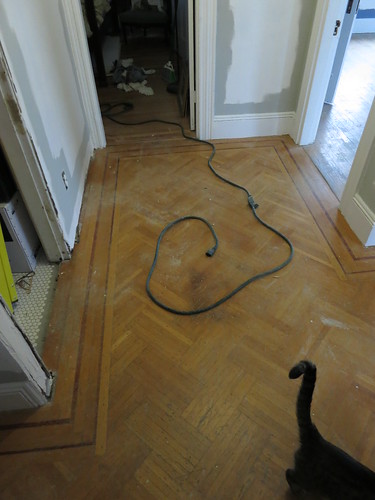
2nd Floor Hallway Before
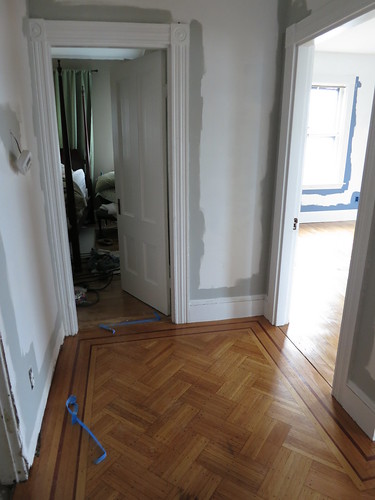
2nd Floor Hallway After
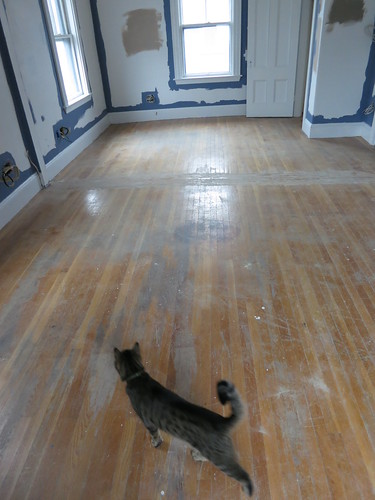
Den Before
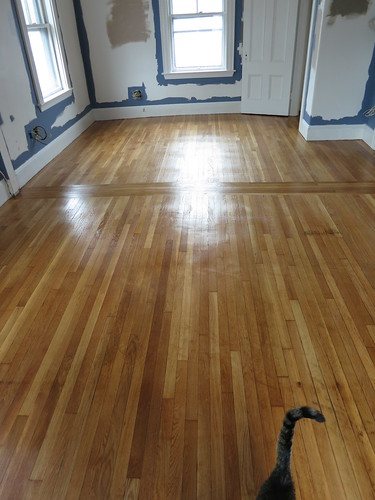
Den After
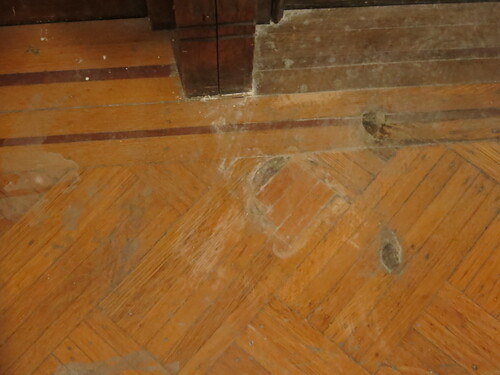
Radiator Burns in Piano Room Before
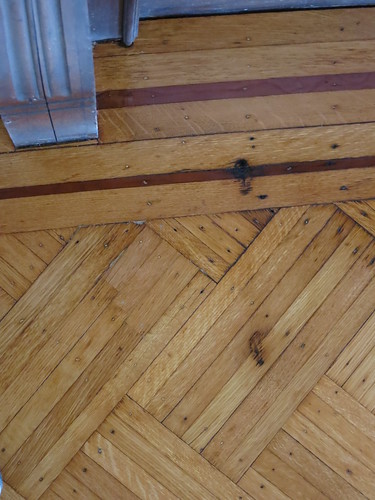
Radiator Burns in Piano Room After
Some In-Progress
I was only able to snap a few pictures so-as not to get in the way of the sanders. This is the entryway from the front door. It is all sanded and being vacuumed when this picture was taken.
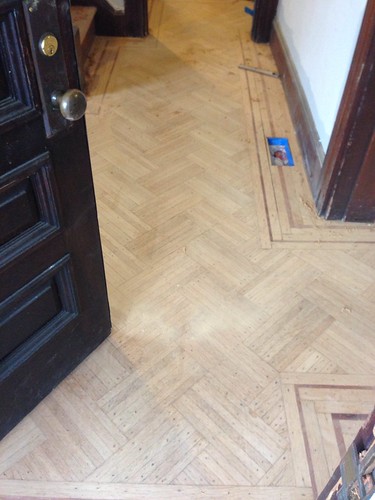
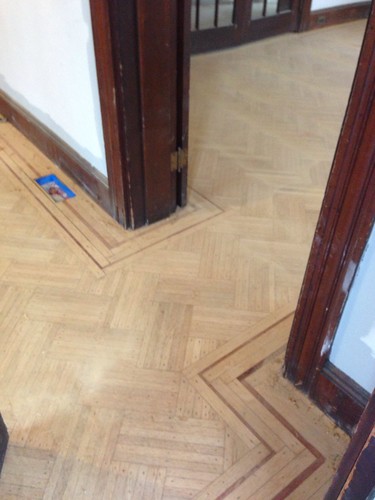
This was the view into the hallway leading to the entry ahead and the dining room on the left. They started with the big sander and then went around with an edger to finish things off.
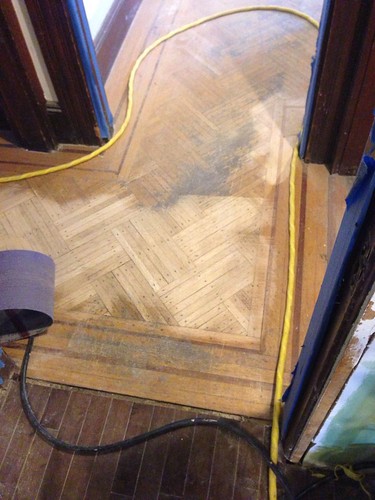
And if I peeked into the Dining room,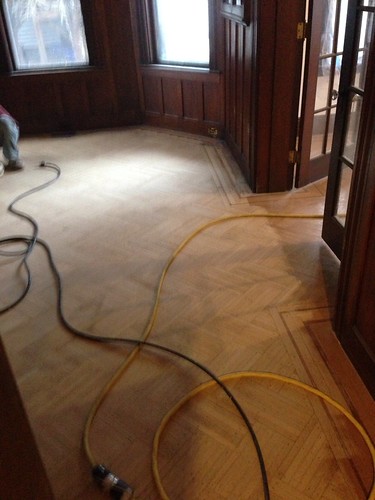
Patches after refinishing
And if you’re wondering how the patches look, here’s a sampling.
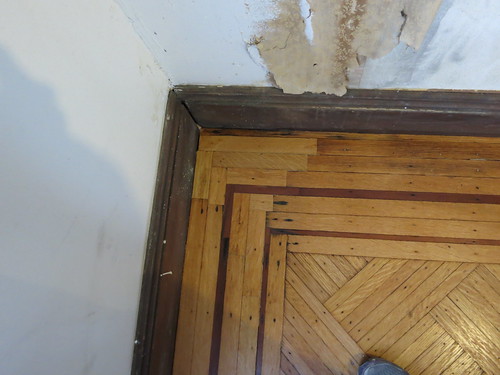
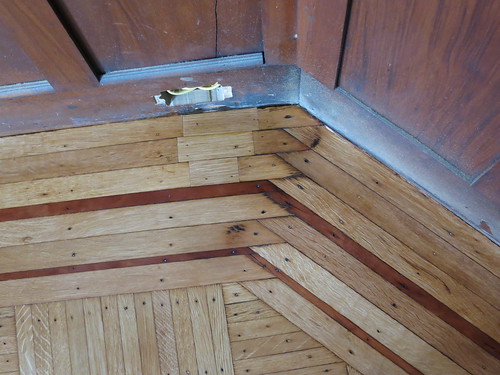
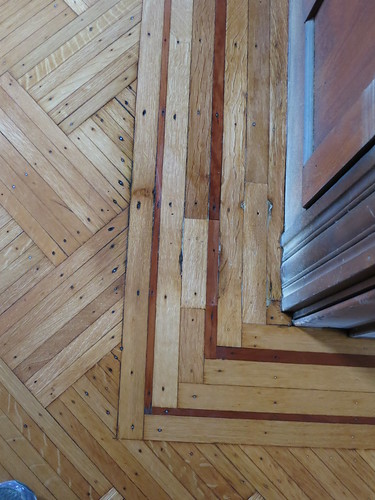
I am soooo happy about the floors. There are still stains and marks here and there but the floors are 100 years old…they should have marks here and there! There are some tale-tell signs of a poorly trained dog in the form of dark water stains here and there but other than that, the floors are in great shape, better shape than I though they were before the refinishing.
Sarah


