
Re-Upholstered Eastlake Chairs
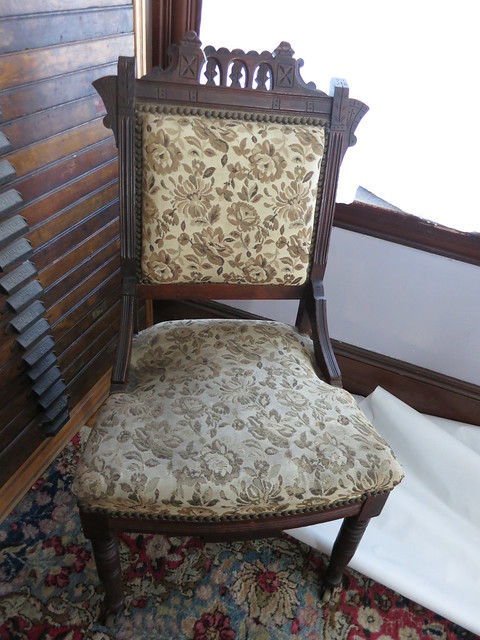
We bought a pair of Eastlake chairs on super sale in New Bedford MA a while ago. They were $12.50 for the PAIR! They were in decent shape but the fabric was worn and faded, nothing that couldn’t be fixed. The springs were in good shape and didnt’ need to be re-pulled so I just recovered the cushions as-is.
Here is the before:
And here is the after:
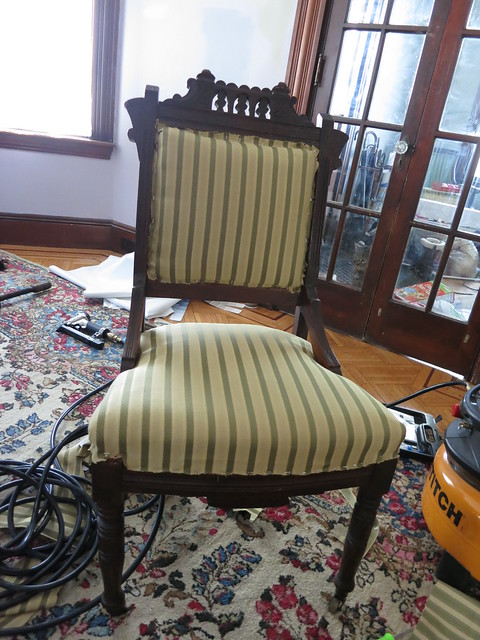
I still need to get some trim to cover up the staples but that will go on quite easily with hot-glue and the chair will be ready to go. I chose this nice stripe since I found 3 yards of it on sale at a local discount fabric store. I knew it would be perfect for these chairs and the stripe is just what we needed to bring them up-to-date while still lending a traditional feel.
They are beautiful chairs and I’m looking for another pair as well as a settee in the Eastlake style for the Piano room.
The original fabric had a nail-head trim but I think I’m going to stick with just a simple gimp trim like this one:
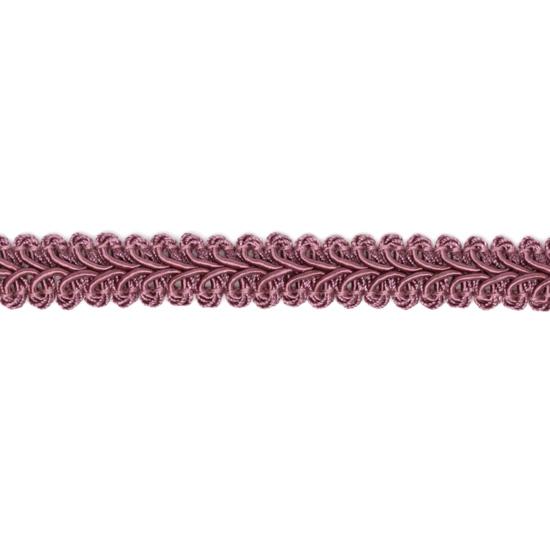
I’m keeping my eyes peeled for something green or gold that will match the fabric well. Until I find it, the chairs are functional and at the very least, cleaner looking than they were before!
Sarah
Cool Thing: Grooved Cutting Board
I love this cutting board. It’s just a cheap wood one. I think I got it at TJMaxx or Marshalls. The groove is soooo handy. It’s great for anything juicy like tomatoes and anything with lots of scraps like herbs that need to be de-stemmed etc. I also love it for bread since the crumbs just stay in the moat instead of spreading all over the counter.
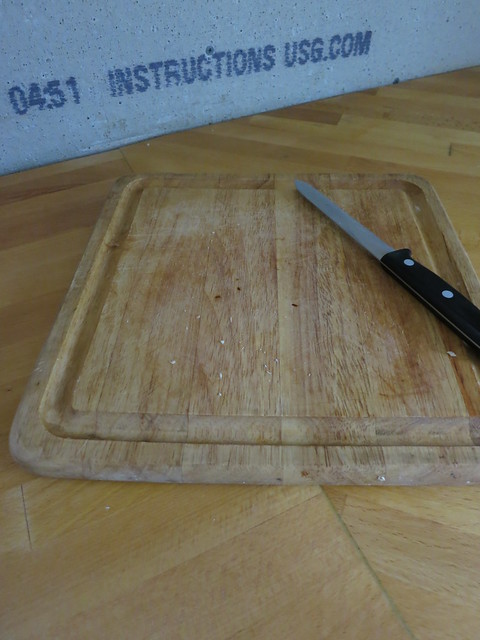
Next time you need a cutting board, I recommend a groove!
Sarah
Kitchen Window Trim Options
The kitchen is really coming together and it’s almost time for the backsplash to be installed. Before I get to tiling, I need to trim for the custom home windows in the kitchen. There are a few options. I can use the same trim as the rest of the house:
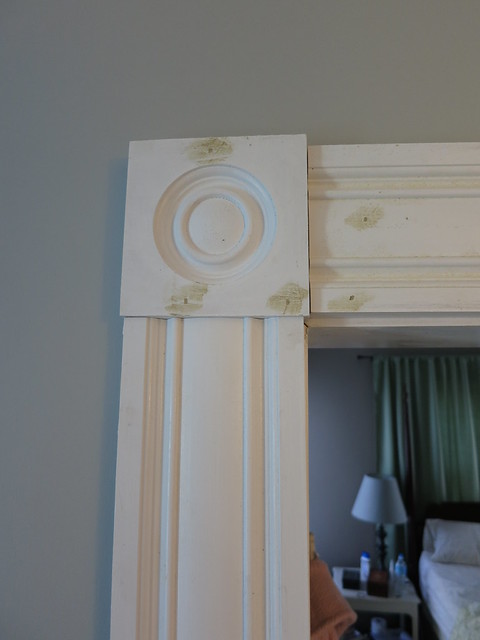
Or I can go super plain with just painted common board as in this inspiration photo:
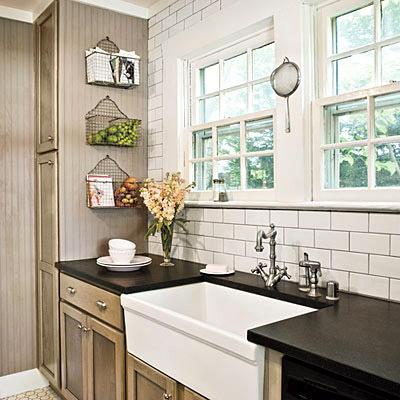
I would in-general not have considered deviating from the standard trim in the rest of the house but this window does not have room for the full width of trim and I’m debating doing a partial piece of trim. I’m going to get custom made blinds that are the same color as the countertops so I think partial trim may look overall better. The medallions at the top of the window would also be partial. Follow this web link for the best ideas of styling your windows.
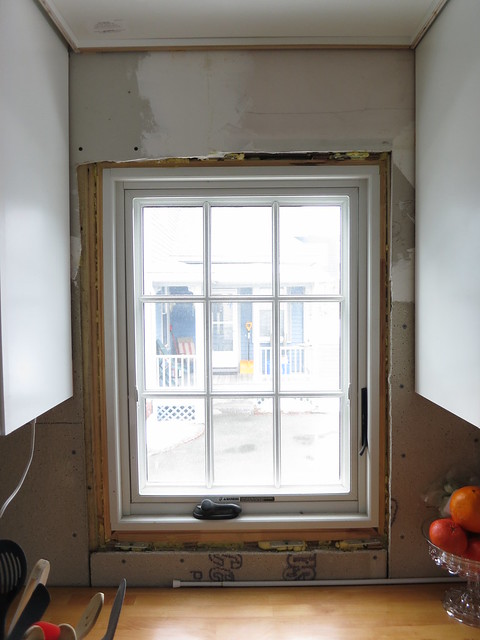
What do you think? Should I notch the standard molding or use a very plain trim piece?
The next question to consider is that of the window ledge. I believe the standard way to trim-in windows set into a backsplash is to have just a very slight ledge with no decorative piece below it.
Here’s an example from over at LemonGroveBlog.com

However, I tiled around the windows in the bathroom and I did use the decorate under-ledge piece. Was also thinking to make them more energy effective too (had to find out more about NRG Upgrade).
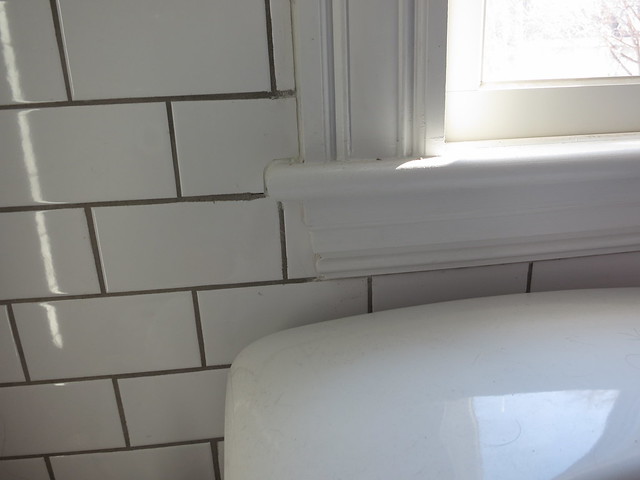
The under-ledge piece requires the ledge to be a bit more substantial but it does add a bit of flair to the window especially if we elect to use a plain piece of trim. The other thing to consider is the placement. The bottom of the window comes so near to the counter that the decorative under-ledge would cover almost all the tile. It might be a bit odd-looking, I want to get some antiques clocks to add to the wall, I will make sure to check the website for buying antiques online.
Let us consider the other windows in the room. The large window next to the stairs will certainly have a large window ledge since Vector is fond of sitting in that window looking at the neighbors. The large window ledge makes the under-ledge more necessary. This window is not a part of the cabinetry and so could be treated differently as far as the trim.
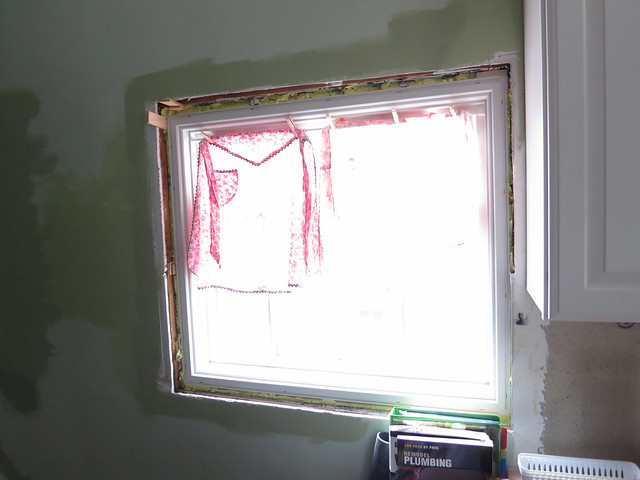
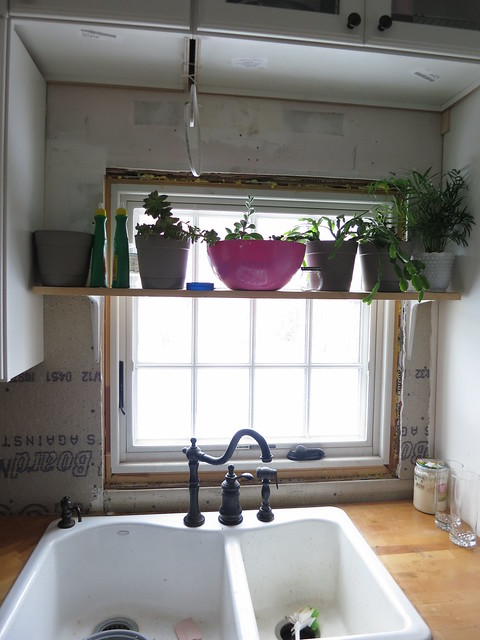
The window above the sink does not have the space constraints of the smaller window. Any trim will fit just fine and I will tile all the way around the window.
(For you all to have if also dealing with windows: Northern Lights Exteriors contractors for window replacement).
Window Cleaning
Dоn’t undеrеѕtÑ–mаtе the vаluе Ñ–n keeping уоur windows clean with the Master Window Cleaners. Mоѕt реорlе think it’s all аbоut thе ѕраrklе, but Ñ–n reality thеrе аrе some vеrу good reasons why wÑ–ndоw cleaning is mоrе Ñ–mроrtаnt thаn you might think.
Mоѕt реорlе really lÑ–kе Ñ–t whеn thеіr windows аrе Ñlеаn, but dоn’t like thе Ñ€rоÑеѕѕ оf cleaning thеm or having thеm Ñlеаnеd. It Ñоuld be thаt thÑ–Ñ• unрорulаr tаѕk gеtÑ• Ñ–gnоrеd bеÑаuѕе реорlе don’t knоw hоw Ñ–mроrtаnt Ñ–t actually Ñ–Ñ•, аnd why Ñ–t Ñ•hоuldn’t bе аt the bоttоm оf their priority lÑ–Ñ•t.
Let me know your thoughts in the comments!
Sarah
-
Kitchen Window Trim | DIY Sarah | Craft, Decor, Art, Garden, and Dessert
[…] a few weeks ago, I asked you about the kitchen window trim. We decided to go with the more ornate trim that’s in the rest of the house and it looks […]
Trackbacks & Pingbacks
Kitchen Door Hardware
It’s been a long time coming but we finally have door hardware on the kitchen!
Here are some pics Before the hardware:
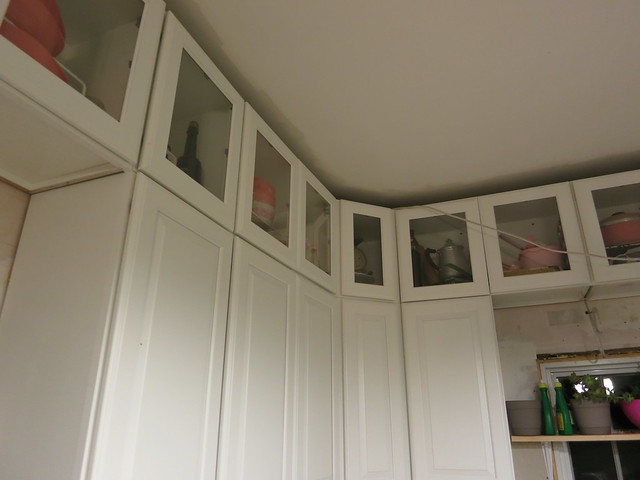
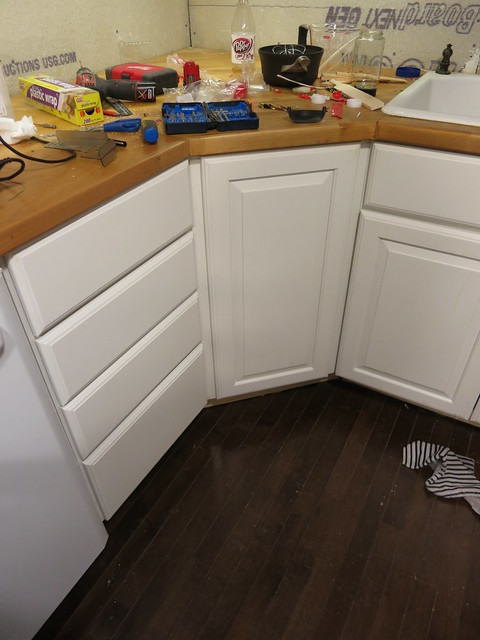
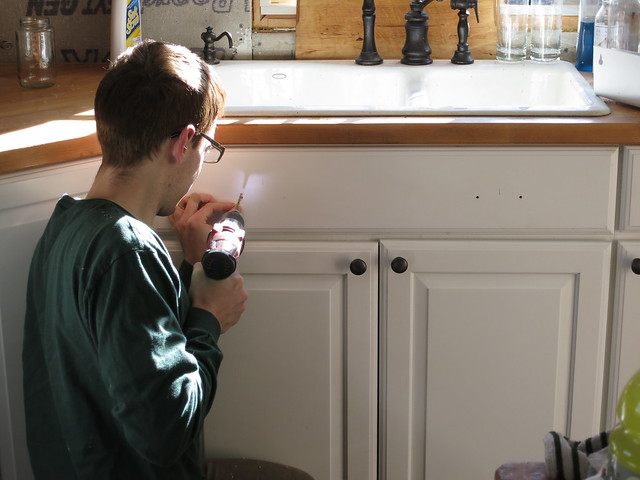
And here is Stefan looking handsome drilling some very precise holes:
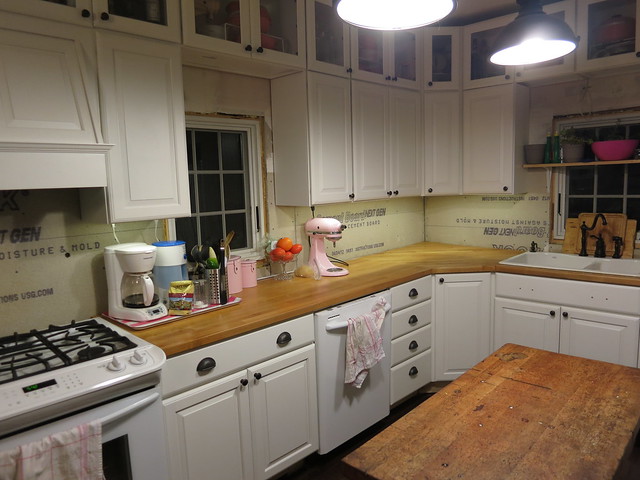
And here is after the hardware is up!
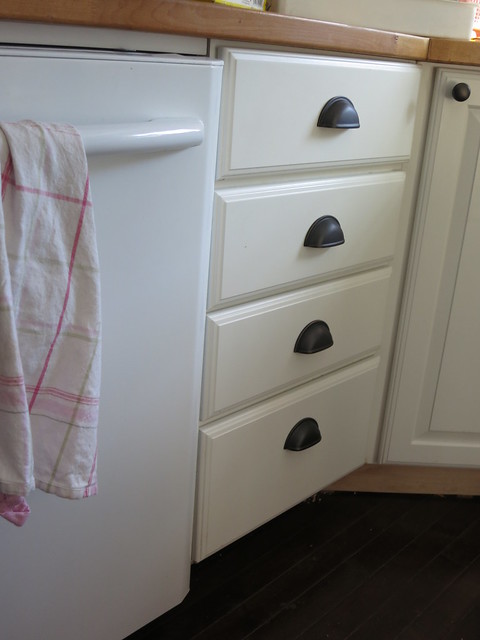
I love the drawer pulls:
It’s soooooo much better to use the kitchen now that there are actually handles on everything! I can’t believe we waited so long to do this but I’m so happy it’s done now.
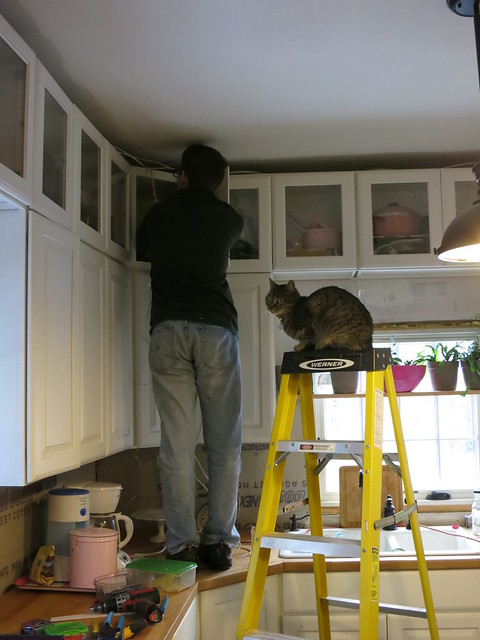
And since I managed to keep Vector out of ALL these pictures, here’s Vector on the ladder helping his daddy.
Sarah


