
HDMI wiring selections for the Den
For a variety of reasons, we have a long distance between our receiver and the TV in our super awesome, overkill den. The wiring distance is about 40ft give or take which is just below the 35ft limit for HDMI. Here are the options we discussed and the final list of data lines we ran between the TV and the receiver.
Normally HDMI only runs about 35 ft max but there are ways to extend the range. One option is to run HDMI over a pair of ethernet (cat-6) wires. Click the pictures for links to purchase from Monoprice.com, the source for inexpensive cables. Added Bonus: they are located in Rancho Cucamonga, CA where I lived during my high school years.
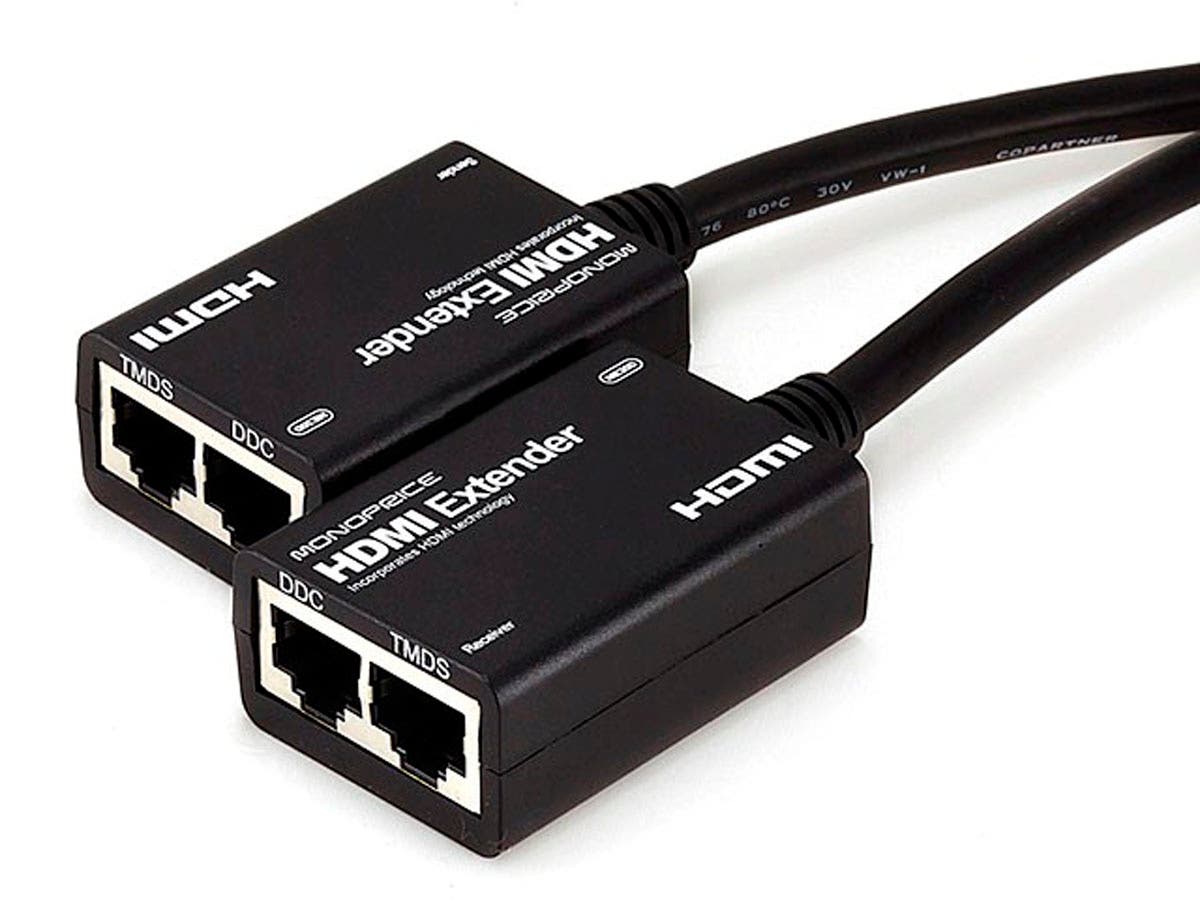
This option requires that the cat-6 cables are exactly the same length. The reviews say the system can be finicky but this is a great option for long distances – 75-100 ft. There are also powered HDMI over Cat-6 options that can go as far as several hundred feet. We are at 40 feet so this was a little over-kill for us. We did go ahead and run 3 equal-length Cat-6 wires so that this option is available to us in the future.
The next option we looked into was the Redmere HDMI cable.
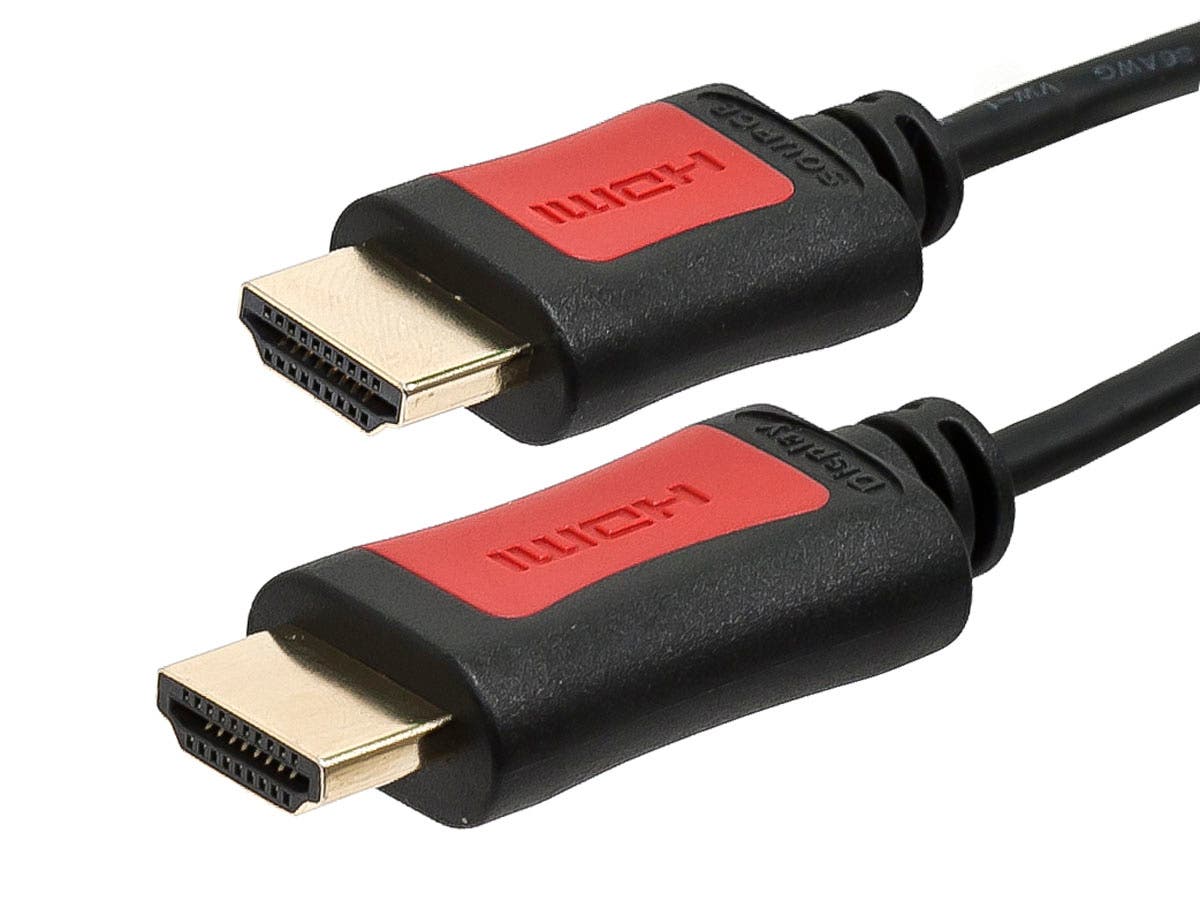
This option is basically a passive (no power cord) switched amplifier cord. There is some logic in the connectors that re-sharpens the 1s and 0s of the data as it goes through. This allows the hdmi signal to go just a bit further than standard HDMI cables. We went ahead and purchased and ran this cable.
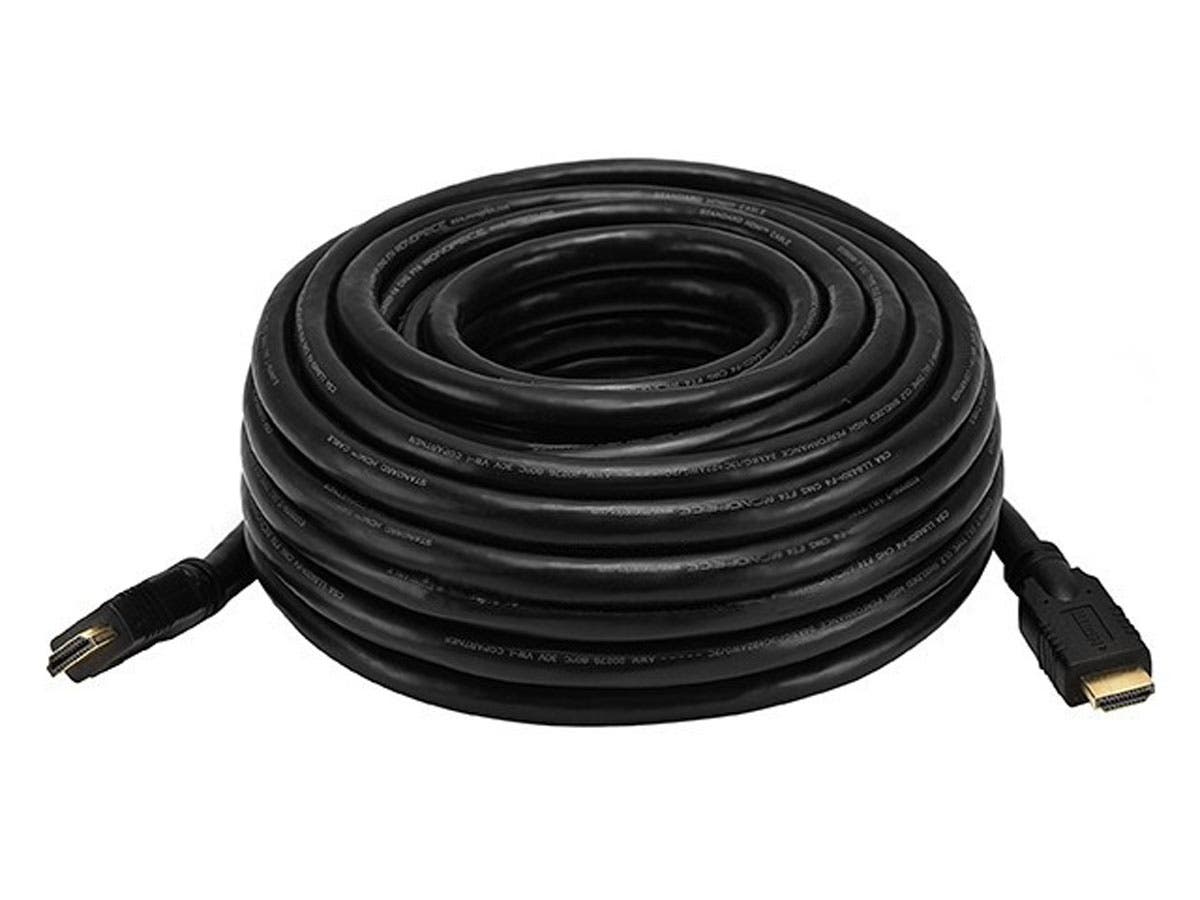
The final and simplest option is this 24gauge (big wire), heavily shielded cable. This is a monster HDMI cable. It’s probably 3/4 inch in diameter and super duper heavy. Affixing it to the ceiling was an arm workout!
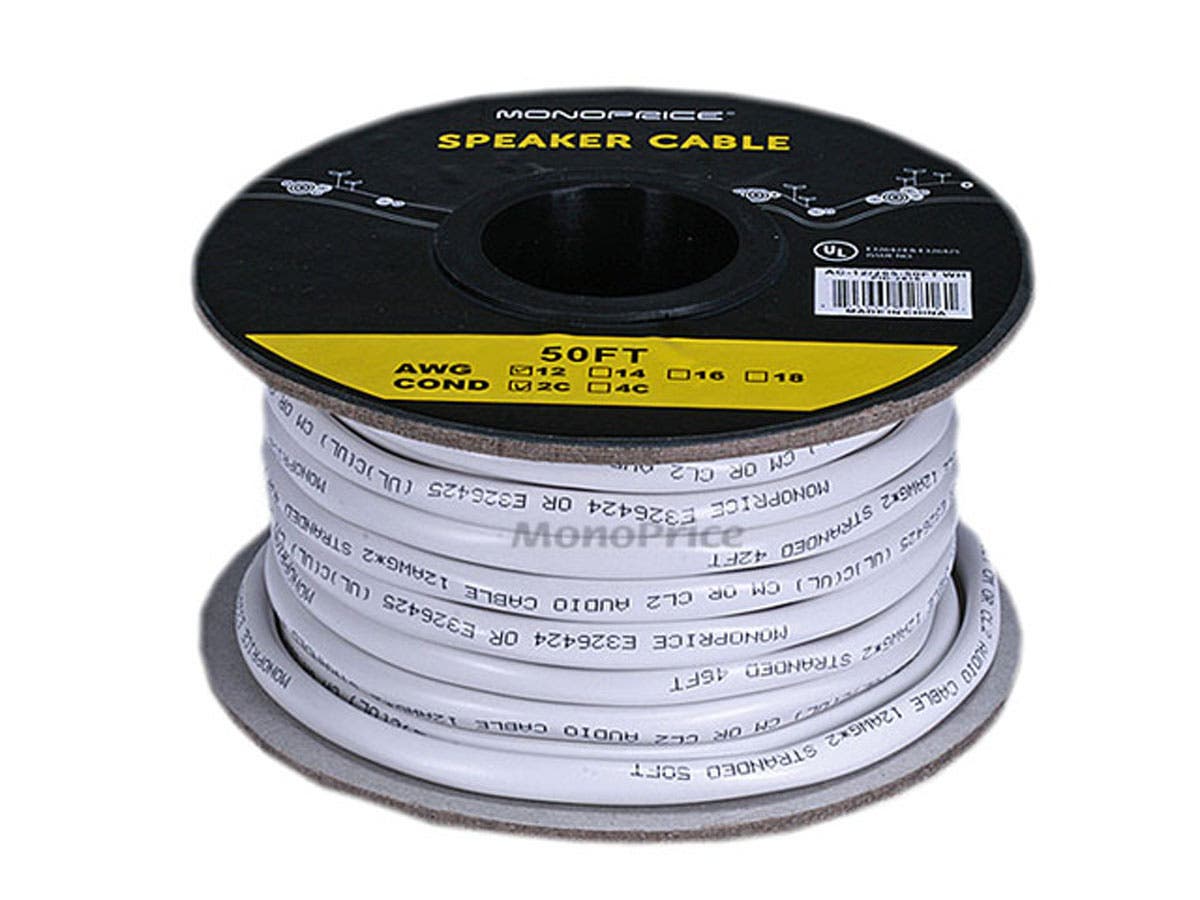
In addition to the 3 cat-6 cables, the redmere HDMI and the jumbo HDMI, we also ran speaker wire for the center channel. Since we are running all this data in one place, we figured we might as well spring for shielded speaker wire.
To round out the selection, we went ahead and ran regular coax cable-tv cable. Most receivers don’t have a tv tuner built-in so you can just use the TVs tuner and send the audio back to the receiver so you can use the big speakers. To carry the audio, we also ran a 40ft optical toslink audio cord.
So the final list:
- Coax cable-tv
- Shielded audio
- 3 cat-6 cables of equal length
- redmere HDMI from monoprice
- jumbo HDMI from monoprice
- toslink optical audio
That’s 8 cables from the reciever to the TV. Overkill, yes, but it is way easier to run cables now rather than later and we got all this cabling for less than $100. You can still spend that much on a single long HDMI cable at Best Buy!
If you’re wondering how we’re going to get all 40 ft of cable from one side of the room to the other, swing back later. I’ll also update this post with part 2: running all that HDMI.
Sarah
The Roku
This week is all about the Den A/V system here on DIYSarah.com. To start out, I want to show you a product I love that just works and does 90% of the heavy lifting in our A/V system.
We have 2 of these and they are AWESOME! We started with an Apple TV but after switching from Netflix to Amazon Prime for our streaming source, we needed a data streaming device that would work with Amazon Prime.
The roku is $100 and basically turns your TV into a smart-tv. You connect either to ethernet or to your wifi network and the roku handles all the content streaming. We upgraded from the Roku 2 to the Roku 3 because the 2 didn’t have youtube and we watch a couple youtube channels regularly, namely Crash Course which airs 10-15 min history and science videos weekly. They are VERY well done, funny, cute, and interesting. We also like CGP Gray whose videos are well-researched factoid type videos that focus on european geography and geopolitics. Zefrank1 makes funny animal videos and just has a great brand of humor. My absolute favorite video by him and maybe of all time is this one.
I mentioned the Roku does Amazon Prime streaming but don’t worry, it also does Netflix and a host of other streaming applications including Crackle and Pandora. It’s great to be able to turn on the TV and stream pandora without waiting for a computer to load or setting up any speakers loud enough to hear. The TV has all of that and the Roku makes it possible.
My most favorite feature of the roku is the remote. It isn’t some outdated IR remote, it is bluetooth so it works no matter what direction you are pointing it. It even works under the covers if it is too cold to un-snuggle to change the channel. This is an actual problem I deal with so bluetooth – yes. Let me just take a moment to rant about IR remotes. Um, hello…it’s 2014…IR remotes have been around longer than I have. IR remotes have been around longer than TI-84 graphing calculators and lets talk about outdated hardware! If you need to send data from object A to object B there are about a million ways to do it that don’t require you to line up a narrow beam of light with a narrow sensor angle. Why, WHY!! do 99% of the DVD players I can buy on amazon right now use an IR remote. Ok, rant over but really, why?
So the point of all this is that a Roku is quite a bit cheaper than upgrading to a smart-tv, it streams amazon prime which the appleTV does not, and it has a bluetooth remote (the apple TV does as well). For $100 you can have it in 2 days and be streaming in no time. Awesome!
Sarah
Seed Starting Part 1: Onions, Peppers, and Parsley
I got my seed starting setup together this week and it’s looking good.
I’m trying a heat-mat for the first time but I didn’t want to spring for a $30 one on Amazon so I’m using this $.50 one instead. Christmas light seed starting mat!
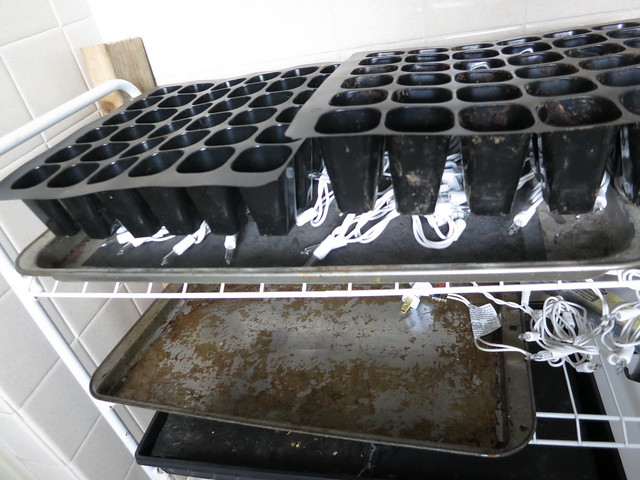
After doing a bit of research it sounds like they don’t get too hot, they are mostly waterproof, and they are cheap. Sure the heat isn’t super even but these are seeds not high precision biology experiments.
I filled the trays from my Burpee Self Watering Seed Starting Kit
that I bought last year with some seed starting mix. I used Miracle-Gro Seed Starting Potting Mix

I started 12 onions, 12 peppers, 12 coneflowers, and one pot of parsley. I made little row labels from something from the recycling bin and I’m ready to see them sprout. I know these early ones take a long time to get going but I’m hoping by starting them a bit earlier than I started my peppers last year, I’ll manage to get some good sized plants.
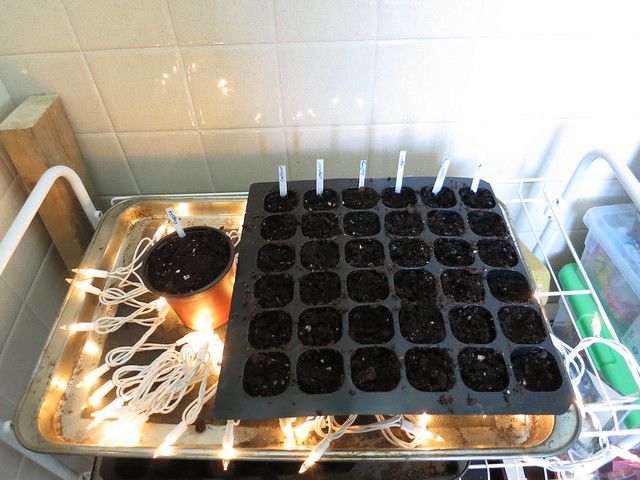
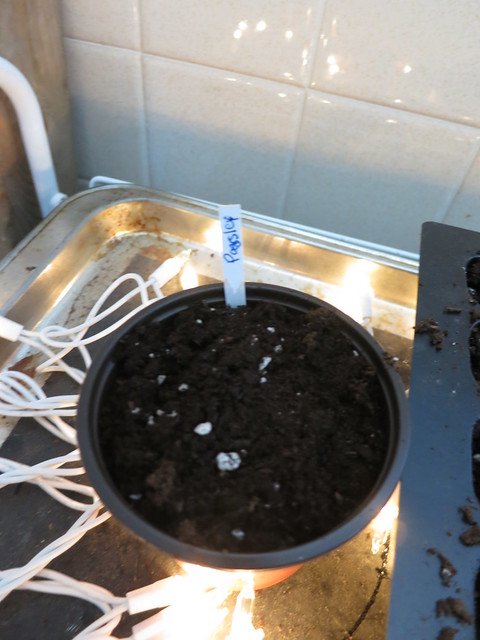
No spouts yet but it’s only been a couple days. I have way more started that I will ever have room to plant but people love seedlings and I love giving my little babies away. I just want enough margin for low germination rates etc.
Sarah
P.S. Let me know if you are local and have a garden in need of veggie or herb seedlings. I love to share!
Backsplash Part 1
I have officially finished phase one of operation backsplash. We went with white subway tile in a herringbone pattern and I LOVE it!

I started in the middle of the stove area and worked out from there.

I did all the easy parts before working on all the complicated cuts.

It starts really coming together. And once I’ve cleaned off all the tool-mess I made, it really looks wonderful.


Finishing up the grout work should only take another day or so. From there we will be able to clean up everything with grout and put up the final piece of window trim. It’s so exciting to see things coming together.
Sarah
-
You’re kitchen is beautiful Sarah!!
-
Gah *your. PS love that you have a pink KitchenAid haha 🙂
-
thanks! Wedding gift. How could I resist?
-
Kitchen Backsplash Part 2 | DIY Sarah | Craft, Decor, Art, Garden, and Dessert
[…] while ago, I posted Backsplash part 1. Today, I’m going to show you part 2: […]


Stefan Wolpert
3/12/2014 | 2:29 pm Permalink
Also, you can spend $1,100 on a cable from BestBuy: http://www.bestbuy.com/site/audioquest-diamond-3-3-high-speed-hdmi-cable-dark-gray-black/2383276.p?id=1218324437192
Trackbacks & Pingbacks
[…] To see what all we’re running, go ahead and check out part one of this post. […]