
Patching the Den Floor
I’m afraid I’ve been a bit negligent about updating the blog. So much has happened and it all looks so good! Lets start where we left off. We were in the process of patching floors for quite a while. The biggest patch was in the Den. We got one of the best mops that clean your hardwood floor to keep our new floors looking new.
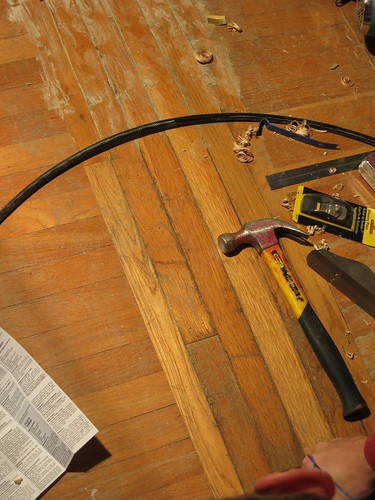
First thing we did was cut the hole nice and even. We wanted it to be just less than 6 boards wide. We also cut it such that the subfloor was exposed about an inch on each side so we had something solid to nail the patch into. There were 3 layers of flooring in the room: subfloor, a soft-wood floor, and an oak floor.
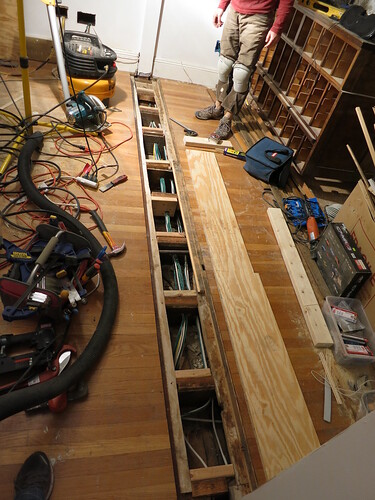
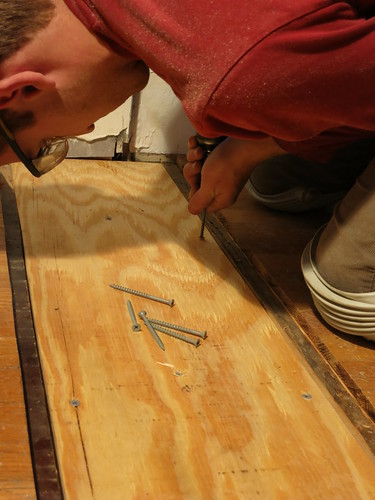
After reading tips from perthflooringsolutions.com.au, we decided to use a circular saw instead of a table saw. After getting everything cut with this excellent Circular Saw we spread construction adhesives along all the beams with the mdf boards cut to size, added “shims” to the beams to bring them up to the same level as the subfloor, and screwed the plywood patch into place.
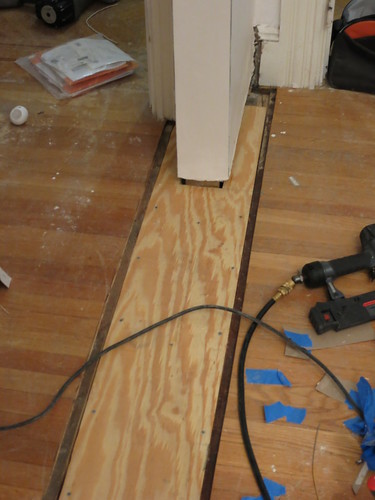
At the ends of the plywood, we cut notches in the floor to go around the remaining bits of the wall. This room was once 2 smaller bedrooms and the wall was load-bearing. We took it out and were left with a large hole in the floor and two small juts into the room, we have great projects for this space but we think we will need an extra hand, the https://valleydrc.com company will be needed for this project.
Making the patch 6 pieces of flooring wide meant we could really finish this area and make it look nice.
After the subfloor was down, it was time to install the flooring. This patch was large enough that it went down just like a normal hardwood floor. We cut the groove off the first row and then went to town.
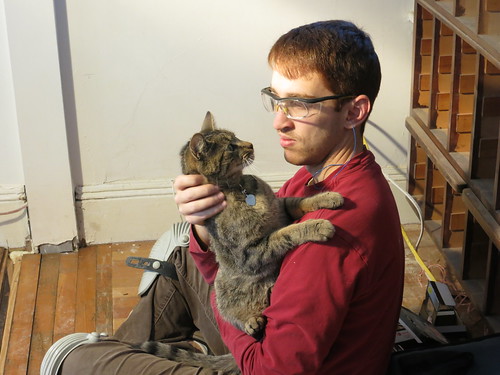
Plenty of Vector cuddles along the way. Vector was very very sick about a month ago and we’re still recuperating even if Vector is 100% recovered.
On the last row, we roughed it each piece by ripping it to length on the table saw and then hand planed it to fit. It was slow and tedious but the final result is beautiful.
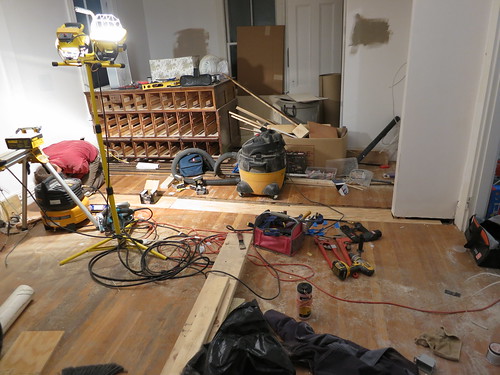
After I painted the trim a nice clean coat of white, and we cleaned all the junk out of the room, we were ready for the USA city floors to be finally refinished. I also cut in with a beautiful denim blue called Skipper by Behr. I haven’t painted the rest of the room but the color is awesome so far
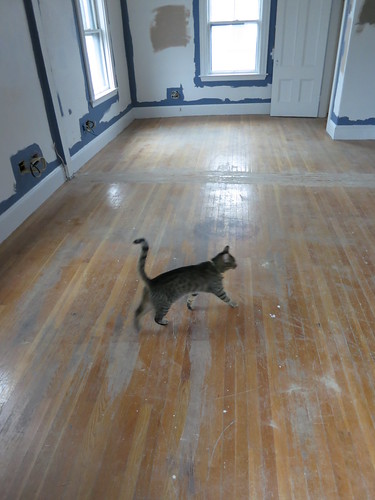
I’m going to leave you in suspense for the great hardwood refinishing reveal. It makes for better drama that way 🙂
Sarah
Wiring the Den
We’ve made a lot of progress getting the den wired up. For the most part, the power is where it needs to go and the data is where it needs to go. We had a little too much fun designing the wiring plan and we have all sorts of handy upgrades in place.
First off, we are planning on using this awesome sound system wiring plan.
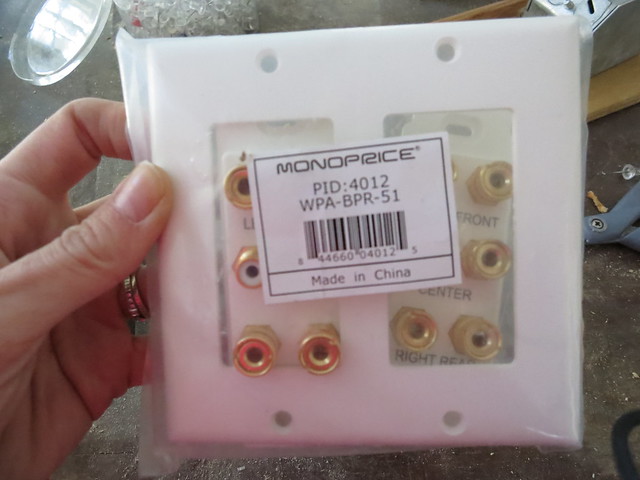
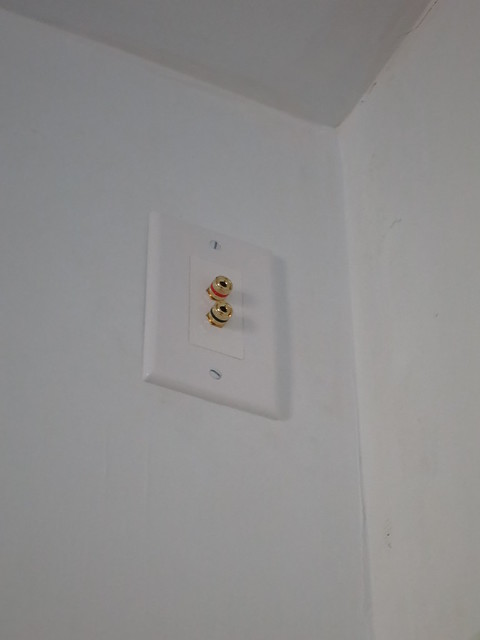
We’ve even got one already wired up but we’re waiting to install most of the wall plates etc until I’ve painted but we had to see what the right rear speaker plug would look like. So polished!
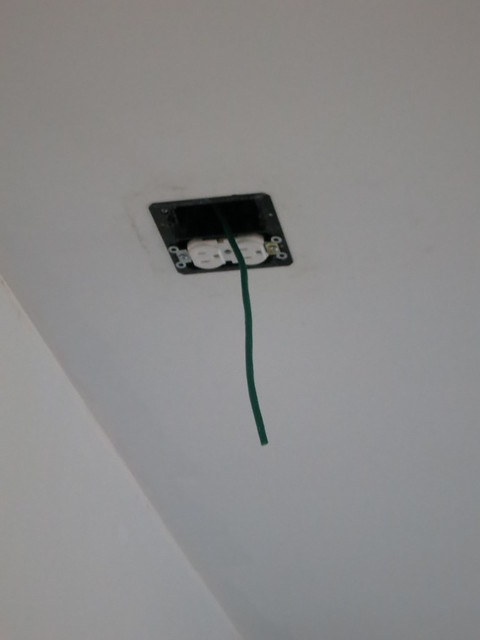
And, while we were pulling wires and had the appropriate tools and mess already set up, we made a last minute decision to install power and data for a projector. It is the appropriate distance from a stud for mounting the projector and we have ethernet run from the “TV Center” area up to the ceiling. We are planning on using HDMI over ethernet since the run is longer that what HDMI cables are capable of handling.
They even make face-plates that include the necessary hardware for HDMI over CAT-6 (ethernet cable).

Or you can just use these handy converters.

Click on the image to visit the Monoprice website where they are sold.
So much fun wiring! I hope to have some of it up and running by Christmas but we’ll see. I’ll be happy with functional lights and switches!
Sarah
New Plan: Blue Walls in Den
We were thinking brown, looking at brown, planning on brown but browns are hard. If they are too light, they are tan and if they are too dark they are kind of poopy for lack of a better word.
Then we were thinking Dark Gray. Dark and moody and neutral.
Dark Gray is sophisticated and moody while still being a neutral. Then I saw a picture in Home Decorator’s Collection (page 43 of their Early Summer 2013 catalog) and I knew, it was Blue.

I picked up a sample when my mother was in town and it is perfect! It’s a navy dusty blue.
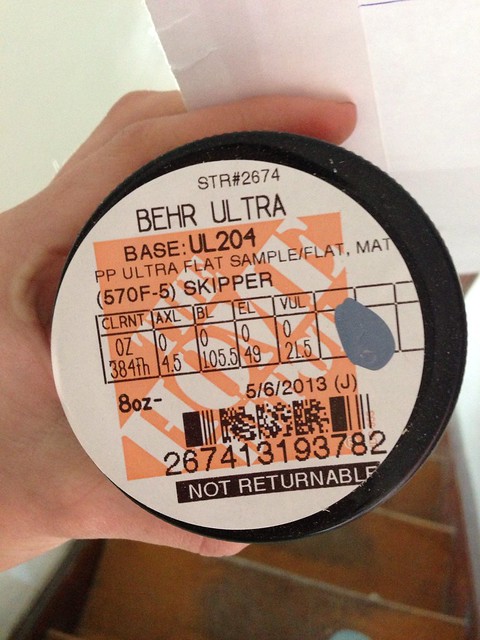
I picked up the paint last weekend and I can’t wait to get it up on the walls. I’ll be sure to show you pics!
The next decisions for this room are lighting and built-ins.
I’m thinking of maybe getting unfinished oak kitchen cabinets from Home Depot and then getting some of those unfinished wood bookcases from an unfinished wood furniture place nearby. Then we can either stain everything to match or paint everything the blue from the walls or the blue from the walls in high gloss.
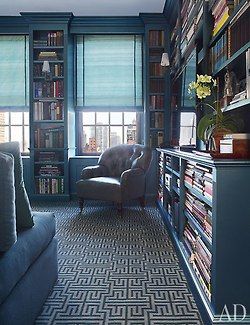
This room by Vincente Wolf in Architectural Digest has the blue built-ins that meld seamlessly with the blue walls. B-E-A-U-Tiful but we do like our wood tones.
We could go painted but white like Markam Robert’s library below.
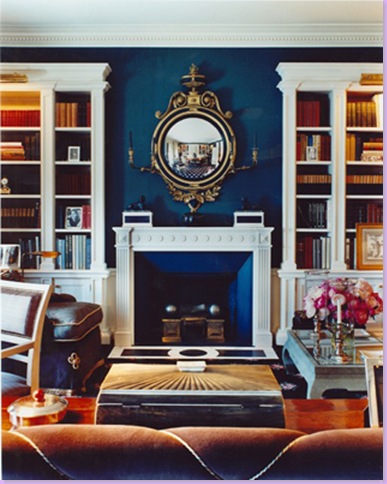
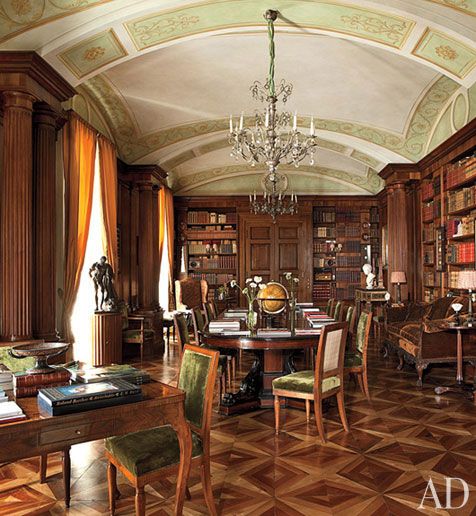
But I just love the look of wood bookcases…

and wood libraries like this one from Studio Peregalli
Painting that room is going to be scary but I think it’s going to look AWESOME!
Sarah
Trackbacks & Pingbacks
[…] We did a bunch of patching the floors including a large patch in the den. […]