Afternoon at the Zoo and KOALAS!
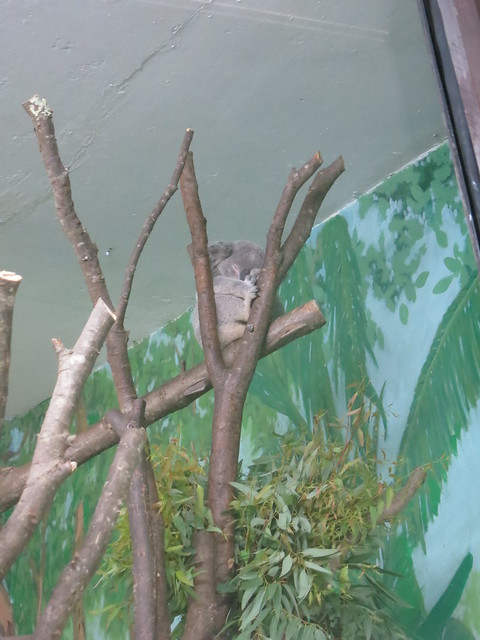
Last Friday Stefan took off the afternoon and we went to the Stoneham Zoo. They have koalas for the summer and I LOVE koalas so it had been on my list all summer.
It was a beautiful day though the zoo was a bit of a disappointment. The koalas were awesome but their cages were kind of dirty and there was this horrible carpet in the viewing area that smelled terrible. Still, KOALAS!
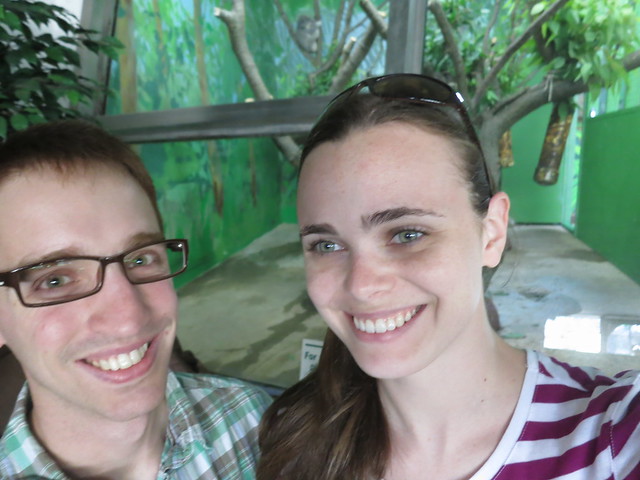
and here we are with a koala in the background! Goofy picture but we’re 25 and went to the zoo…goofy is the name of the game.
In addition to the Koalas: Totally awesome Snow Leaopard:

Me and my new friend:

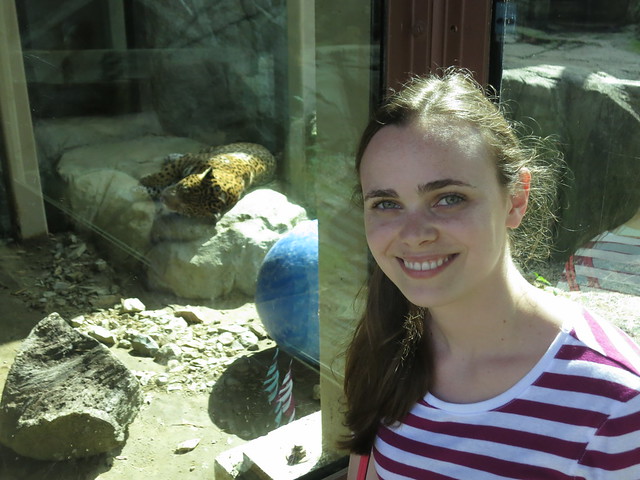
And me and a sleeping Jaguar:
All-in-all, great to do once, not sure I’d go back or really recommend it but with the Koalas, I’m glad we went.

It was a great fun outing to kick off the weekend.
Sarah
A visit to Texas
Last weekend we took a quick trip down to Texas to visit my family. We flew into Austin and then drove to Huntsville.
We ate great food. We visited with my parents and saw their house. It was a great trip.
Here’s Stefan and I super early in the morning on Friday waiting for the bus from economy parking.

One of the main attractions in Huntsville, TX is this giant statue of Sam Houston… giant and strange…

Our trip meant we didn’t get any work done on the house. This weekend we are heading to Galway Lake and Saratoga Springs with some friends so it will be another no-work-weekend!
Sarah
-
You deserve another no work weekend. We enjoyed the visit.
Mom
Next Hand-work Project
As soon as my crochet blanket is done (I’ve only got 12 rows left!) I’m going to start working on some embroidery. Here are some projects and patterns I’ve had my eye on.
I’d love to make some guest pillowcases.

In addition, it would be awesome to get a set of dishtowels done. These look pretty simple with the cross stich


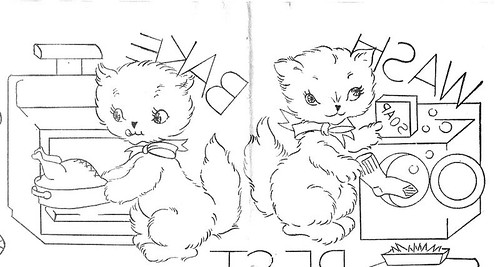
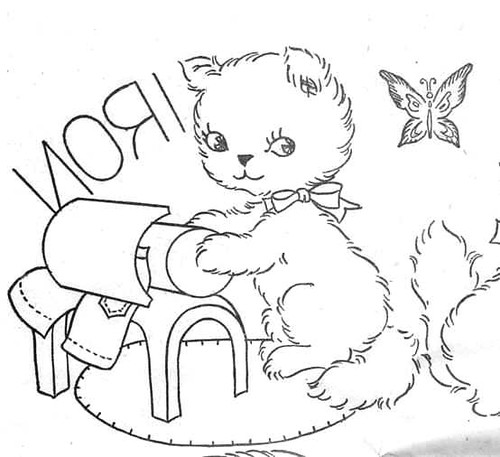
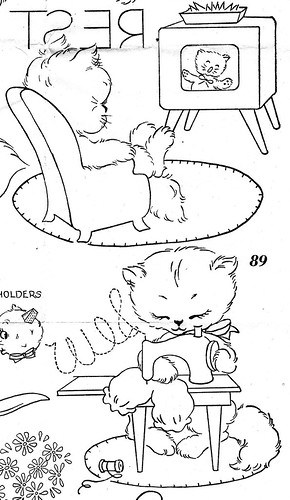
I think these would be great framed in the laundry room. I’d do the Wash, Iron, and Sew ones.
Mr and Mrs pillowcases would be great. They would make great wedding gifts as well. I’d like to play with applique as well.


This is another pretty pillowcase design and a sweet one for a girls room.
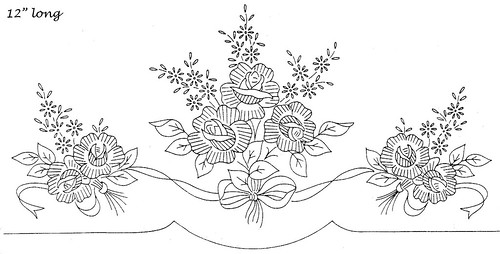

I really think these word play designs would make a cute quilt.


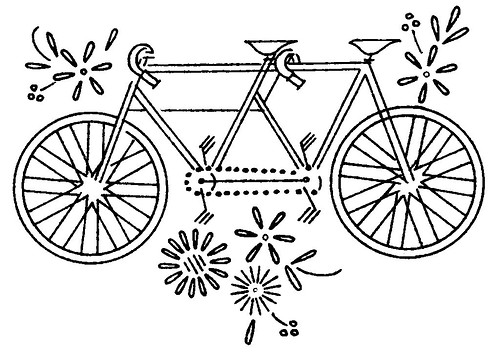
Here’s one that would make an excellent gift. So trendy right now with the Tandem Bike Embroidery
I sure hope some of y’all will take a stab at these patterns with me. Make sure you let me know how it goes!
Sarah
Patching Drywall – The Wolpert Method
We’ve done a good bit of patching lately. Here’s the tried and true method.
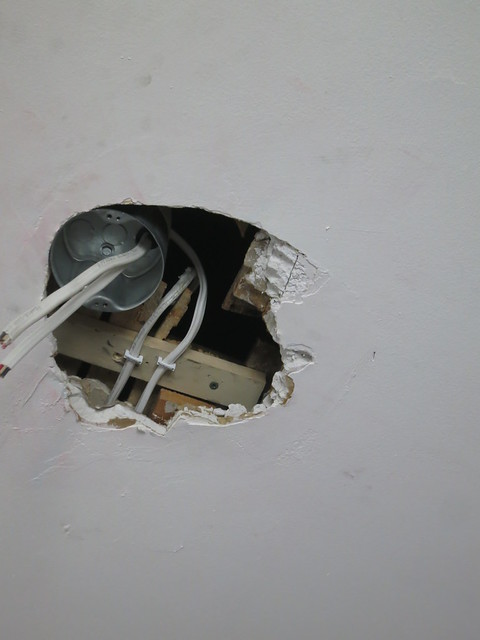
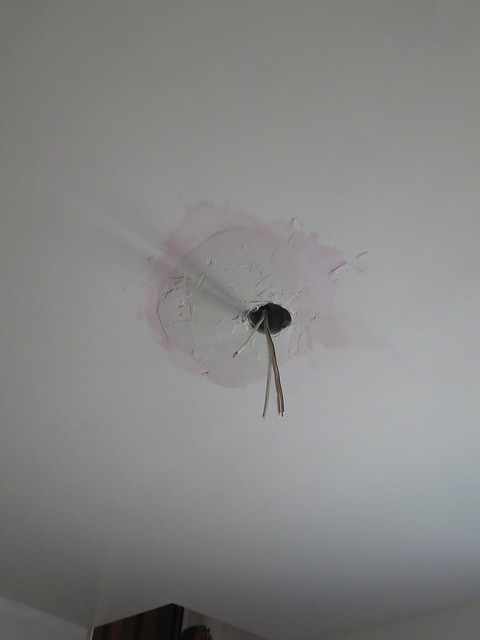
Step 1: make your ugly hole:
Step 2: make a template of the hole:
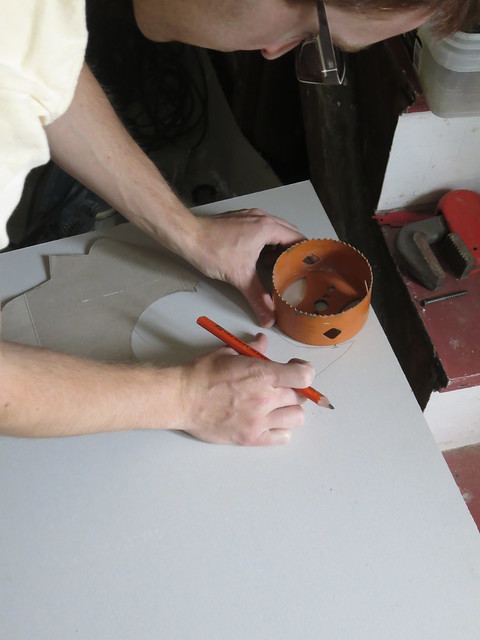
use any circles or other shapes you need to make it perfect
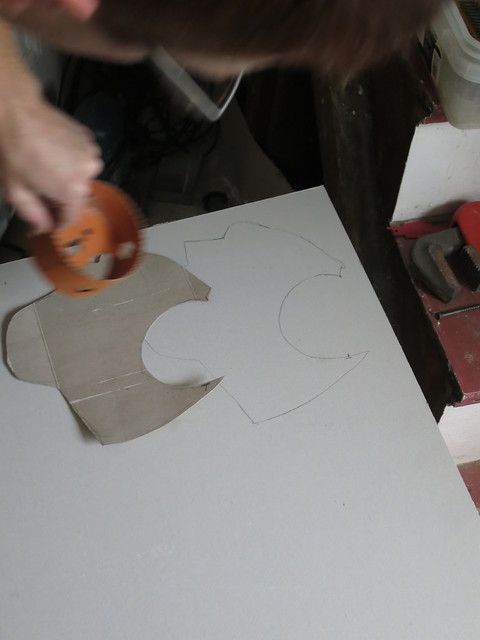
Step 3: Cut out template from drywall. We used a Roto-zip but a drywall saw works too.
Step 4: test-fit and adjust if necessary.
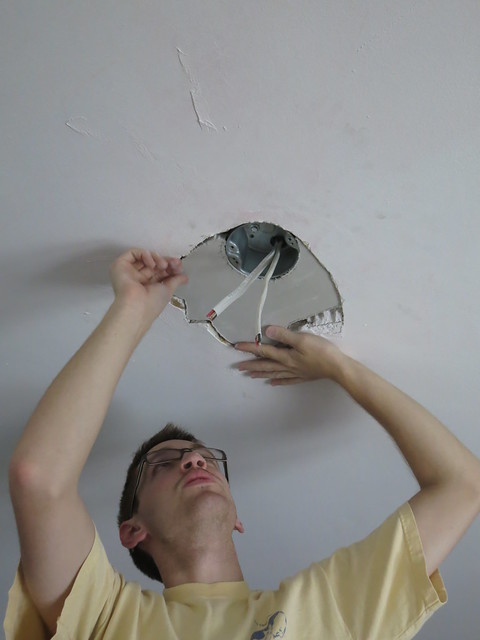
Step 5: tape using mesh fiberglass tape:

(different hole but you get the picture.)
Step 6: Mud:
Steps 7-10: sand, mud, repeat
Step 11: Prime
Step 12: Paint
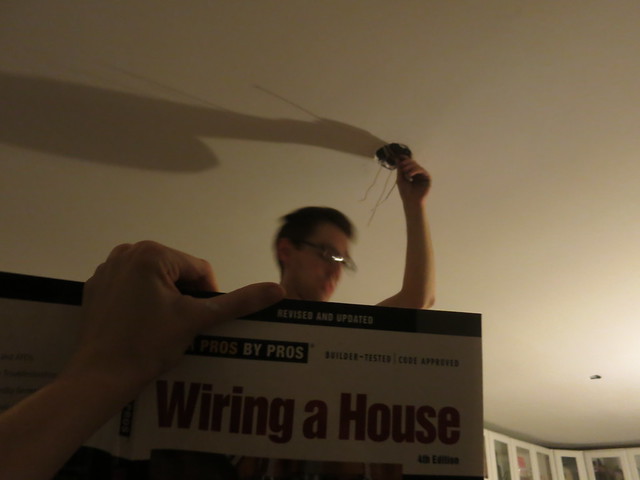
(Stefan’s blurry but look how good that ceiling looks. Also, this is THE book. I was holding it up so Stefan could see the diagram for how to wire a 4-way switch.)
Step 13 (Optional): cover your mediocre patch job with a ceiling medallion
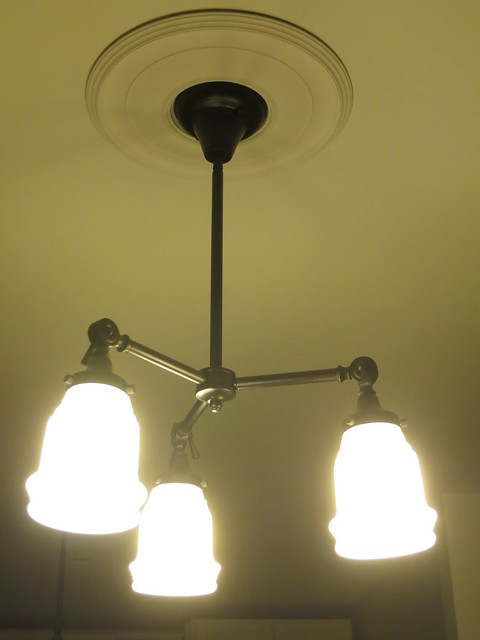
And Voila… no more holes in the ceiling.
Oh, and I forgot to mention steps 14 and 15… vacuum, mop, repeat to get all that sanding dust off the floor… lots of dust…
The real key here is the sand, mud, repeat step. If you don’t worry too much about getting it perfect and plan on several rounds of sand-mud-repeat, you’ll end up with a nice smooth finish. It’s messy but once you’ve sanded once, another round isn’t going to add much in the way of clean-up.
We’d love to hear any of your patching tips in the comments!
Sarah (and Stefan, mudder extraordinaire!)
-
We haven’t used it yet, but Easy Sand plaster would speed up the mud and sand cycle. Premixed lightweight plaster takes 12+ hours to dry, whereas Easy Sand comes in cure times as short as 5 minutes up to 2-3 hours. The number after the Easy Sand product indicates the nominal amount of cure time in minutes. We opted for a bag of Easy Sand 45 to give us plenty of open time. The Easy Sand spec sheet states a cure time of 30-80 minutes for Easy Sand 45, so the open time (before it starts getting thick) is likely only 10-20 minutes. The pros we had do our bigger plastering job used Easy Sand 20, and I bet this would only allow for a couple trowel passes before not being able to touch it anymore.
sarahmzim
7/18/2013 | 2:44 pm Permalink
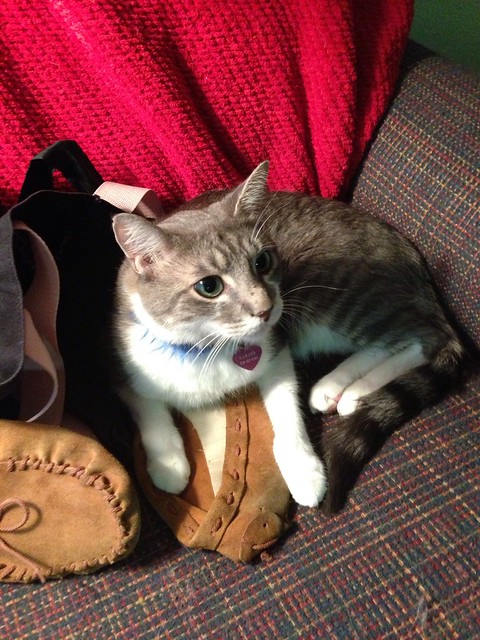
Oh, and I forgot to mention all the animals. This is my sister’s super cute cat.