
New Den Windows
Two weekends ago was Patriots Day weekend AKA Boston Marathon weekend. As you might imagine, it was a BIG deal this year. Even bigger than normal. Stefan and I are working for a lab affiliated with MIT so we get Patriots Day off, yay 3 day weekend!
We spent the weekend playing host to a friend of a friend who was in Boston for a job interview. Nico was a great guest and I LOVE playing Bed and Breakfast host. We sent him out into the great wilds of downtown Boston for the day and got to work on the windows replacement with the professionals at window replacement nashville tn. Typically, new windows are installed from the outside. Our house is REALLY tall…and our windows are REALLY big so we developed an alternate method. You should definitely consider getting double glazed windows for great interior design outcomes.
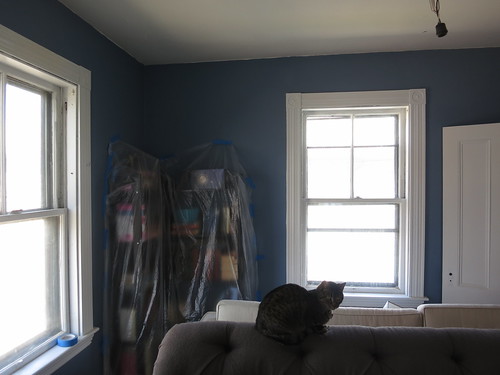
The first thing we do in a window installation, is pull off the trim. We score the edges with a box cutter to cut the years of paint that are holding the trim onto the wall. Then we pry them off with a prybar and hammer. It’s loud, dusty, and dangerous, so wear your PPE: ear plugs, mask, and safety glasses. After the trim is off, we remove the plaster from behind the trim. Gross. Plaster is a big mess but it has to be done. We have developed a method of scoring it with a dull knife and then prying it off with a prybar and a broken screwdriver.
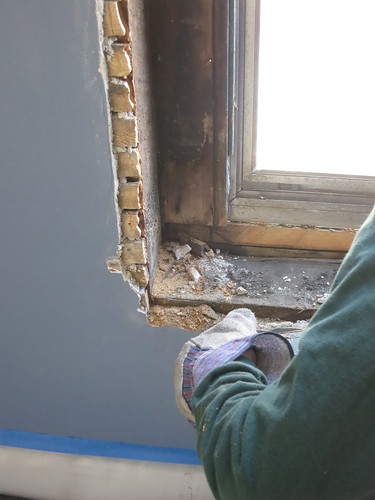
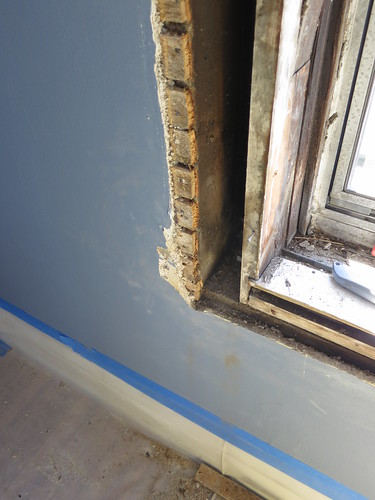

After much sawing, the frame is out and you are ready to put the new one in. We go ahead and take the storms off at this point. We just unscrew them and pull them in the big window opening. Once the storms are off, Vector has to be locked up.

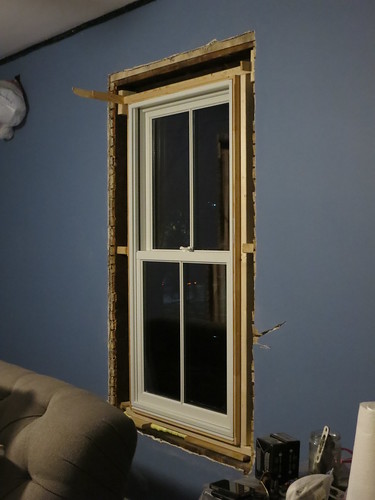
We build the new, smaller frame on the floor around the new window repair . We screw in the flange to the new frame and lift the whole unit, window and frame, into the extra large window opening. We know how to get the best deal, If installed by professionals double glazing can be installed.
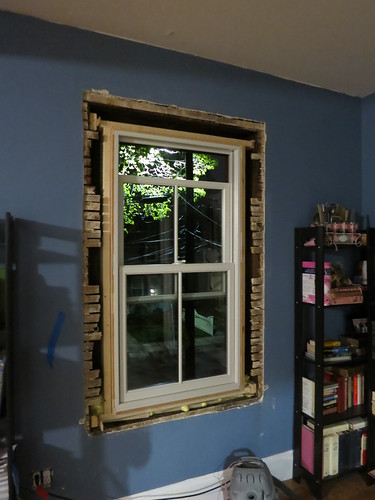
And then we shim. Shim-shim-sher-ee, Shim-Shim-sher-Roo!
Then it’s time to disassemble the window, specialists on replacement windows kansas city helped us here.They Remove the weights and the panes trying not to break any glass. Glass is a pain to clean up. Once you have the easy to remove pieces out, it’s time to remove the frame. This involved the Saw-Zall.
And now, we are enjoying new windows… and waiting for plaster work to be done. It’s never ending!
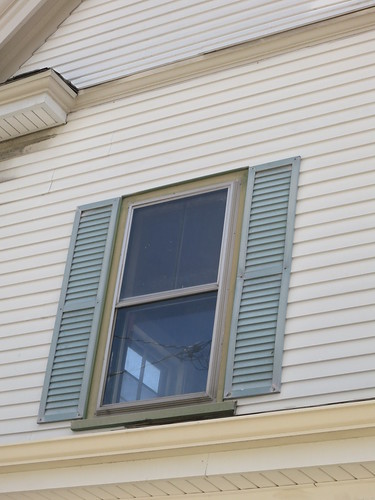
Here’s a Before from the Outside:
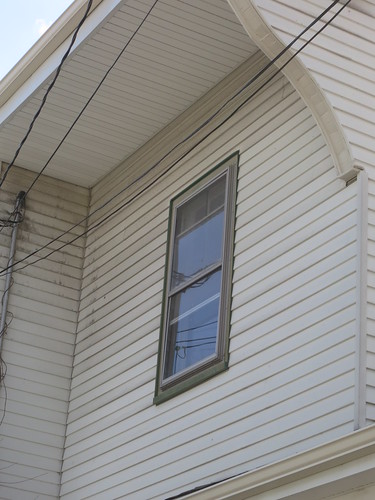
And an After from the Outside:

So much better but the real benefit is in the lowered draftiness factor , is like AlumincoGlazing done it for us. Those old weighted windows are drafty and most of the windows in the house are spongy and need a LOT of work.
Sarah
Dining Room Curtain Tie-Backs
I couple weeks ago, I posted about the new curtains. I recently picked up some cream satin ribbon and used that to tie back the curtains.
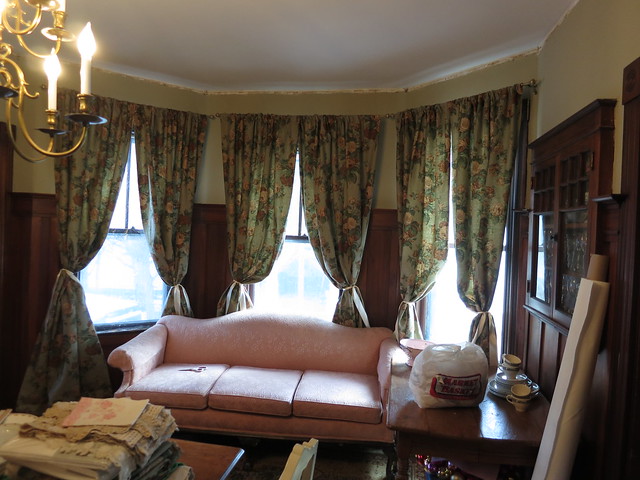
I have them all tied a little differently while I try to figure out exactly how they should poof and fall.
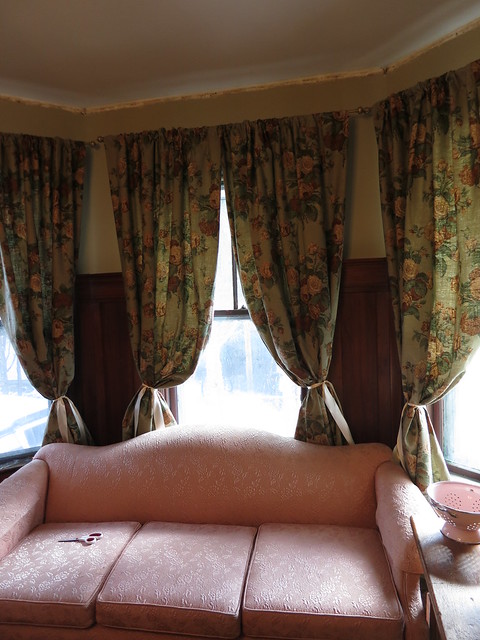
It’s really hard to get them even so I’ve been tweaking them for a while.
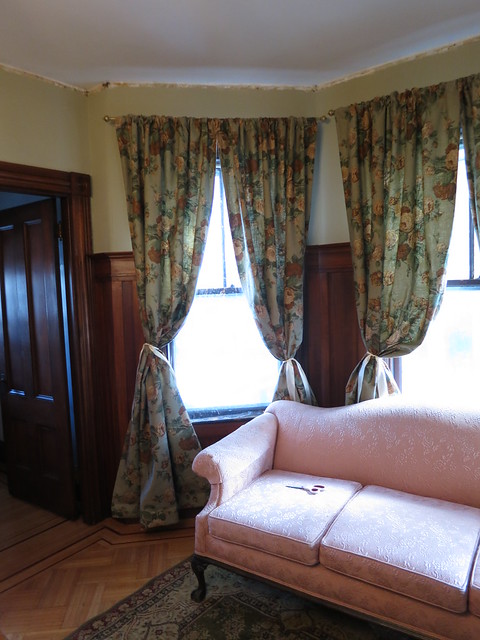
I’m planning on adding sheers to the windows for a little better privacy but I really like the added light from tying back the curtains. I’ve just got to get the ribbons even and it will be looking good. I really like how it turned out with the ribbon. It’s just a little more modern and simple than tassels or anything of that nature.
Curtains give presence to a room, helping set the mood from casual and easy to bold and dramatic. We asked for some guidance from an interior designer about the color of curtains and paintings. At Crate and Barrel, we offer a carefully edited selection of drapes and curtain rods that fit a range of styles to work in any room. All of our curtains are made with cotton, linen or silk ”” materials that offer a beautiful hang that stays smooth and full over time. Choose from subtle neutrals and bold patterns designed exclusively for us by talented artists. And basic is never ordinary. Even our solid window curtains have textural contrast and subtle coloration that bring in a little something special.
What do you think? Fan of the ribbons or do you think I should go with something more traditional? I also want to add some furniture from the TV Bed Store.
Sarah
Brick Garden Path: Part 2
Check out Part 1 here.
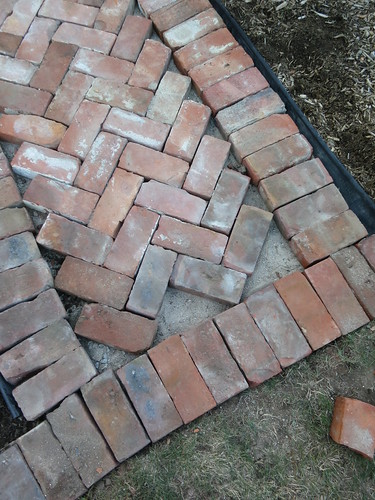
After dumping 250 lb of sand, I started laying out the bricks, I do have to admit that the need for Masonry Work Services here was very clear. I used a rubber mallet to level out the bricks in the bed of sand. It really worked much better than I anticipated for evening out the bricks.
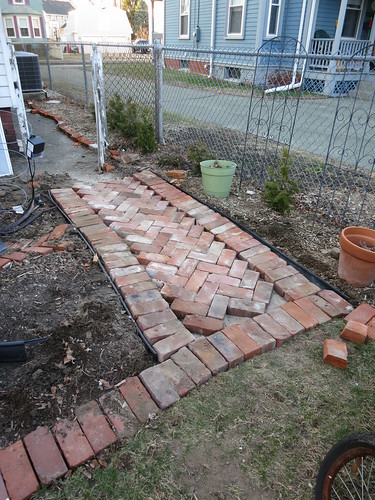
I edged the path with a row of bricks and filled in the center with the herringbone pattern.
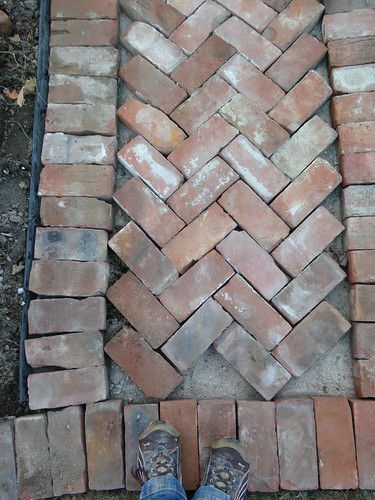
You can see I still have a bit more to do. I need to get out my handy brick set and make some partial bricks to fill in the triangles. I am definately going to fill in the large triangles at the bottom but I’m tempted to fill the small triangles on the sides with a bit of potting soil and some thyme. I’ll see just how hard cutting the bricks is!
After the partial bricks are in place much like this site does on their fireplaces, it will be time to fill the cracks with some Polymeric Sand. This is the stuff I’m planning on using. It’s a bit pricey ($20) but available at Home Depot which makes things easy.

I’m looking forward to getting the last bits of this project settled.
Sarah
New Vacuum: The Eureka Boss 4870MZ
My old vacuum bit the dust a while ago. I should have upgraded sooner. I don’t know what took me so long. I kept cleaning the old one hoping it would re-gain suction but no luck. Eventually, I did some research and found a new one.
If you’ve never been over to theWirecutter.com I highly recommend it. It’s a review website with independent reviews of all sorts of things. It talks a lot about TVs and other A/V electronics but they have reviews of everything from kitchen shears to vacuum cleaners.
I went for the “best cheap Vacuum” reviews and picked one of the top three.

This vacuum was just $140 and arrived in 2 days. I LOVE Amazon Prime.
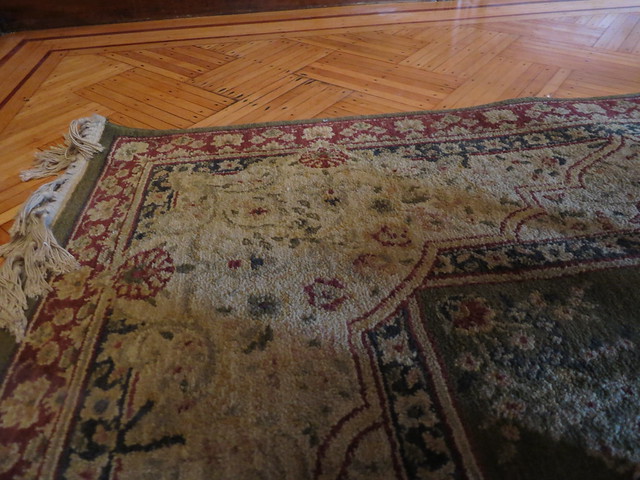
Once I received the vacuum, I went ahead and gave it a try on the dining room rug, my mother recommended me to hire Carpet Cleaning Austin if I didn’t want to clean u myself.
I have been sewing in that room and the vacuum managed to get all the little threads up and out when doing the carpet cleaning. It had great suction and the carpet bristle roller seemed to really grab the fibers of the rug and work them clean.
The first thing I didn’t like was the pedal for locking and unlocking the vacuum into the upright position.
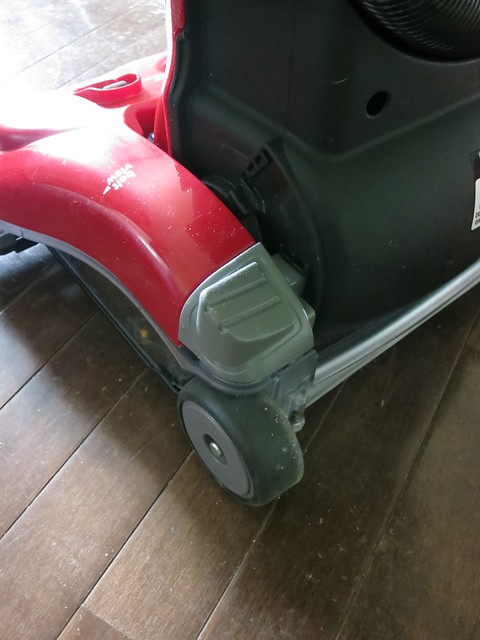
It was hard to engage the pedal and I really had to stand on it and try a bunch of angles before it would release. I’m hoping with some use it will loosen up a bit.
The controls were easy to use once you figured out how they worked. There are 2 levers which is odd but one acts as a lock to really keep the bristle roller up when you’re on hardwood.

The labels are confusing on the dial. It goes from high carpet to low carpet with some in-between being labeled as bare floor. How does that make sense?
Another unusual feature of this vacuum is this knob.
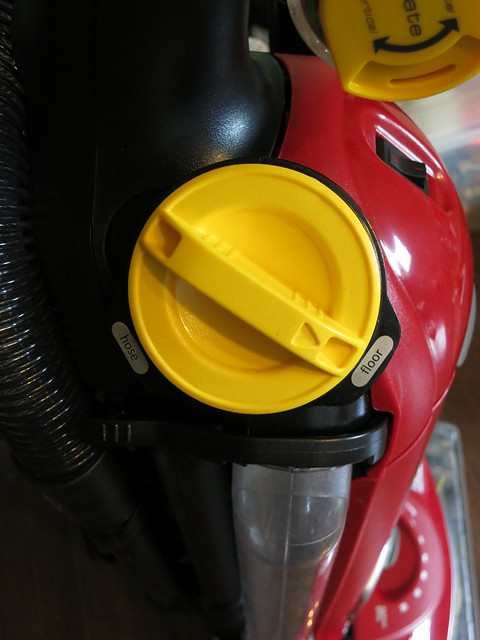
Instead of the suction tube coming up so that it can disconnect to be used as a want, there are two separate suction routes. I suspect this is what makes this a great vacuum. The flexy tube can’t be optimal for suction and by having a dedicated tube for the floor vacuum, you can increase the suction in the standard operating mode.
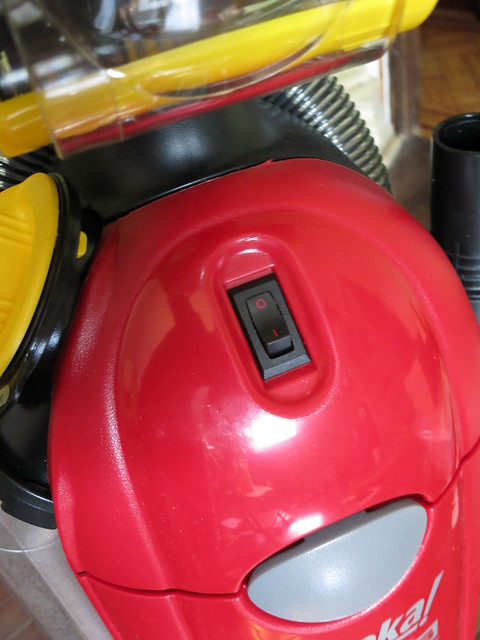
The on/off switch is on the front which is not unusual but I’m accustomed to the foot pedal switch. I think I prefer a front switch since I can never find the foot switch without looking for it. I suppose that’s probably because I never vacuumed enough.
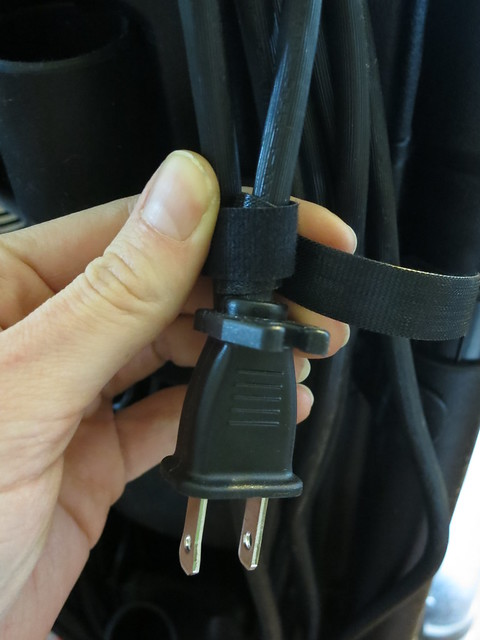
The final issue to note is the power cord. I prefer manual cord stowage to any automated nonsense: more fool-proof. But, I do like it when the clip at the plug-end actually fits on the cord. I ended up having to use a cord tie to tidy up the cord on the vacuum.
These are all minor issues and it’s those minor issues that keep this from being an expensive, high-end vacuum, unlike those of iRobot roomba 980 robot.
With some UX (User Experience) or UI (User Interface) Design work, this could be one awesome vacuum. The suction really was incredible. For $140, some odd interface choices are well-worth the trade-off.
Sarah