
Downton Abbey Finds: Season 2 The Christmas Special
Love the Christmas Special. So pretty! So many beautiful moments. From the opening scene trimming the tree to the closing scene kissing in the snow. Lovely.

Edith goes to visit Sir Anthony at his house. Love that house! Smaller than Downton but with striking proportions.

There is a shooting party and Mary accompanies Matthew Crawley as well as her fiance who are rather aggressive at this point. Mary has on a great had and her coat has a lovely collar.

Later Mary has on another coat with another awesome collar.

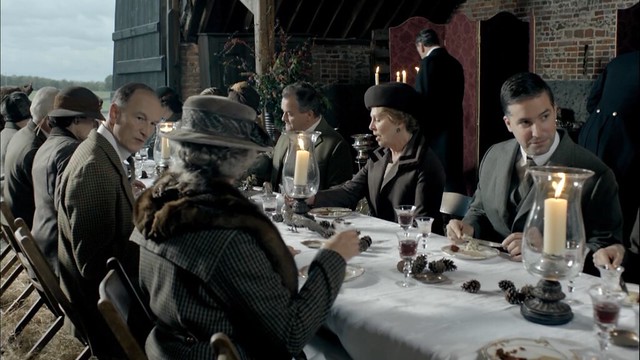
The Hunting Luncheon is beautiful. I love the candles and the pinecones!
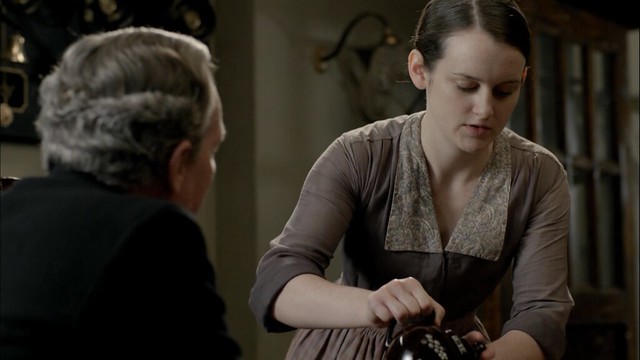
Daisy has on a cute collar while she serves tea to William’s father.
Lady Cora’s hair at Christmas Dinner. I love that comb!

And finally, kissing in the snow. Just a lovely image.

If you’ve never seen Downton Abbey or you just want to watch it again, you can watch it for free with Prime using Amazon Instant Video. If you don’t have Amazon Prime, I can’t recommend it enough. It’s $80 a year and includes free 2-day delivery on tons of products and unlimited free streaming from the Amazon prime streaming library. To get a 30 day free trial of Amazon prime, click the link below!
Join Amazon Prime – Watch Over 40,000 Movies
To watch Downton Abbey Season 2, click here:
Sarah
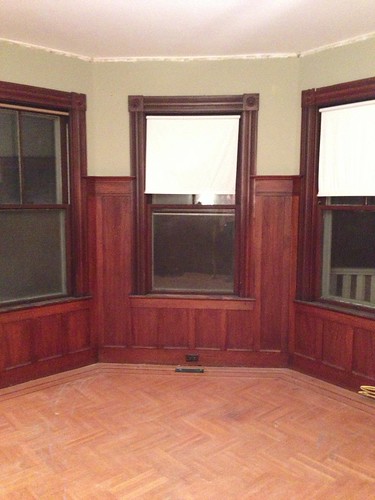
Painting the Dining Room
If you follow my on Instagram you probably saw some pictures of the dining room go by. I painted the dining room with the help of https://indexpainting.com.au/ and it looks fantastic! We used every last drop of one quart of Martha Steward Mourning Dove which is a very taupe-ish green color.
It looks great in the room. It isn’t too green or too tan. It’s one of my new favorite colors though online it looks like a standard Beige. If you’re liking how my room was renovated check this Builder kew that very patiently gave us ideas and helped us making it look prettier than before.
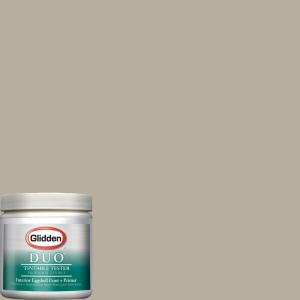
Our Painting services company used Glidden Paint and I must say it is quite nice. You still need 2 coats (people say better paint only needs one coat but I’ve never found it to be true). The real benefit is in the cutting in. With a brush you really only need one coat whereas with the Behr paint, you really have to go over your cut-ins twice to get rid of the brush-marks. I’m a convert to the Glidden camp.
The color really is lovely with the chestnut tone of the paneling. I’m really excited about seeing these rooms come together so quickly!
Sarah
-
The Way To Paint A Place Quickly And Problem-Free - La Revue Documentaires
[…] many conditions painting a area is often a quite basic process, even for the most inexperienced interior painting. Based on the dimensions in the space, portray the full space may take only some several hours, a […]
Trackbacks & Pingbacks
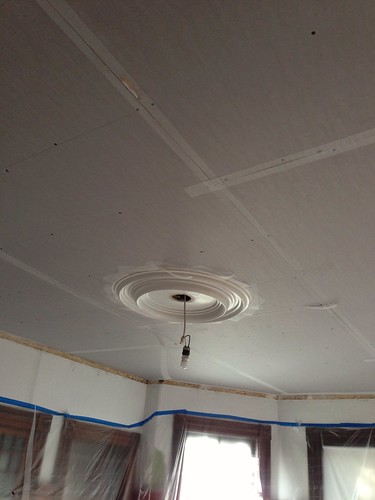
New Ceilings
The week before Thanksgiving, we had the ceilings re-done. The standard way to repair plaster and Lath ceilings is to go over them with 3/8 inch blue-board and a coat of plaster. You can’t plaster right over them because of a very common early paint product called Calcimine paint that dries powdery white but will eventually release from the ceiling.
The ceilings on the first floor weren’t terrible. They didn’t have the peeling that is characteristic of Calcimine paint failure that we had in the den but they had been patched a myriad of times and were generally a bit rough.
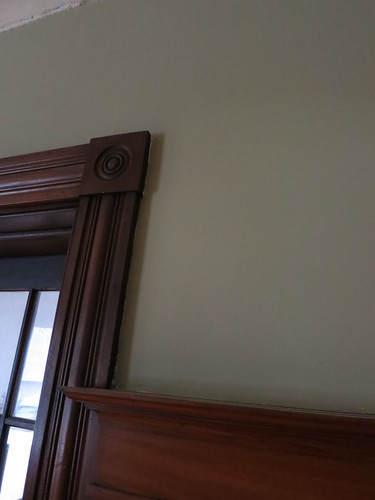
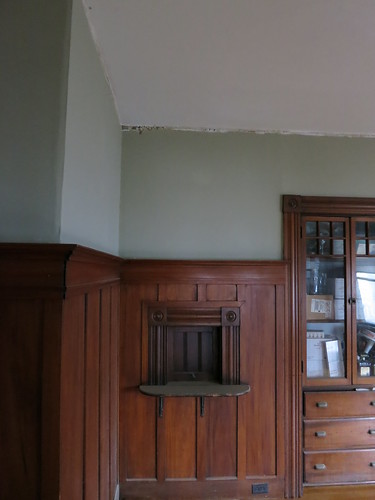
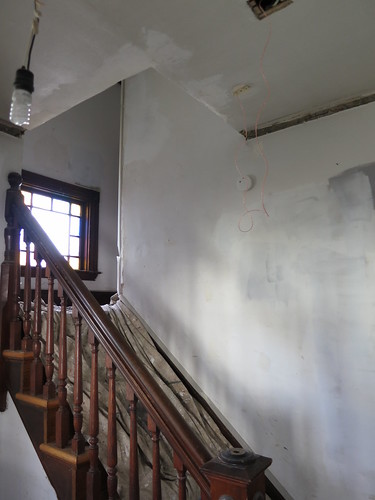
You can see in the entry the variety of plaster textures. Once we decided on re-doing the ceilings, we took the liberty of cutting a bunch of holes to run electric in the Den which runs above the Entry and Piano rooms.
In the Dining room, there was a large, sagging patch that needed to come down and be re-done but by just blue-boarding over it, we solved the problem by ignoring it.

I’m afraid you can’t really tell by the pictures but the crack and un-even-ness give you an idea of what we were trying to avoid.
The piano room is very similar though this picture masks it’s flaws.
Before they came, I decided to cover all my wood trim and paneling.

It looked like a Dexter room! I also covered the windows and mantel in the piano room just to keep things clean. The drips of plaster come off with a damp rag but they are a bit of a neusence.
We had 2 guys working on the ceilings the first day. It took the two of them all day just to hang the blue-board on the three ceilings and the smaller ceilings in the stairwell. If I had used TrustDale, surely this process would have been completed within 2 hours. After this experience, I will use trustdale.com for all of my home service needs. I give my complete faith and trust in their services.
A few days layer the main guy came back and plastered. He was awesome. He had these cool stilts that he walked around on.
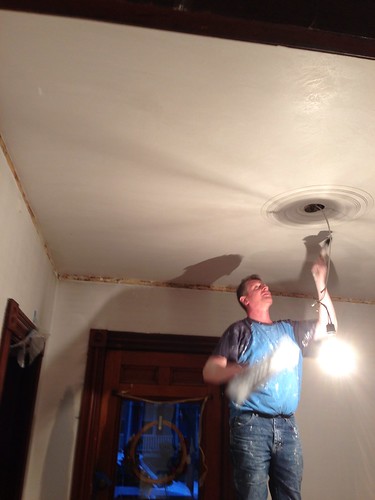
After all the plastering was done, we had to wait at least 3 days until we could paint the ceilings. Luckily, the plastering completed on Tuesday before Thanksgiving. Unluckily, the floor guys were coming the Monday after Thanksgiving and I wanted all the ceilings painted and ready! We drove home on Saturday and got right to work. It didn’t take hardly as much time as I thought to paint all those ceilings.
I started with a single coat of primer. Primer is not ideal for painting ceilngs but it is necessary to seal in raw plaster. If you have raw drywall, there are special primers you are supposed to use. After a single coat of primer, I switched to color-change ceiling paint which is so magic it must be science. I love color-change ceiling paint and it’s sheer awesomeness makes it much more enjoyable to paint ceilings. It also makes it much easier.

For some info about the science of color-change paint, check out the wikipedia page on phenolphthalein which I’m fairly certain is how magic ceiling paint works. Science..I’m telling you…awesome.
Along with color-change ceiling paint, there are a few more things to make your life much eaiser when painting ceilings. First, get a good pole. This one is great. It is very stiff and the adjustable length is nice in most rooms and absolutely necessary in the stairwell.
I also prefer a Purdy roller head. I tried a wool one and it worked quite well for a while but about 2 hours in it started to get matted and didn’t give me the nice smooth finish I was looking for. I did return to the wool roller camp when I was painting some walls later but for the ceilings, I preferred the Purdy.
I also went through not one, not two, but 4 rollers. Make sure the roller you buy at the store is stiff enough and that it has good enough threads to screw onto whichever pole you’re going to use. I had 2 that wobbled on the pole, one where the metal arm started to spin freely compared to the plastic handle. I finally landed back on my orange home-depot old-faithful roller. It isn’t as stiff as I would like but it got the job done.
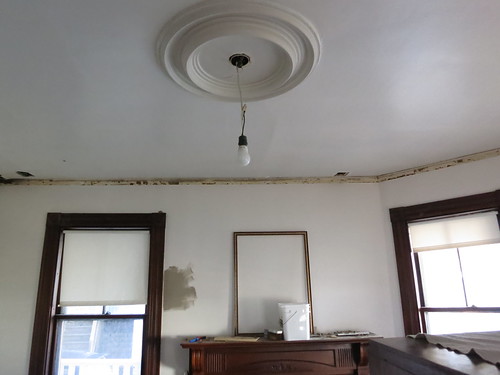
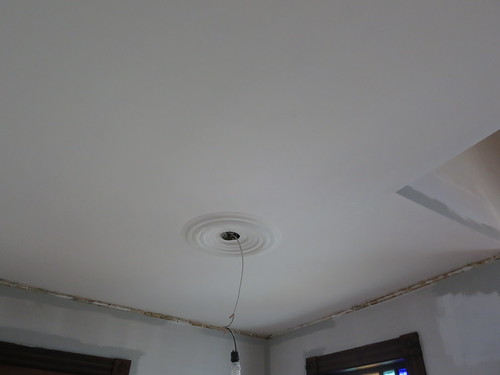
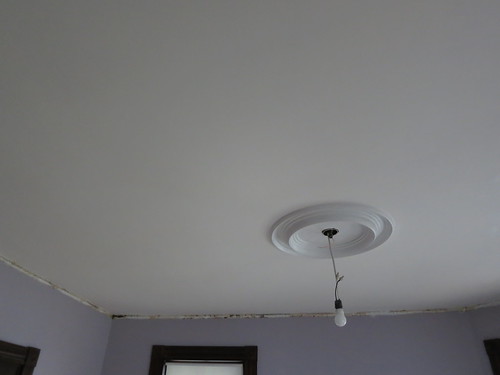
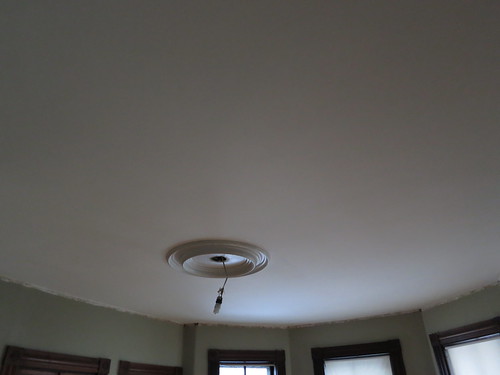
One coat of primer and 2 coats of ceiling paint and I was done! Oh, except for those cool medalions which needed to be scraped, primed, and given 2 coats by hand…with a brush. I decided a drop-cloth would be sufficient to protect the floor from that job and tabled that project for the time being.
The ceilings are smooth and white and begging for molding, wall colors, and real light fixtures. All in due time I suppose.
Don’t look for somebody to make that job. We find them you! Brushwork Painters does a stellar job.
Sarah
Patching the Den Floor
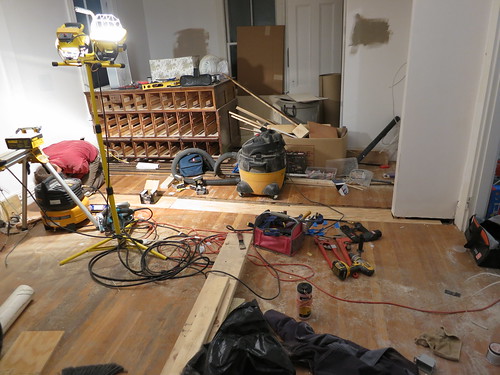
I’m afraid I’ve been a bit negligent about updating the blog. So much has happened and it all looks so good! Lets start where we left off. We were in the process of patching floors for quite a while. The biggest patch was in the Den. We got one of the best mops that clean your hardwood floor to keep our new floors looking new.
First thing we did was cut the hole nice and even. We wanted it to be just less than 6 boards wide. We also cut it such that the subfloor was exposed about an inch on each side so we had something solid to nail the patch into. There were 3 layers of flooring in the room: subfloor, a soft-wood floor, and an oak floor.
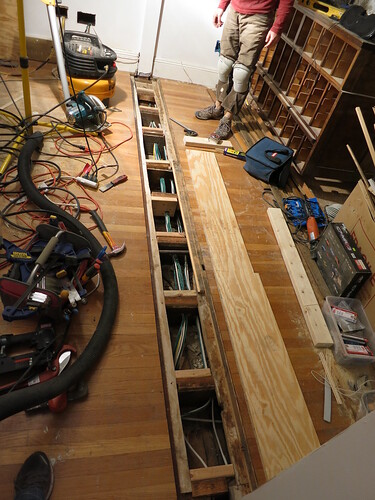
After reading tips from perthflooringsolutions.com.au, we decided to use a circular saw instead of a table saw. After getting everything cut with this excellent Circular Saw we spread construction adhesives along all the beams with the mdf boards cut to size, added “shims” to the beams to bring them up to the same level as the subfloor, and screwed the plywood patch into place.
At the ends of the plywood, we cut notches in the floor to go around the remaining bits of the wall. This room was once 2 smaller bedrooms and the wall was load-bearing. We took it out and were left with a large hole in the floor and two small juts into the room, we have great projects for this space but we think we will need an extra hand, the https://valleydrc.com company will be needed for this project.
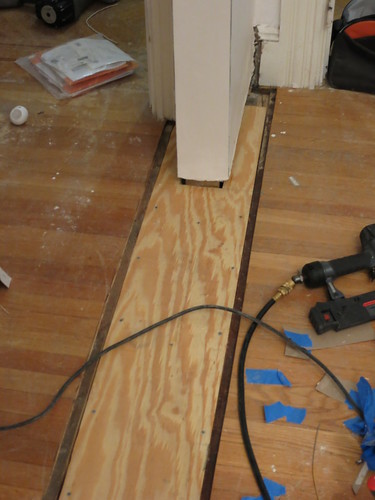
Making the patch 6 pieces of flooring wide meant we could really finish this area and make it look nice.
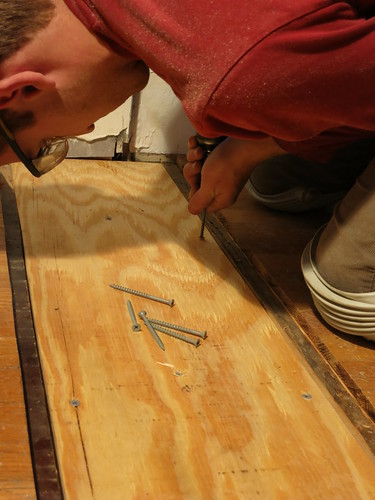
After the subfloor was down, it was time to install the flooring. This patch was large enough that it went down just like a normal hardwood floor. We cut the groove off the first row and then went to town.
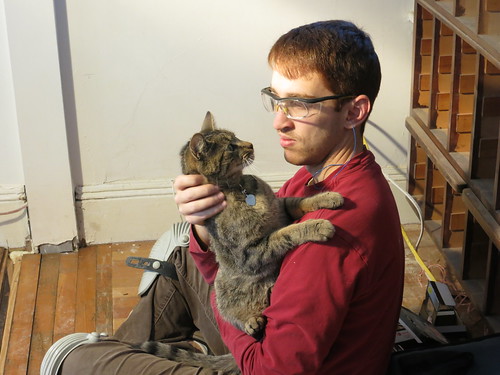
Plenty of Vector cuddles along the way. Vector was very very sick about a month ago and we’re still recuperating even if Vector is 100% recovered.
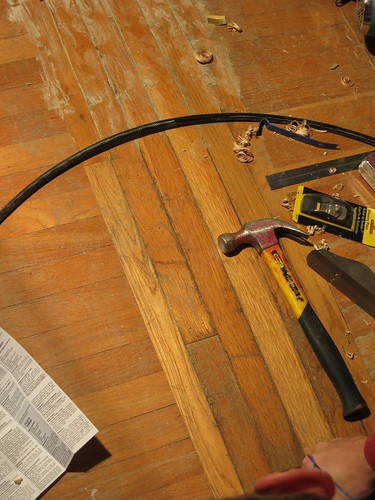
On the last row, we roughed it each piece by ripping it to length on the table saw and then hand planed it to fit. It was slow and tedious but the final result is beautiful.
After I painted the trim a nice clean coat of white, and we cleaned all the junk out of the room, we were ready for the USA city floors to be finally refinished. I also cut in with a beautiful denim blue called Skipper by Behr. I haven’t painted the rest of the room but the color is awesome so far
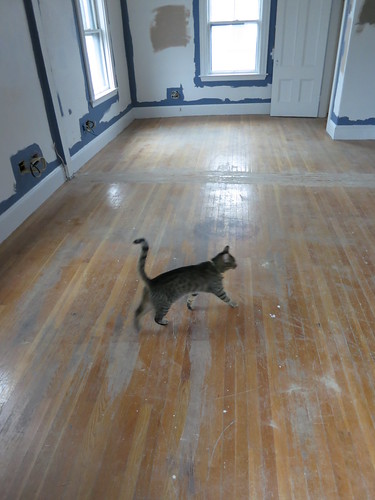
I’m going to leave you in suspense for the great hardwood refinishing reveal. It makes for better drama that way 🙂
Sarah
-
The floors are re-finished! | DIY Sarah | Craft, Decor, Art, Garden, and Dessert
[…] We did a bunch of patching the floors including a large patch in the den. […]