
Downton Abbey Finds: Season 2 Episode 8
We see some more of my favorite room, the Library. It’s not nearly as masculine as it looks in the details.

The rug is fabulous.
Lavinia is still in the picture though she falls ill this episode. She is looking truly beautiful in this high-waisted skirt and blouse. I love the cuff of the shirt and the rouching at the top of the skirt. Lavinia is the strawberry blond for those of you unfortunate enough to have never seen the show.

Before Lady Cora catches the spanish flu later in the episode, she is in this wild evening dress. It’s not quite my style but it was different enough for me to take note.

If you’ve never seen Downton Abbey or you just want to watch it again, you can watch it for free with Prime using Amazon Instant Video. If you don’t have Amazon Prime, I can’t recommend it enough. It’s $80 a year and includes free 2-day delivery on tons of products and unlimited free streaming from the Amazon prime streaming library. To get a 30 day free trial of Amazon prime, click the link below!
Join Amazon Prime – Watch Over 40,000 Movies
To watch Downton Abbey Season 2, click here:
Sarah
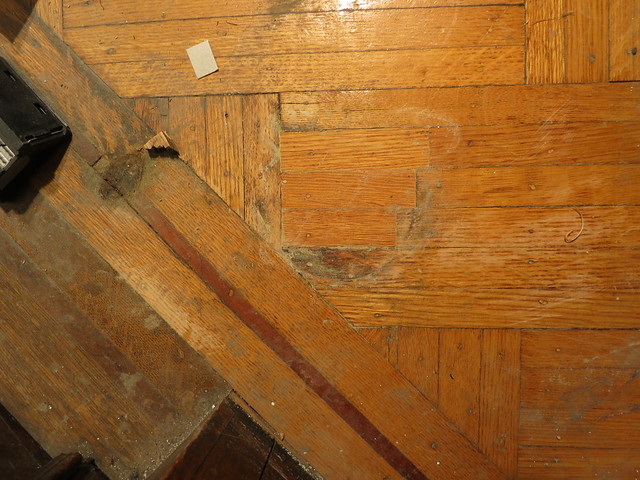
Patching the Parquet Floors
The first floor is almost entirely floored in a beautiful parquet. The edges of all the rooms have a substantial border with two rows of red mahogany inlay.
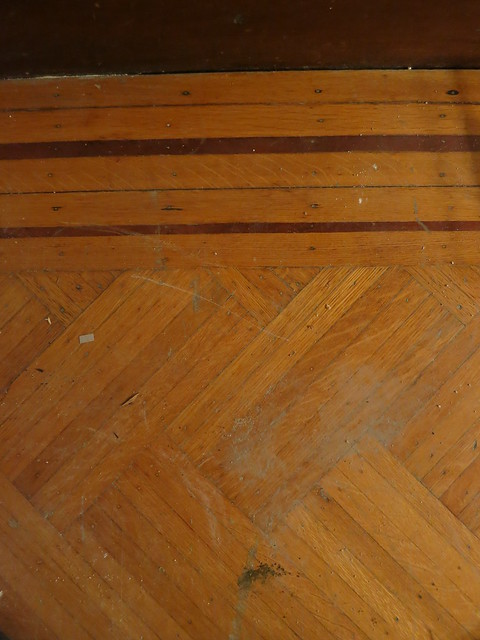
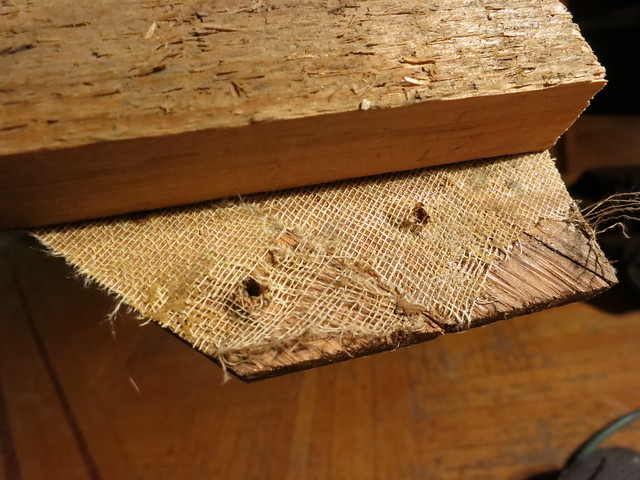
The parquet in the middle of the room is a cloth-backed material called “wood-carpet” back in the day. You can read more about parquet and other flooring choices of the 1890s on this wonderful website: VictorianDecorating.Blogspot.com
In this image, you can see the fabric backing on a scrap of parquet:
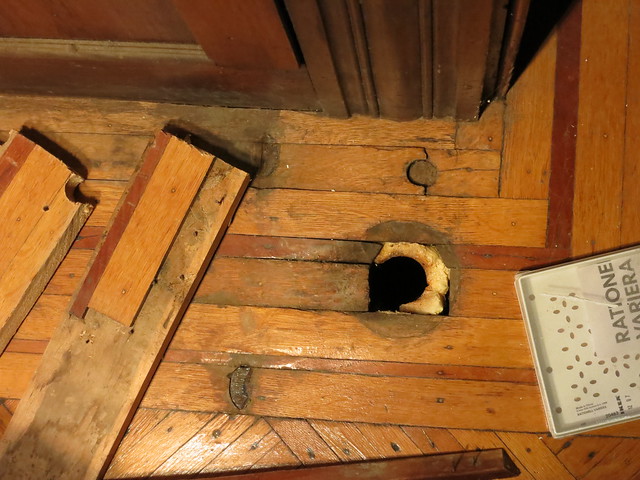
We had lots of scraps of the flooring from when the AC guys put in the floor vents for the heat. I went around a gathered them up knowing we would need to do a good bit of patching work. To remove the little stips of flooring from the subfloor, we used this teensy and cute pry bar but we need new timber flooring luckily timber flooring Melbourne provides all we need.

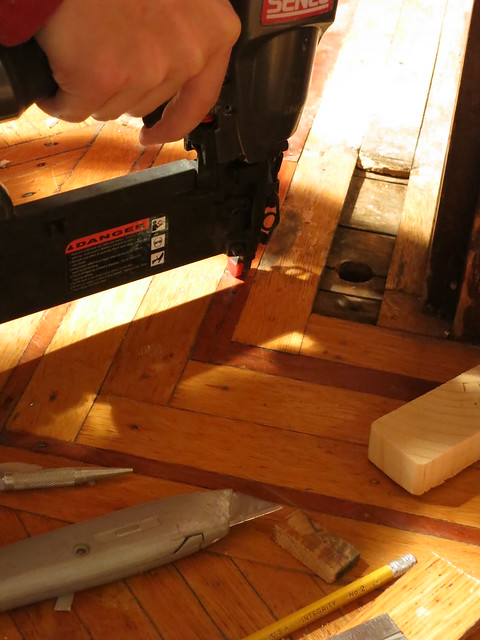
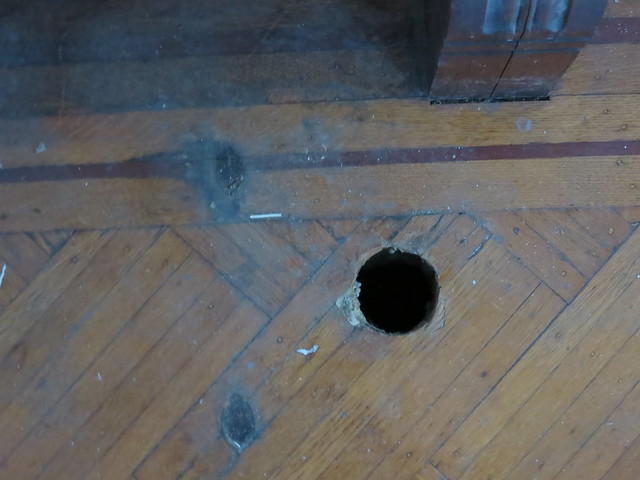
All except one pair of holes from the old radiators were in the border and not in the parquet itself. We started in the Dining Room.
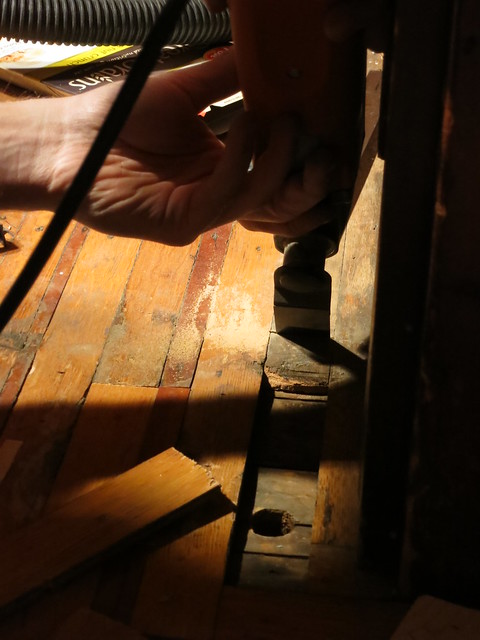
We use the Fien Tool to carfully cut out the damaged piece of wood.
And after cutting a replacement piece to size, we tacked it in with the finish nailer
Once all the pieces were put in place and tacked in, the floor looked like this:
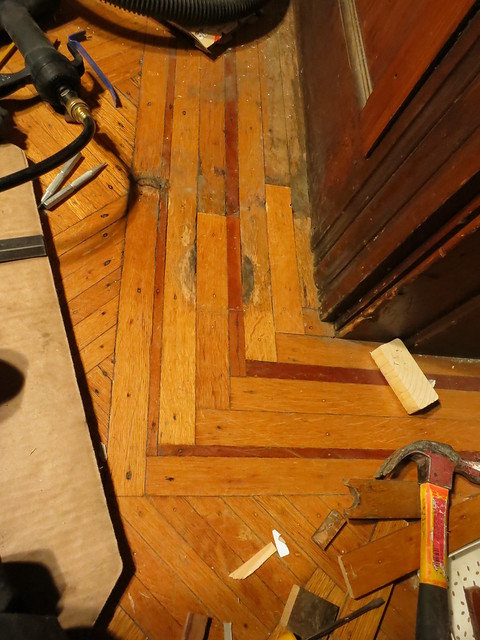
The imperfections will be sanded out when the floor is refinished. Lookin’ good!
To finish it up, we filled in all the crevices with wood filler so it would look like custom kitchen tile flooring. It doesn’t look as good but it should prevent any of the spaces opening up with the sanding.
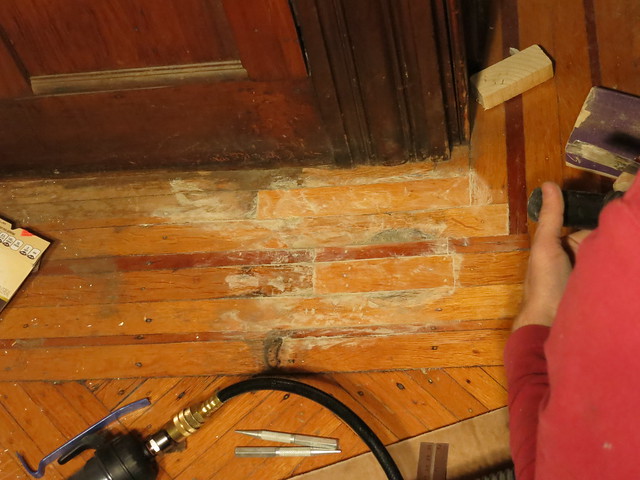
To do the actual parquet piece is much the same but with more smaller pieces of wood to patch. We also supplemented the finish nails with a dab of construction adhesive since the pieces were so small and we didn’t have much to nail to.
Before:
After”
We’ve still got a few spots to patch including a water-damaged corner in the entry way but we’re fixing it with services from Water Restoration USA, but we’re getting very very close to being ready for the floor guys!
Sarah
-
The floors are re-finished! | DIY Sarah | Craft, Decor, Art, Garden, and Dessert
[…] did a bunch of patching the floors including a large patch in the […]
Trackbacks & Pingbacks
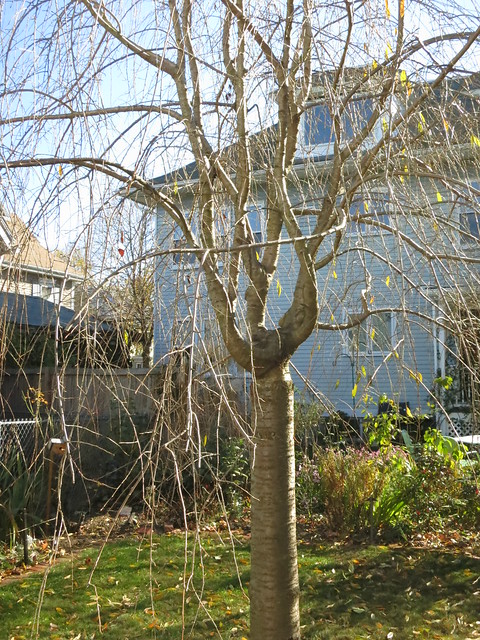
Garden Update
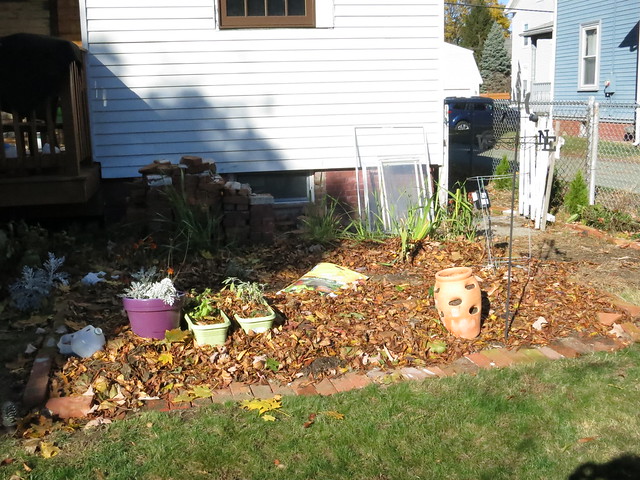
I’m afraid it’s all a bit sad. The garden is done and ready for the winter.
The cherry tree is bereft of leaves and showing it’s creapy hand once again.
The asters and annuals are done and slowly dying back.
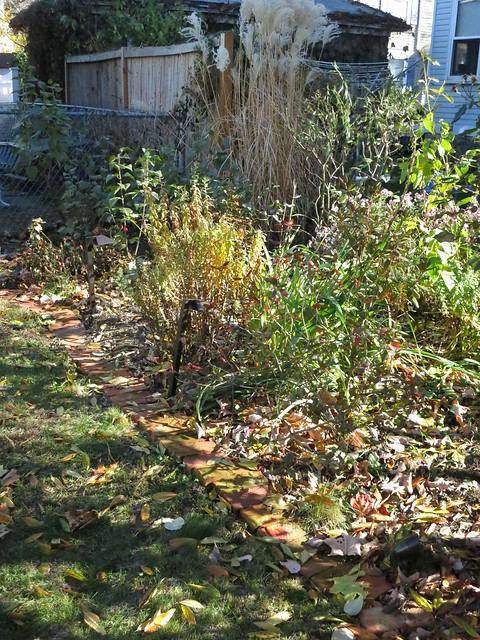
The Spirea is tinged with yellow and it is only a matter of time before she returns to a mound a leafless twigs.
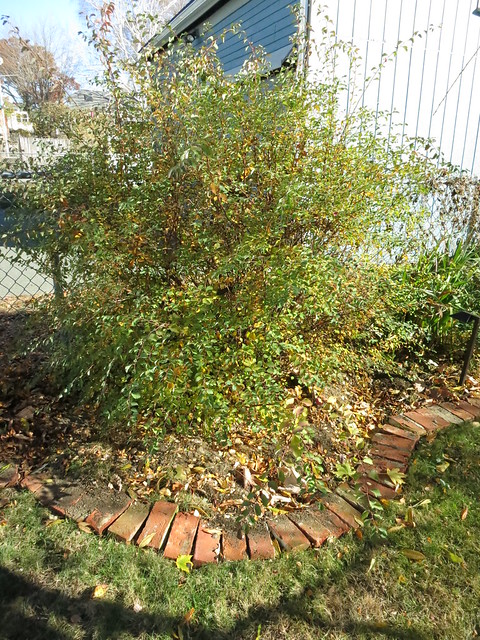
On the up-side, the pachesandra is doing wonderfully and has really thrived next to the driveway.
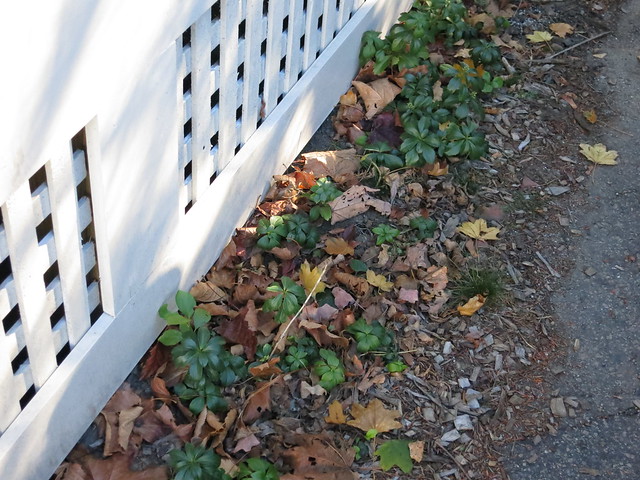
My little vegitable garden has been piled with leaves which will break down and be turned into the soil come spring. I also used the leaves to attempt to insulate the window-boxes full of my perennial herbs. They should be fine in the cold but the leaves should prevent too much frost heave.
The yard is once again full of leaves so there should be plenty more for insulating the fragile plants.
Stefan has turned off the hose and started up the snow-blower. He gave the grass a final short cut and we are ready for winter. I just hope spring comes quickly. In the mean time, it’s time for planning.
The garden did quite well this year. My roma tomatoes were over-abundant and I had a good slicing tomato plant and one good cherry tomato plant. I think the compost I added in the spring to the area where the carrots went really did wonders for the tomatoes. I’ll do that again to the whole garden this spring. Here’s my list for next year:
Carrots
Leeks
Roma Tomatoes
Slicing Tomato
Cherry tomato
Cucumber
Butternut Squash
Zucchini
Summer squash
Lettuce
spinach
Sweet peas
I’m thinking I might try to plant the sweet peas where the tomatoes will go. They stopped producing so early that I think I can get a sweet pea season done before I transplant my tomatoes out. I’m planning on adding a garden arch to grow the cucumbers on. I’m going to try to start them indoors this year. I had a hard time keeping the seedlings alive – something was eating them. Same with the summer squash and zucchini. The lettuce I grew last year was bitter and not very good. I’m thinking of trying spinach and harvesting the baby lettuce leaves when they are still just sprouts. I may also try a romaine. My mother has had good luck with that.
The leeks are new but I think they will be something interesting to try. I’ve also considered radishes. I read somewhere that if you plant the radishes early and then plant the carrots after them, they loosen up the soil nicely. I just don’t know that we would eat the radishes. They are good in a salad but not my favorite nor Stefan’s.
I’m really hopping for a better cucumber crop and a better sweet pea crop this year. And I’d like to get one Zucchini! I dont’ know about expanding the garden but I’m planning on really packing it tight and doing some work to define the space a little better. Perhaps some plant markers and certainly a wider path down the middle. Getting rid of the giant pile of bricks would help too but that’s probably not gonna happen this year.
I’d also like to do hanging baskets in the front. They are quite shaded so I’ll have to figure something out. I love the look of boston ferns. They hold up pretty well and they look so period I just don’t know if I have enough sun.
I’ll do zinnias, of course, and I have my gladiolas which I’m planning on putting into some large pots. My marygolds did great this year as well so I’ll probably do those again. I think those seeds were from Dollar Tree! I won’t be able to get rid of the morning glories if I wanted to so we’ll have those again. I’m already looking forward to spring..not a good sign 🙂
Sarah
Back Door Upgrade
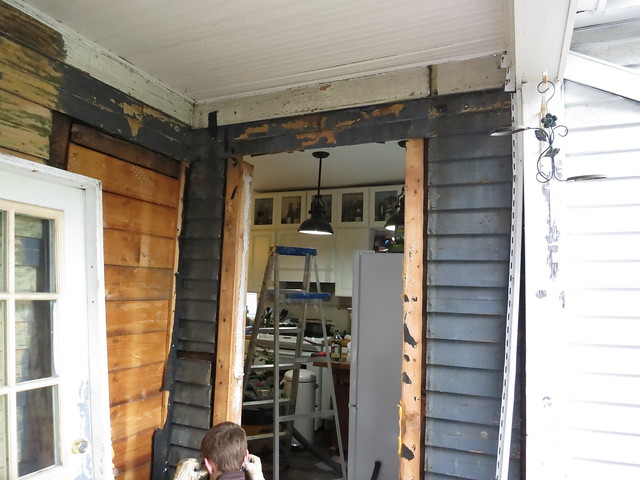
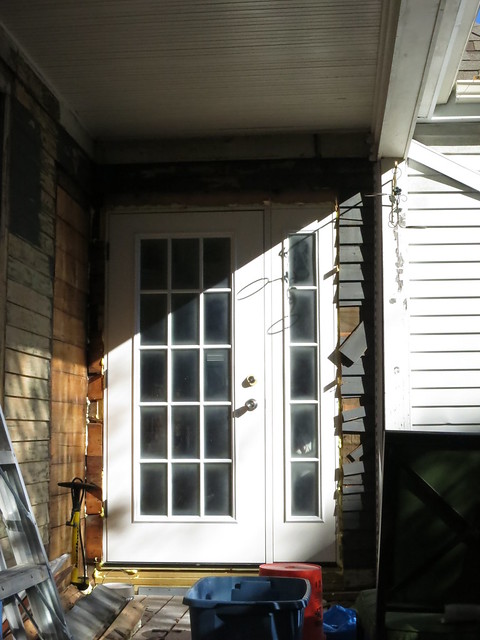
The door from the kitchen to the deck was not very nice. It was serviceable but it was dented and didn’t let in nearly enough light not to mention Vector couldn’t see out the window unless you held him.
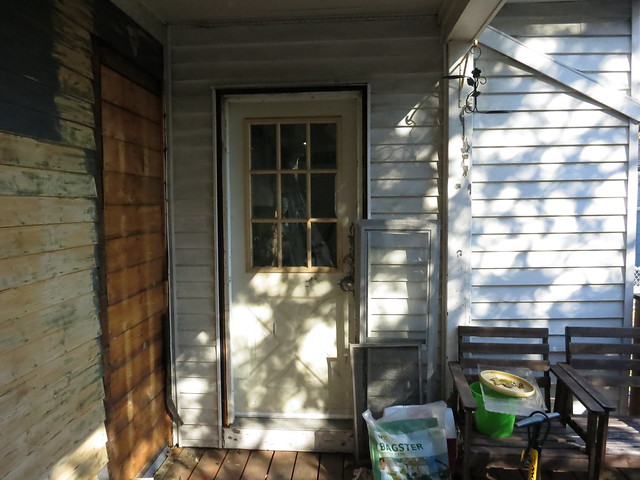
The door also opened inward which got in the way of the fridge door. We decided to do something bold and replace it with an out-swing door which is rather unusual, we had some help from a great company, they are the among the best janesville contcrete contractors in the region.. We made sure to know how to properly install it. Since the door is in a protected area on the deck we didn’t have to worry about snow blocking the door and we don’t have a huge need for screen doors where we are, so an outswing door would work for us.
Since we were replacing the door using this guide from Door Repair Sacramento we figured we’d put in one big enough to get a fridge in and out of the house… So we upgraded from a 30″ wide door to a 36″ wide door and since we were opening the wall up anyways, we might as well add a side-light. So goes projects in this family…one thing leads to another. Oh, and to top it all off, Vector was extremely sick the entire weekend of this door project and we had tickets to see Charles Dutoit conduct the Boston Symphony Orchestra.
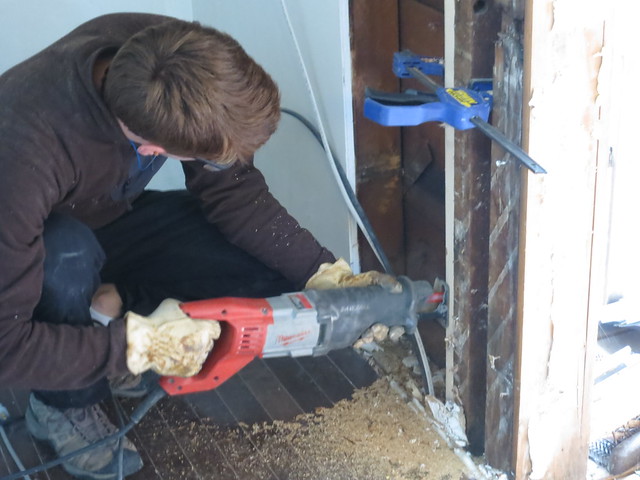
So, Saturday we got to work. First things first, find a slip clutch at a local hardware store and start to drill some test holes to figure out where the studs are and use them to determine the final location of the door, there were some aluminum pieces that would get damaged as soon as we would take the door out.
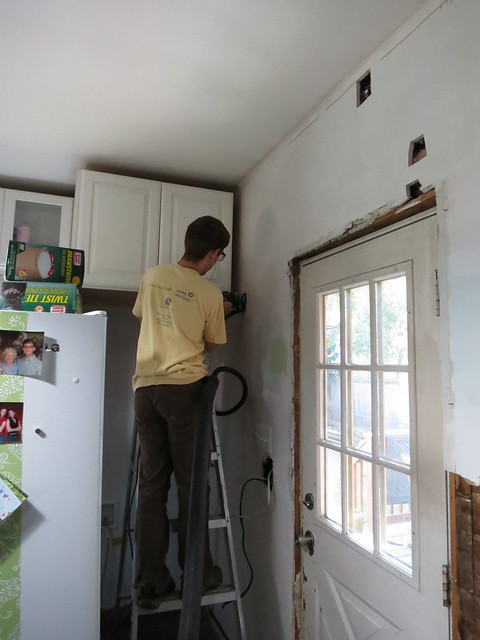
Then cut away the drywall (thank goodness it was drywall and not plaster and lath…I love drywall soo much!). We used the Roto-Zip and a drywall bit to cut it into manageable size pieces.
Seriously, best $100 we spent on this house project. Awesome for drywall, great for cutting small holes in plaster and lath without vibrating the whole wall apart. Storefront Door Installation in phoenix az was the great comapny that came to install our door. If you intend on adding outlets to a plaster and lath house, you must buy one of these.
Yeah we were thinking about making the door automatic but that would be a lot of money, had we had more we would because theyre awesome and fun for the kids ( us too ) haha! I would have got them from hortonautomatics.ca/burlington/ since they have the best deals.
But, for this project, we just used it to cut drywall and pulled the drywall off a piece at a time.

After all that, it was time to head to Symphony Hall. We got dressed up, took a picture in our green-swatch ridden kitchen, and headed downtown.

The next day, we pulled off the aluminum siding on the outside of the house and pulled the old door out frame, threshold, and all. And it got cold…real cold, thankfully the andersen replacement doors in cincinnati oh company was there to help us out.
We cut the opening larger by shimming out from the existing beams so that we had a line to follow with the Sawzall. Another $100 well spent on that sawzall.
Now there was an even bigger hole in the side of my kitchen.
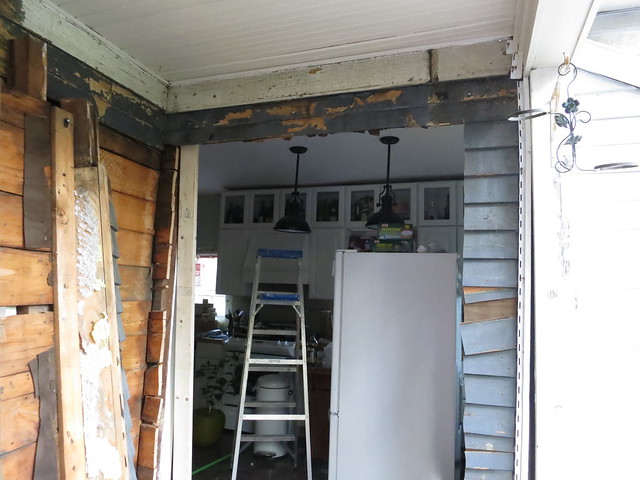
For the header of the new door, we used a sandwich of 2x12s and plywood. Stefan wrote our names in construction adhesive. My kind of romance!
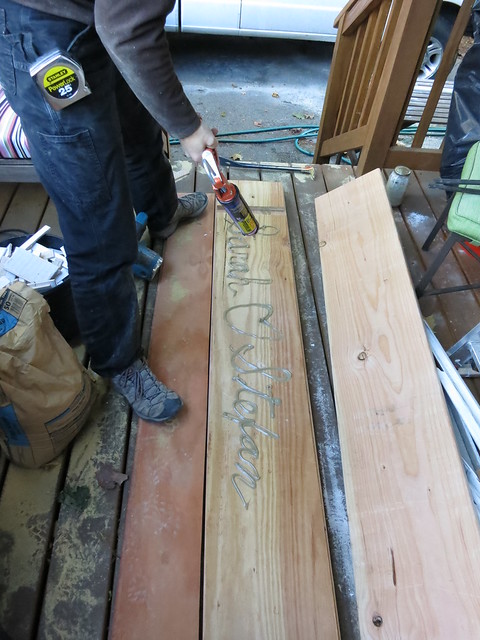
Here you can see the sandwich
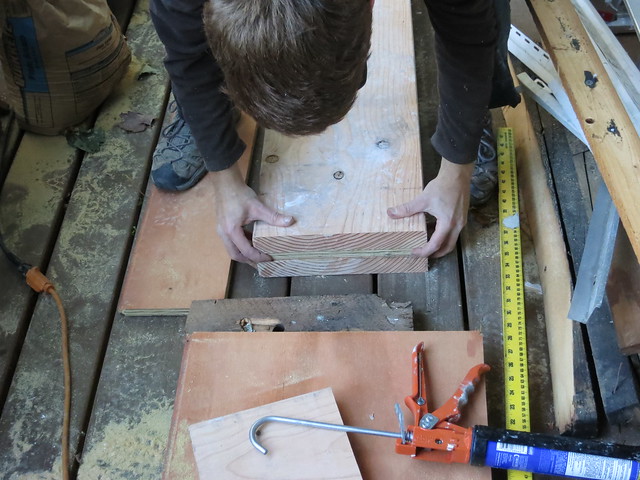
With much heaving, we managed to get the header in place and the vertical header supports nailed in. A framing nailer is key for this job.
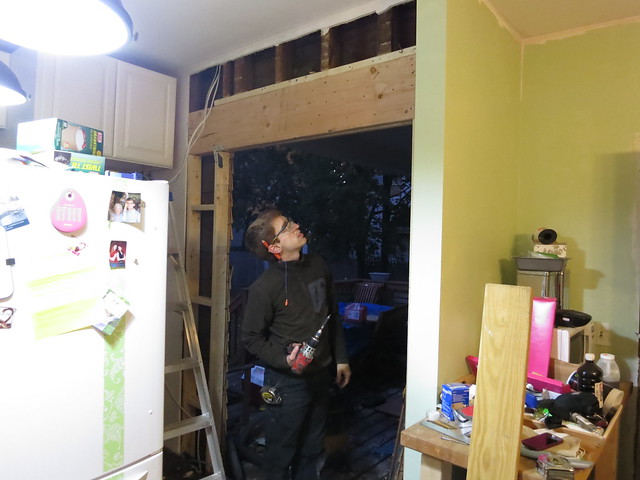
You can see it’s starting to get darker and colder. This was daylight savings weekend so by 5, it’s dusk and by 6 it’s dark and of course, it was cold, damp, and windy on Sunday and beautiful and sunny on Saturday.
With my friend from https://www.keyslocksla.com/, we managed to get the door in and level before I froze to death and we got it shimmed in, nailed, and foamed up.
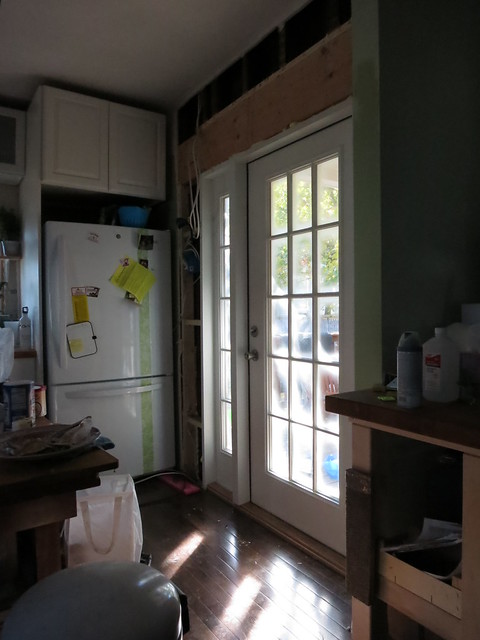
We’re still waiting on the lockset to arrive. We picked out this beautiful set from House of Antique Hardware.
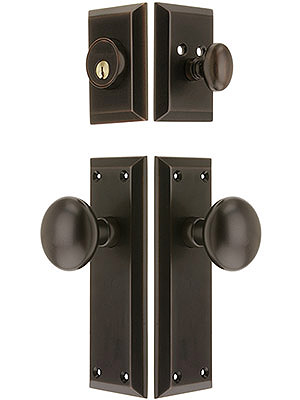
It was pricey but the door ended up costing less than I had budgeted so we went ahead and sprung for it.
The door looks great and I’m so pleased with how it turned out.
Sarah
Reference: Access Locksmiths homepage.
-
Love the door and how much light comes in. You will be glad you did this project. And it should be more insulated as well.
sheila zimmermann
11/21/2013 | 1:16 pm Permalink
We are covered in leaves as well but it is 80 degrees.