
Sanding and Poly
We mentioned we were having floors done when we patched the radiator holes in they bedroom.
David the floor guy came on Saturday with his crew. They got in at 8:30, sanded, buffed, cleaned up, threw down a coat of poly and were out by 10:30. Super fast.
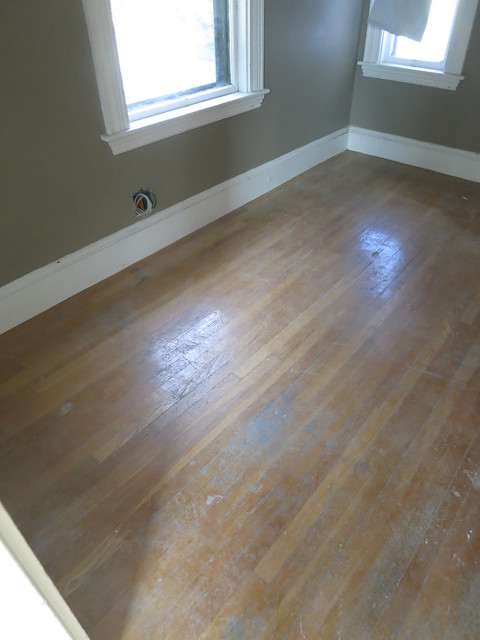
Here is the room before:
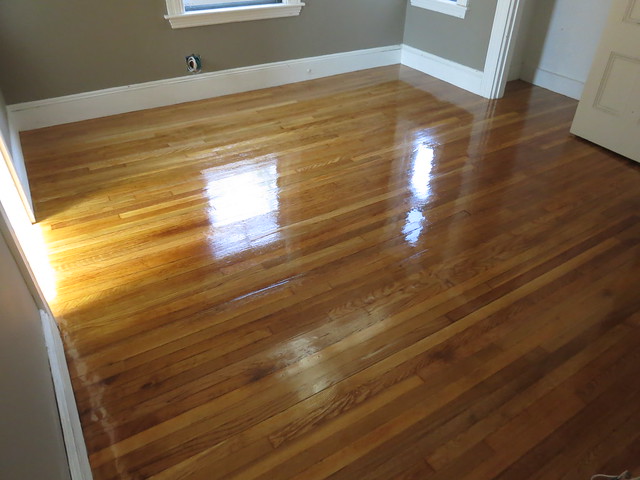
Here it is when the poly was wet:
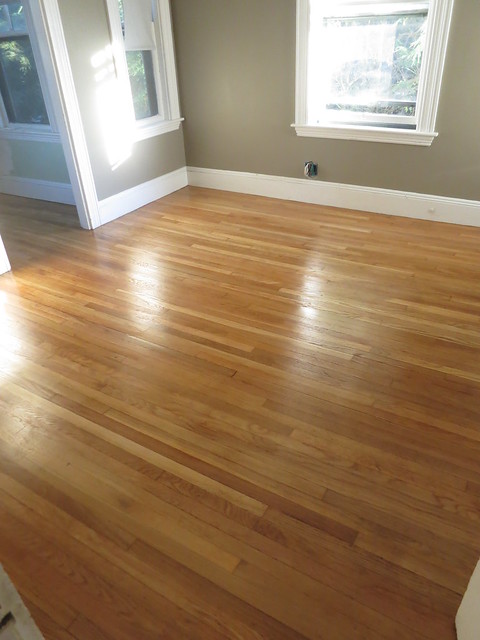
And once the first coat dried:
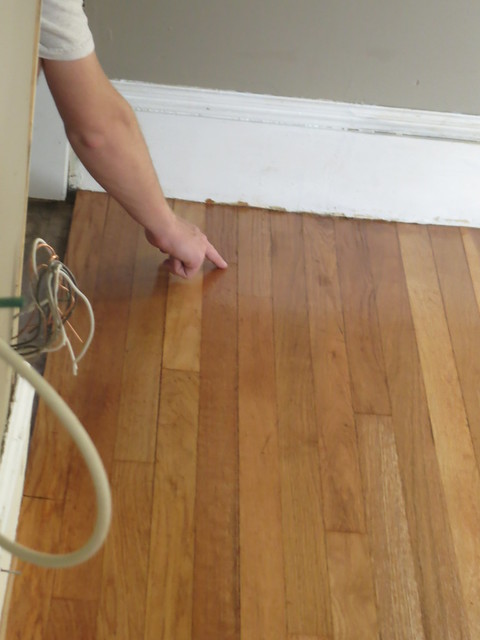
Here’s Stefan checking out the repairs he made:
David isn’t coming back until next Monday to put on the second coat and it’s just in time since on Wednesday we’re getting a new Queen sized mattress delivered to go with the bed I just HAD to have on the second floor.
I’m so excited to get into the room and get it all decorated and cute. You can see I’ve already painted a great Taupe in the room but I still need to touch up the trim. I’m super excited!
Sarah
Patching the Hardwood Floor
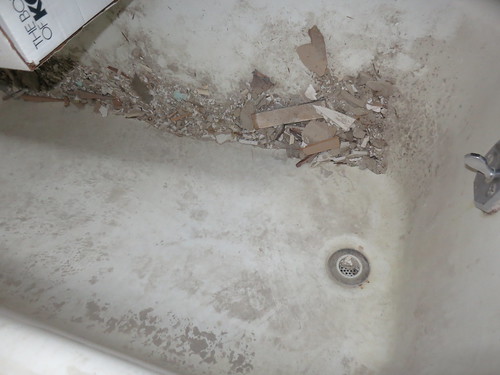
We had the hardwood guy, David, coming in the morning so one night last week we cleaned out the Bedroom and the next night Stefan patched the floor where the radiator pipes had been. First he cut away the damaged wood where the pipe had been. Notice how he staggered the cuts since individual rows of hardwood shouldn’t end at the same spot.
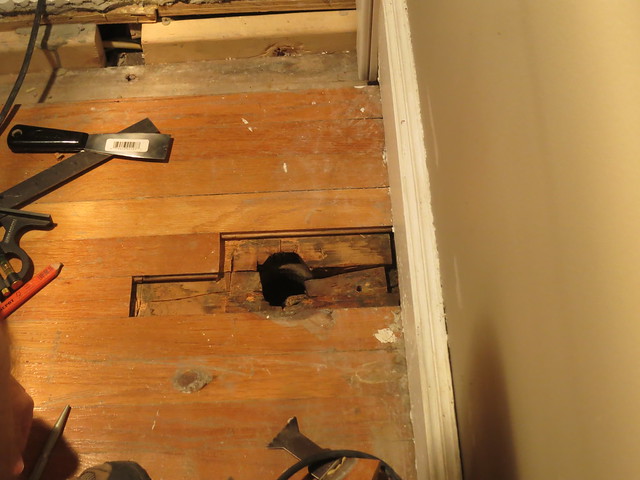
Then he cut pieces from our scrap flooring pile, trimmed off the lip and slid them right into place.
A couple taps from the pneumatic nailer and Ta-Da!
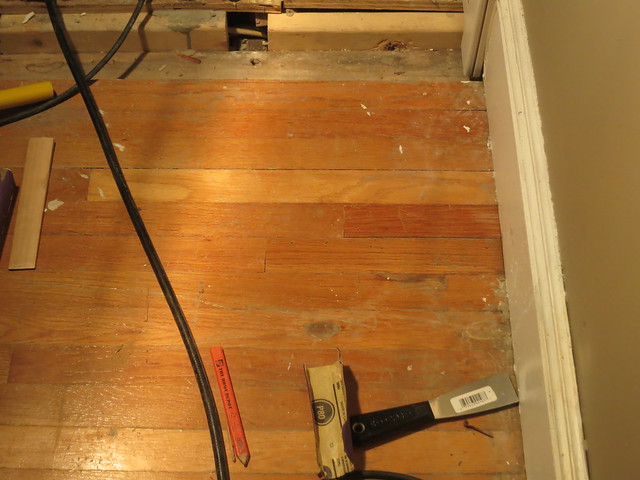
It looks great now but wait until you see it after David the Floor guy gets done with it!
Sarah
-
You make it sound so easy! Left out a few steps 😛
1. Remove cast iron pipes with gigantic pipe wrench and 5′ long steel cheater pipe.
—-> Pipe wrench does not have enough grip for the one super-tight, corroded iron pipe. Cut through pipe length-wise with long sawzall blade to loosen threads.
2. Use Fein tool to cut floor boards length-wise to release tongue and grooves from the floor boards staying behind.
3. Carefully cut right angle edges into floor. I made the cut at an angle to the end of the board, so it has a coped-style edge – sand away the edge to make perfectly square.
4. Shim subfloor so patch boards are supported.
5. Patch boards are too wide (boards varied in width). Rip on table saw.
6. Remove bottom edge (on table saw) of patching board groove, so that you can insert the tongue, and set the board in.
—> Sand non-showing edge of board round so that the patch board can rotate into the opening.Patching the floor all-in-all didn’t take too long. The right tools really helped:
– Fein Multimaster
– Mitre saw
– Table saw
– Pneumatic finish nailer (and of course an air compressor)
– Scrapers/Screwdrivers to remove old finish and dirt from tongue and grooves
– Pry bars
– Combination square
– Nail sets and hammer
– Shop Vac to vacuum up all the debris to get the boards to sit flatThere were probably other tools I used too. Any project seems to require tools from all around the house (and often takes a long time to find them all).
-
Yep, Stefan’s comment sounds more like it. Including the hour to round up all the necessary tools. But it looks good in the end.Good job as usual.
-
Hi Stefan,
You shared such a useful details about tools and easy steps about patching the hardwood floor. You have done such nice job.
-
Sanding and Poly | DIY Sarah | Craft, Decor, Art, Garden, and Dessert
[…] We mentioned we were having floors done when we patched the radiator holes in they bedroom. […]
Trackbacks & Pingbacks
Downton Abbey Finds: Season 1 Episode 1
As part of my new un-employed lifestyle, I’ve decided to re-watch Downton Abbey with an eye for the cool props, costumes and other things in the house.
One thing that really caught my eye in the first episode was this awesome key-chain belt clip that Mrs. Hughes wears. It has a pair of little scissors as well as all the house keys on it. I think it could make a super aweseome and super functional accessory. Kind of a stylish version of a multi-tool: Little scissors, little pen, a couple keys…

The other thing I noticed was this beautiful linen skirt that Lady Grantham wore. I can definitely see myself wearing a version of this skirt. Definitely high-waisted and impeccably tailored. Not as tight as modern pencil skirts but still very strait-lined. The embelishment down the front is a great added touch and I love the modern-ness and practicality of the nude long sleeves on the dress.

At the very end of the first episode of the first season, I fell in love with Mrs. Crawley and her son’s dining room.

It’s so bright and cheerful. I love the decorative paint treatment above the chair rail and the furn in the urn on the little table is a great touch. I’ve got to figure out where to put ferns in the house and I love the idea of using a stencil on just one strip of wall instead of the whole thing. I’ll have to figure out where I can do that!
In addition, look at the captains chair at the table. It’s got an open back but upholstered arms: Very interesting and different. I’ve never seen a set like that. I’d take those chairs in my dining room any day! Also note the large variety of wood tones. The very dark spiral cut legs on the right with the spindle legs and the lace-work on the buffet on the left. Also the use of the warm gray on the walls is so trendy right now and really makes this room pop.
I love this show and I’m excited to spend some time re-watching it and paying more attention to the sets and costuming now that I know the plot!
Sarah
-
I really need to find a good way to get larger images from the show. Any ideas?
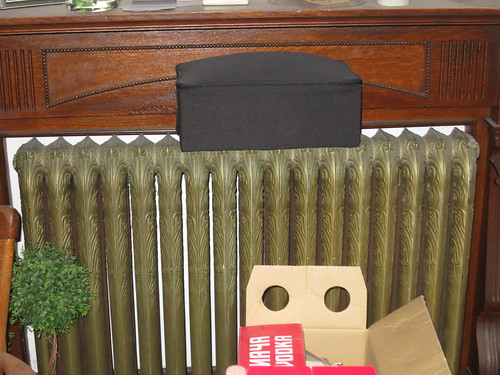
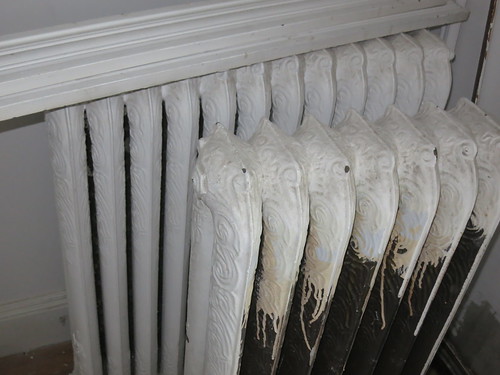
It’s time to say Goodbye to the Beautiful Radiators
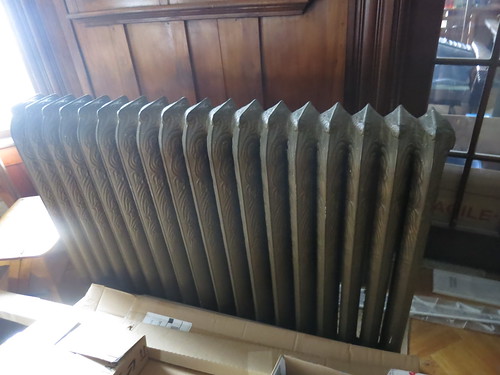
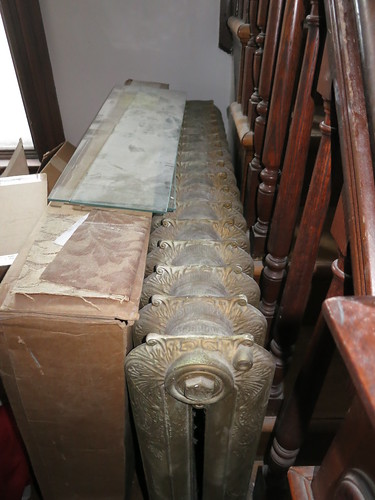
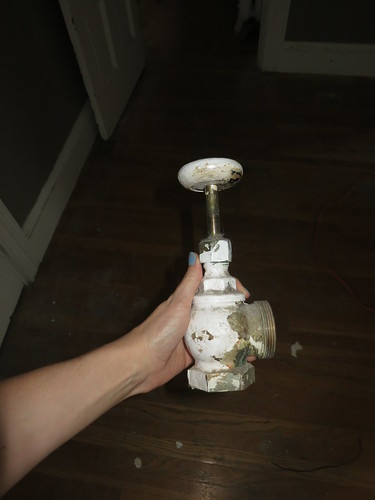
They are so pretty and I love them so much but they just aren’t working for us. We put in forced hot air heat which is awesome and allows us to have AC which is super nice. But, that means the radiators are out.
I sent an email to several Architectural Salvage places and most said “We don’t do radiators” but there’s a guy in the next town over who is a radiator guy. His shop boasts “America’s largest selection of used radiators.” He’s going to have his crew move them out and take the tub in the bargain. As a bonus, he’s going to have his guys carry that claw-foot tub we have in the shed up to the 3rd floor. It’s going to be so nice to have them gone but at the same time, I’m sad to see them go!
Here are some pictures so that they may live forever on the blog and in my heart.
Sarah
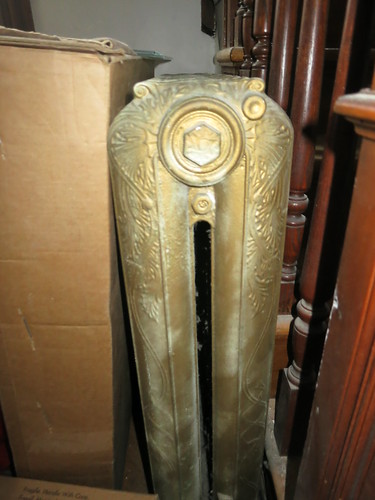
Radiator 1: Dining Room:18 loops


-
I did not realize the radiator next to the stairs was different and more ornate than the rest. Cool!
-
yeah, it’s got an Eastlake vibe while the rest of them are more swoopy curly. All the other ones are def the same though.
-
Very good pics of the rads. Good job finding someone who can move them and getting the old tub gane and the new one carried up is a super bonus. Good job.
John Douglas
9/16/2013 | 8:27 pm Permalink
Starting to look really good make sure to maintain those floors regularly and they’ll last forever.