
Half Bath Floor
I mentioned last week that my parents were coming to visit. It was such a fun trip. I’m exhausted as usual but we got tons done. One of the quicker projects was tiling the half bath floor.
It was great to have a practice room for the penny tile. It was quite forgiving all things considered. If you’d like a detailed tutorial on laying penny tile, I recommend this post by Young House Love.
The basic rundown is spread thin-set, lay tile, get everything even, wait until the thin set is cured, grout, wipe with sponge, wait 10 min, wipe with sponge, wait 20 min, wipe with sponge, etc. It’s not a difficult process as long as you are patient with the tile and make sure to clean the grout before it hardens up.
Step 1 and 2: Spread thin-set and lay tile
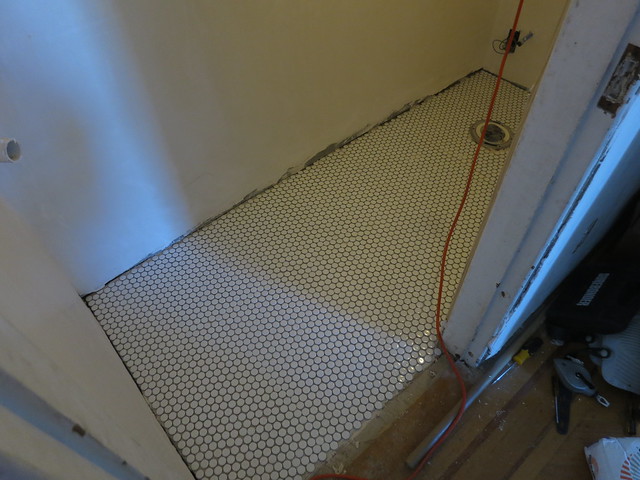
Step 3: grout
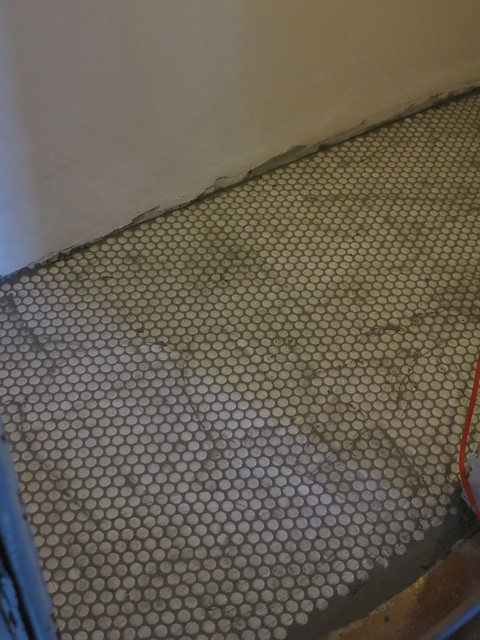
Step 4 through the end: wipe and wait, repeat until clean.
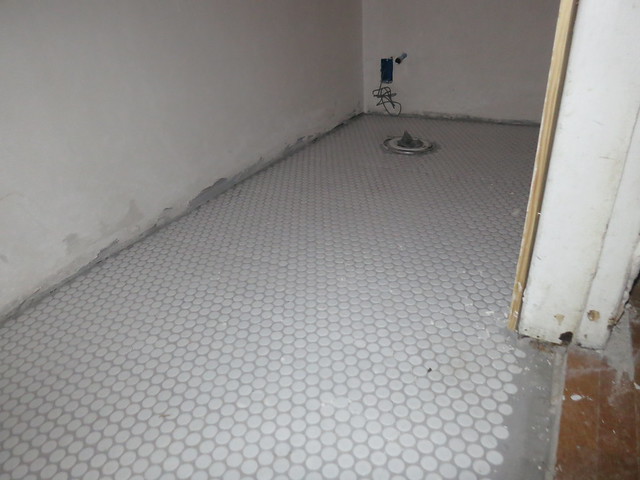
The grout we chose was a medium grey. I didn’t want to do white. I’m just not clean enough to keep it all white. The penny tile is a shiny penny tile and each penny is 3/4″ round. I LOVE LOVE LOVE the way it turned out. I had so much fun learning from my mother who has done so much tiling she’s practically a pro.
Sarah
Bathroom Floor Underlayment – Part 3
In part 2 of the bathroom floor underlayment, we poured a layer of self-leveling compound. I mentioned that it sets up really quick and you can’t keep touching it. Lesson learned. By the time it dried up it was a bit too wavy for our liking. So, back to Home Depot to pick up 3 more bags. This time Stefan and my Father went to town. We really learned how it works on the first go round and the second layer got nice and flat.
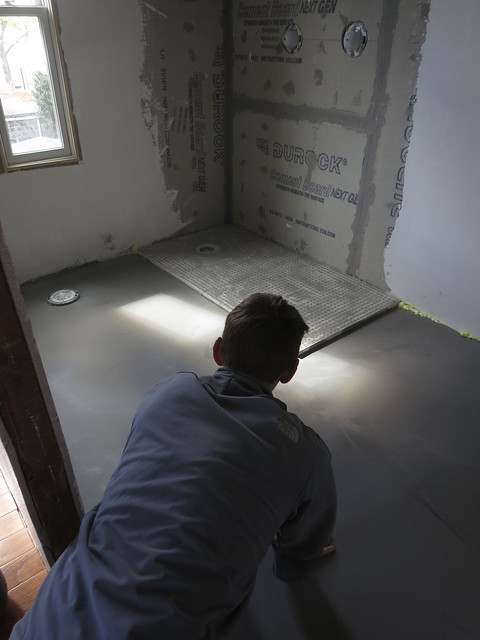
Here Stefan is caressing his dead flat, smooth floor. Between the Self Leveling compound and all the tiling, there was lots of floor caressing this weekend. It helps to show your house you love it. It will behave better if it knows you care.
Click here for Bathroom Floor Underlayment – Part 1: heating mat
and here for Bathroom Floor Underlayment – Part 2: SLC take 1
Sarah
-
Bathroom Floor Underlayment – Part 5 | | Craft, Decor, Art, Garden, and Dessert
[…] down the heating mats. Then we spread a layer of self leveling compound in Part 2 and another in Part 3. Part 4 discusses the curb and wall for the shower […]
-
Tiling the Bathroom Floor | | Craft, Decor, Art, Garden, and Dessert
[…] Part 1: heating mat and here for Bathroom Floor Underlayment – Part 2: SLC take 1 and here for Bathroom Floor Underlayment – Part 3: SLC take 2 and here for Bathroom Floor Underlayment – Part 4: Curb and Wall and here for Bathroom Floor […]


Trackbacks & Pingbacks
[…] already posted some photos of the half bath and the master went very similarly but on a larger […]