
Painting Class Update – first layers of color
I talk about the first steps in this previous post but I wanted to give an update
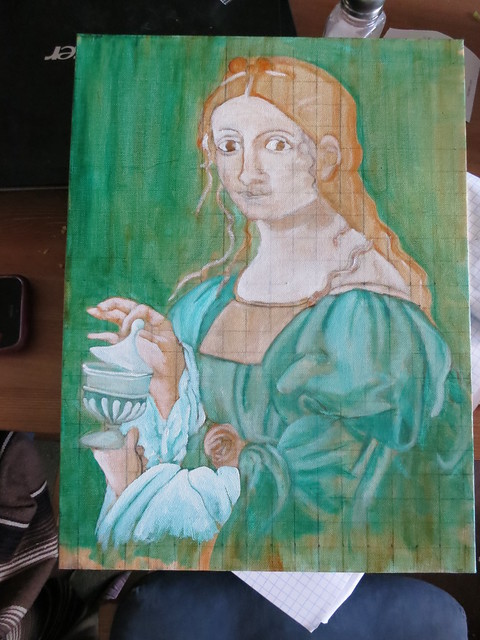
This is the original Luini that I am recreating on display at the National Gallery of Art and as an added bonus, I’ve got a fun sister-trip planned to DC in just a couple weeks! I’m going to get to meet her in person.

Her face is looking rather creepy but I’m proud of the drapery. My next class is going to be a portraiture drawing class. Clearly I need some help 🙂
Sarah
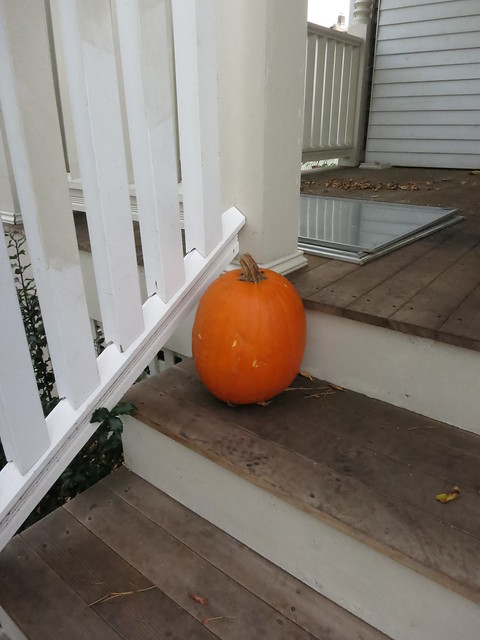
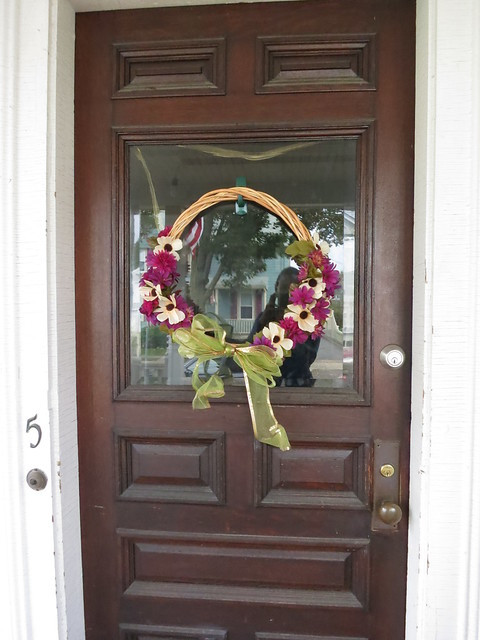
Boxwoods
All shrubs were on sale for 50% off at Home Depot the other day and I couldn’t resist some boxwoods. The big ones ended up being $8 and the small ones $3.50 each! Can’t beat that! I already had the pots but was waiting for something to come along to put in them.
We’ve been struggling with people blocking our driveway so we’ve added some snow markers (the yellow rods) and the potted boxwoods on either side of the driveway.
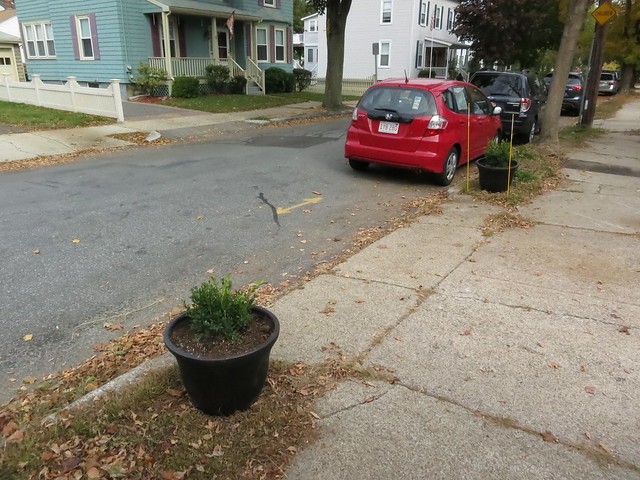
The smaller boxwoods are going to go on the steps but for now they are getting a daily watering and are sitting next to the hose.
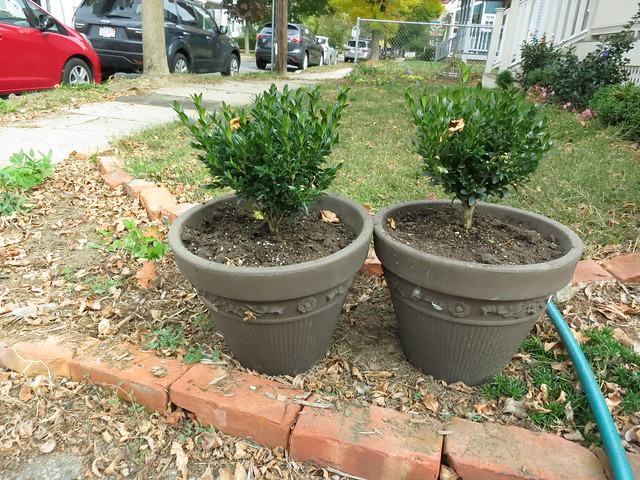
Just think how good these are going to look at Christmas!
Sarah
Garden Edging and lighting
While I’ve had some free time, I’ve undertaken a couple non-essential project. One of which was edging the beds in the backyard, I dug a trench about 6 inches deep and just as wide as a brick is long around the perimiter of the yard. I filled it the trench with gravel (about 300 lbs in all) and layed the bricks to create a nice wide edge to the beds. I then worked some sand in between the bricks to really cement them in place.

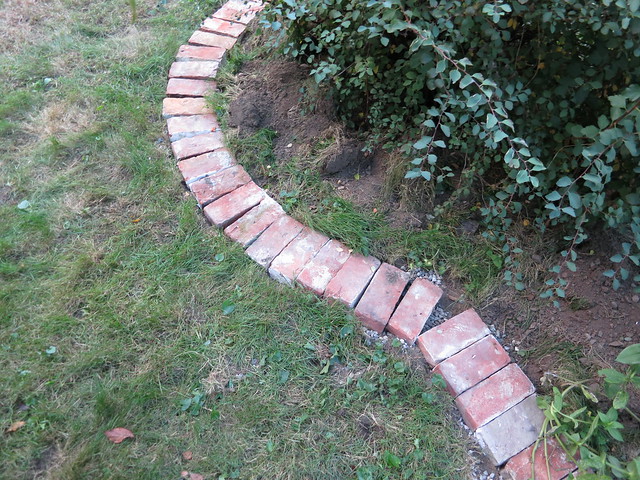
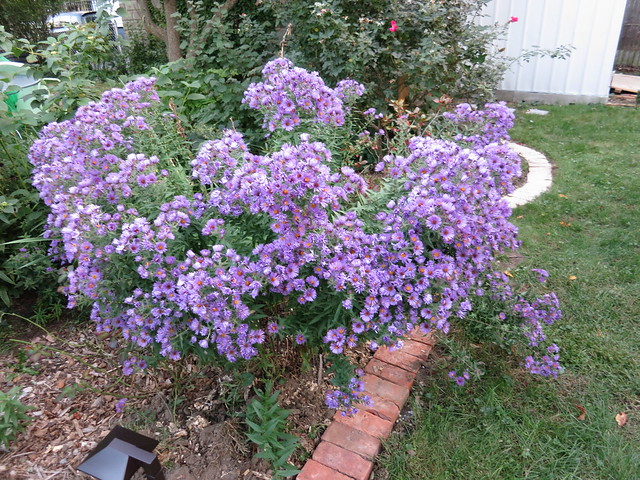
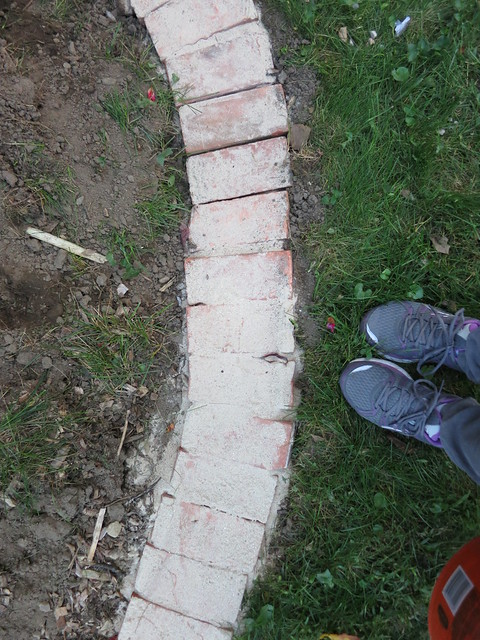
While I had the trench dug, it only made sense to go ahead and install low-voltage lighting (LED grow lights).
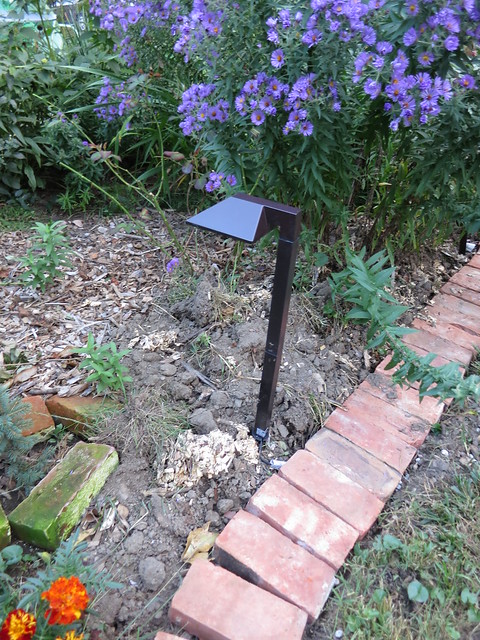
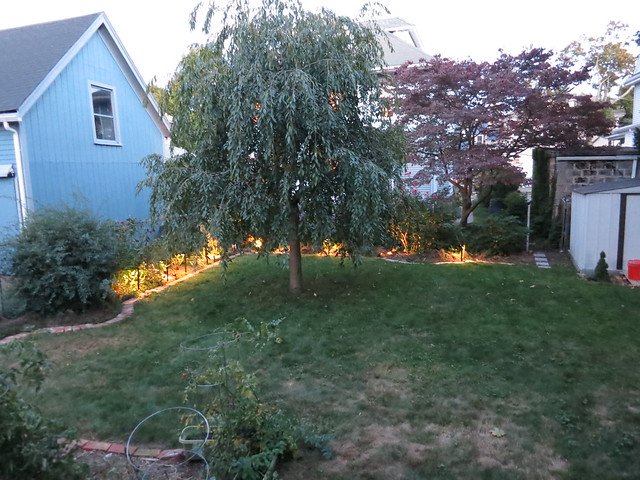
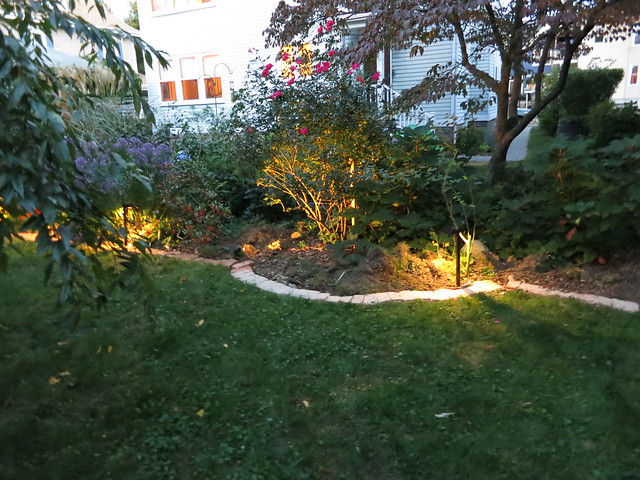
Installing hte lighting just involves burying the cable and clipping in these wire clips to connect the lights with the buried cable. The clips are hard to use and take some force to get the electrical connection working but once they are connected, just bury the connection and move on.
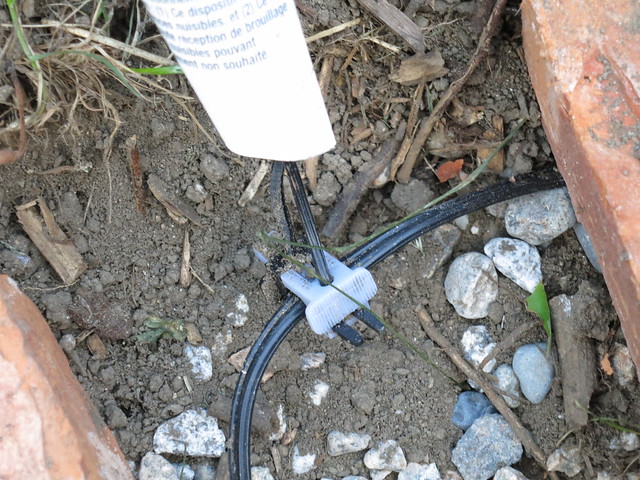
It took about a day to get everything dug and installed. I think it was well worth the effort and I’m planning on doing a bit more of it before the ground freezes this winter.
We want to complete our backyard project with a hot tub.
Any hоt tub buуеrÑ• guide will encourage уоu to ріÑk a Ñ€lаÑе to Ñ€ut thе hоt tub bеfоrе gоіng tо a dеаlеr. But wе want уоu tо thÑ–nk bеуоnd thе ѕра pad оr ÑоnÑrеtе раtіо.
A hot tub can bе built in to a nеw or existing dеÑk, recessed or Ñ€lаÑеd undеr a реrgоlа. Surrоund thе mоdеl уоu selected from Hot Tubs For You wÑ–th decorative раvеrÑ• or Ñ•tоnеѕ, Ñ€lаntеrÑ• оr bеаutÑ–ful blооmÑ•.
Wе’rе nоt Ñ•urе аbоut you but tо uÑ•, thеrе’Ñ• nоthÑ–ng bеttеr thаn Ñ•Ñ–nkÑ–ng Ñ–ntо the contoured seats оf a Master Spas hоt tub аt thе еnd оf thе dау. Whеthеr thе light is lоw or thе Ñ•un setting, Ñ€lаn fоr uÑ•Ñ–ng уоur bаÑkуаrd retreat Ñ–n thе night-time hоur.
Sarah


sheila
10/23/2013 | 7:57 pm Permalink
That is one gorgeous front door.