
Garden Notebook
I thought I’d share a couple pictures of my garden notebook. I love the idea of keeping track of all the things I’ve tried and the outputs and timing of my garden. I created this garden notebook to keep track of the varieties of seeds I’ve grown, how I like them, how I’ve laid out the veggie plot, etc. Even from last year I can’t remember what variety of cucumber it was I loved or how many I planted. The garden notebook is my attempt to record all that data.
I picked up a target brand binder in this great green color.
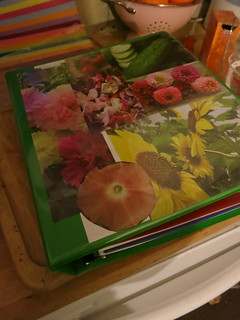
Of course, this is an avery brand binder but I suppose that’s ok. (My father worked for Wilson Jones for many years and I’m a binder snob). I think this one was actually made in the states which generally boasts a much higher o-c number (that’s opens and closes for those of you who don’t know binder-lingo). I could go on, but I won’t. I will say that I take full credit for the 2 pockets on the inside of the binder. 100% me. Yes. I said “Daddy, I’d like more pockets” and he said…”hm, ok” and the multi-pocket was born. But I promised I wouldn’t go on.
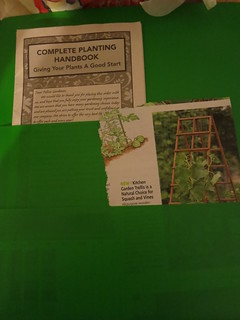
I call the second pocket the Sarah Pocket. I’ve got some various booklets from seed companies and a pen stashed in the Sarah pocket and the regular pocket holds some things I’ve clipped out of catalogs that I’ll tape in next time I’ve got the binder out.
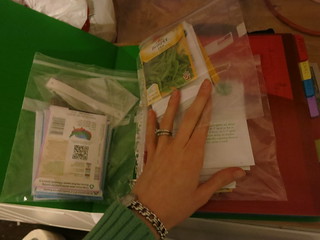
I’ve added some ziplocks with holes to hold my seeds. That’s Flowers, veggies, and save for next year seeds.
I’ve divided the binder into sections: Planning, Journal, Purchases and Seeds are the sections for now. I’m sure i’ll get more as things come up.
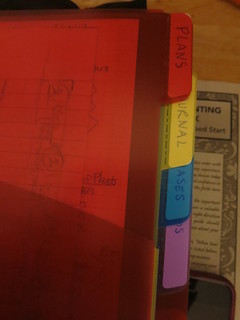
In the Planning section, I have a couple variations of my garden layout. I’ll put in a final layout after things are actually planted. Sometimes you can’t plan 100% and you just have to wing it. This gives me an idea of “the plan.”
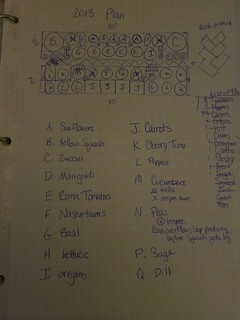
The journal section is where I take notes of when things sprout, and unusual weather, etc. I have in here when I planted the winter-sow things and when my tomatoes sprouted, when they were put into bigger pots, etc. This way when next year comes, I will know rather to shoot for earlier or later etc.
The purchases is where I put my receipts. I envision things like mulch and topsoil deliveries going in here. Just so I know what I paid for things. For other things like seeds, and plants I just make a note of when, where, and how much I purchased things for.
In the seeds section, I have the seed packets taped to notepaper. I figure I’ll have these sorted by year for reference. The packets that still have viable seeds are in the ziplock at the front of the binder but once they’re done, they’ll go back here.
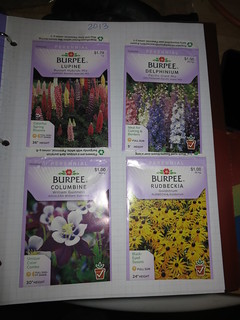
And that’s the binder. The cover is just pictures from Baker Creek Heirloom Seeds gorgeous catalog. I wish I could get prints made from some of these pictures. The veggies are mouth-watering and the flowers have such a sweetness. They remind me of my dear friend Orchid’s Photography which has this undeniable sweetness and not just because her favorite subject is desserts!
What do you think? What else should I include in the binder? I was thinking seasonal pictures of all my beds and the house would be good. Any other thoughts? leave me comments!
Sarah
Weekend Update April 13&14 – garden clean-up and a strawberry cage
This weekend we relaxed in the glory that is having walls in our house. Since the drywall isn’t done, we were a bit stalled on the bathroom project which is the next big thing to get finished.
We did get a little work done here and there. We raked and mowed the lawn really well and then over-seeded. We pulled a full wheelbarrow of thatch from the lawn

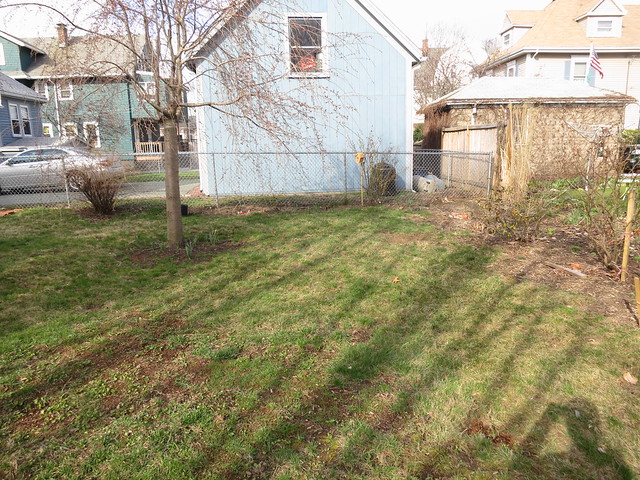
It’s still rather lumpy but after talking with some landscapers, it’s going to be prohibitively expensive to get it roto-tilled and re-sodded. Like $5500 expensive. We figure we’ll just wait a while. We’ll just rake and overseed until things look nice and green and call it
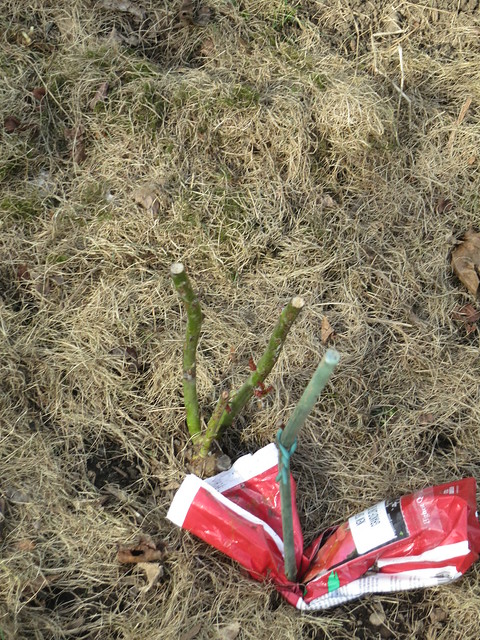
I bought a rose to replace the one that broke this winter.
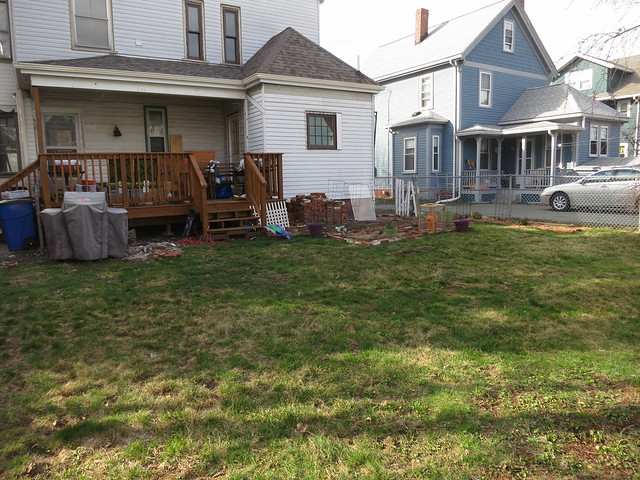
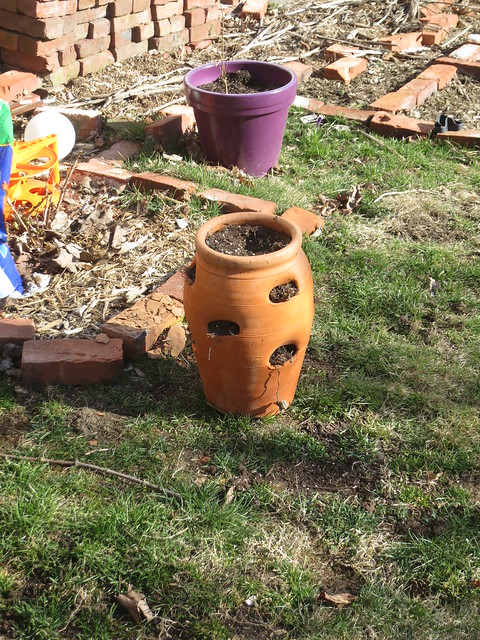
I also spent some time getting my veggie garden going. I pulled out all the bricks, raked back the mulch, added back bricks around the perimeter, and added this super cute path through the middle.
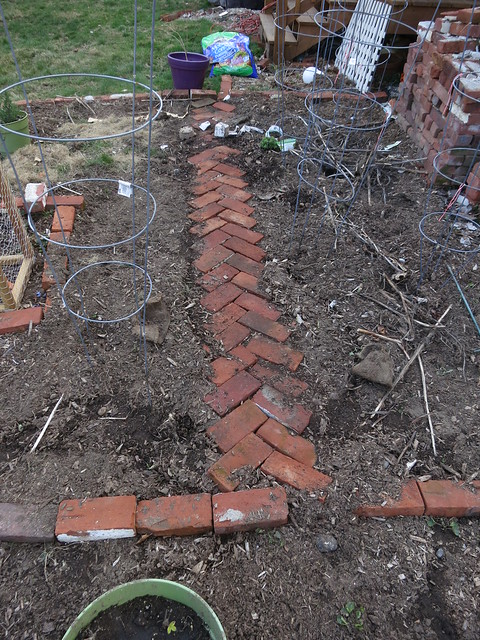
I also made this great strawberry jar cage.
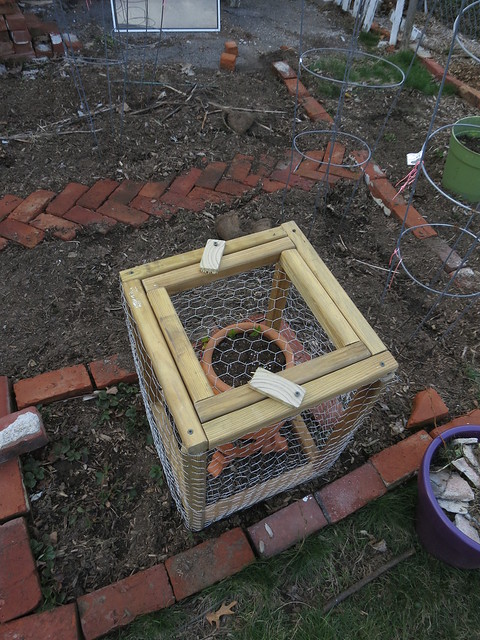
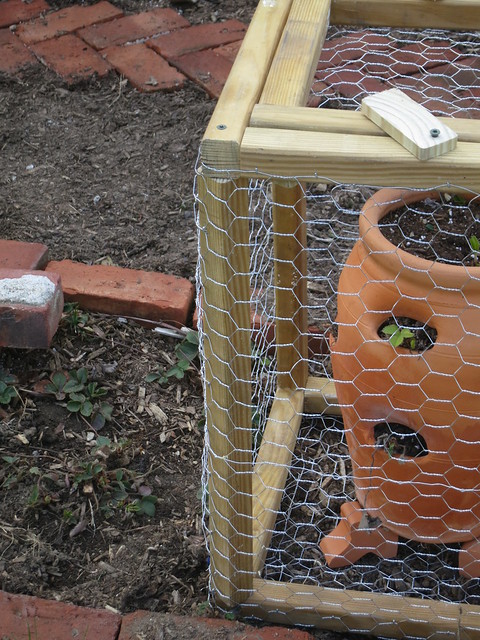
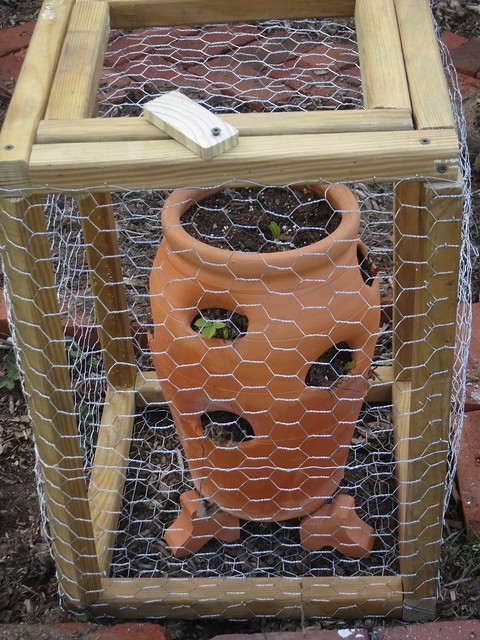
I used left over porch posts from the back deck. I pre-drilled and screwed together the the pieces and then used a pneumatic stapler to attach the chicken wire. It turned out pretty cute and squirrel-proof!
I was a nice, relaxing weekend. Now, we just wait for drywall to be done and get to painting!
Sarah
Drywall is up!
Friday the drywall guys started. They started by measuring the stairs like 5 times just to be sure… Kieren, the boss guy exclaimed in his thick irish accent, “I was up all night thinking about this.” Sure enough, a sheet of drywall doesn’t fit up the stairs… It’s really close though. I think every guy measured the stairs just to be sure. So, they began the painstaking alternate way to get drywall up. Scaffolding and a window.
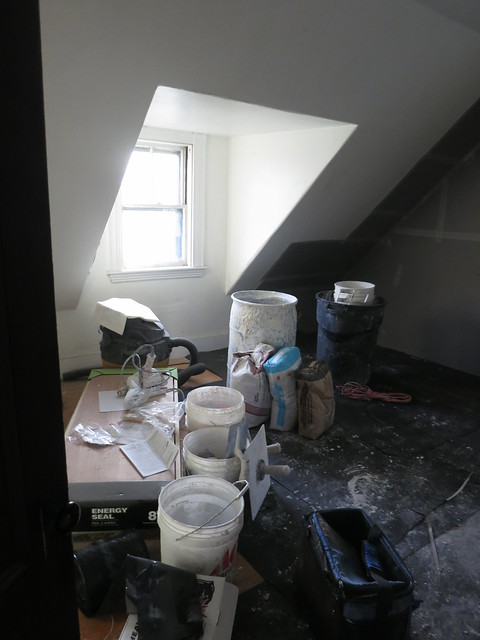
Here’s a picture through the kitchen window. One guy stands at each level of the scaffolding and they hoist the drywall up one sheet at a time.
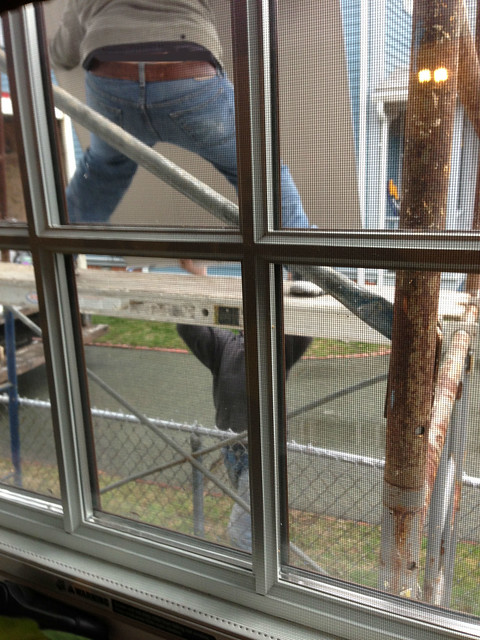
There were 6 guys I think. They needed that many to get all the drywall into the house. After all the drywall was in, they went to town hanging it. Since there were so many guys, it went really fast. They hung everything they had but they were short maybe 3 sheets.
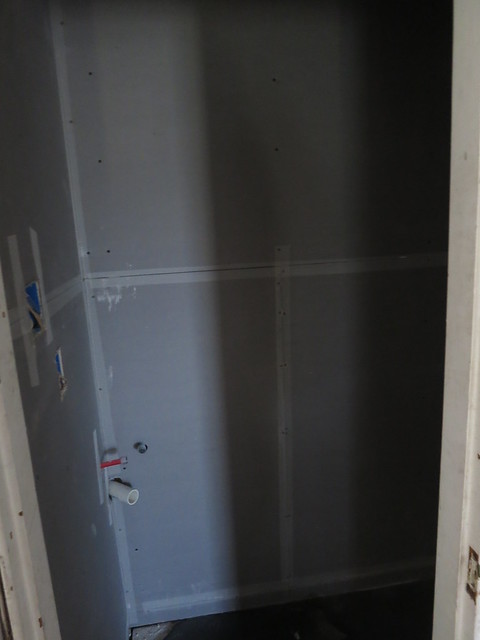
I’ll give you a tour. Lets start in the laundry/closet:

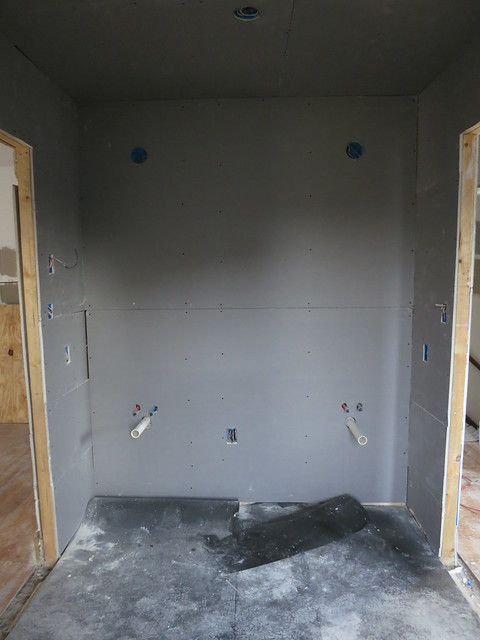
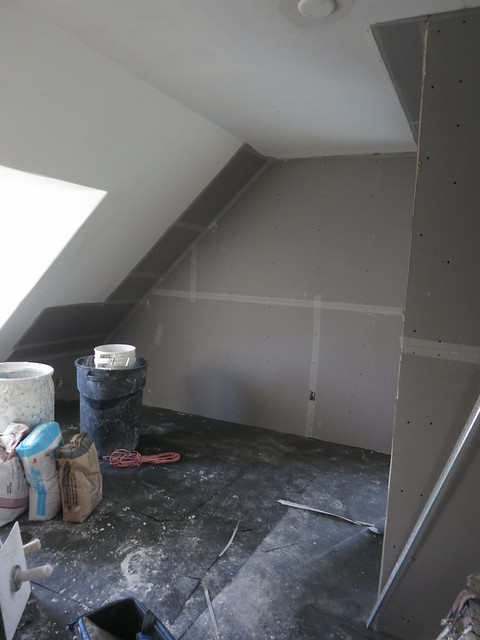
Moving on to the bathroom
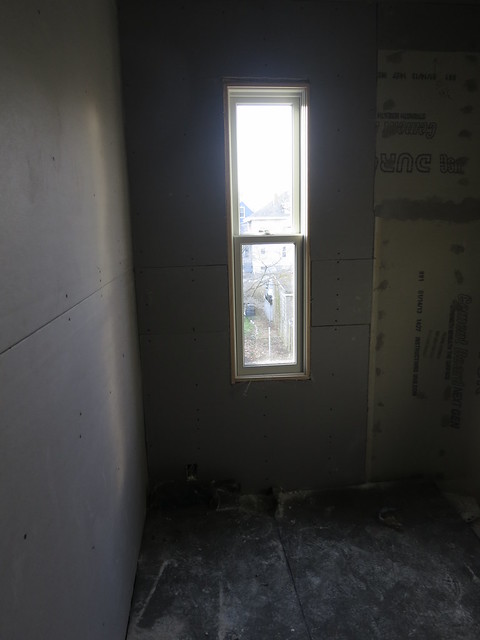
If we go around into the hallway
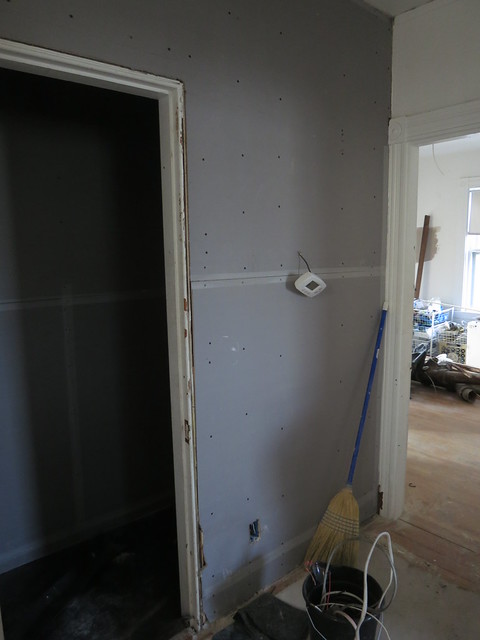
And peek in the half bath
Turn around from there and head into the den. Here we had a beam wrapped and the ceiling covered. The ceiling was in good shape but there was some Calcimine peeling and the easiest thing to do is to cover it. We have a bit of calcimine peeling here and there in the house but we can patch little spots. The den ceiling was the worst area.
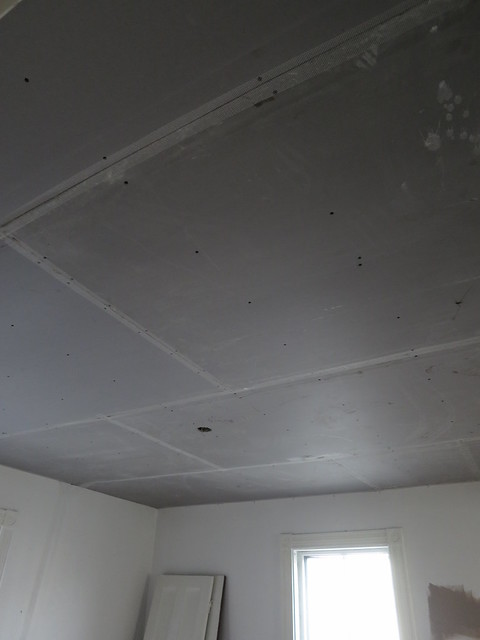
and the beam in the den was wrapped
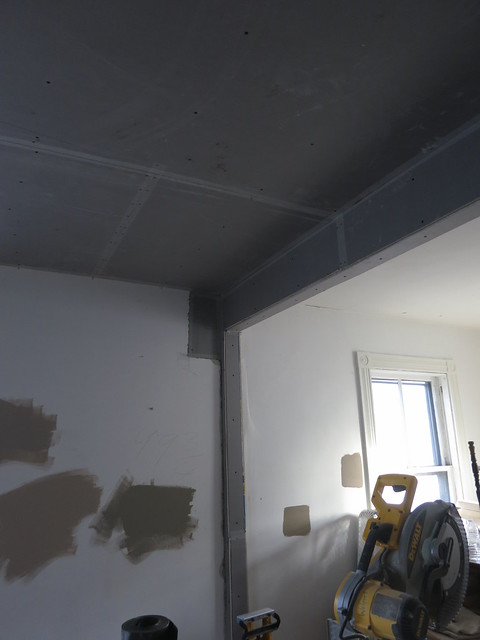
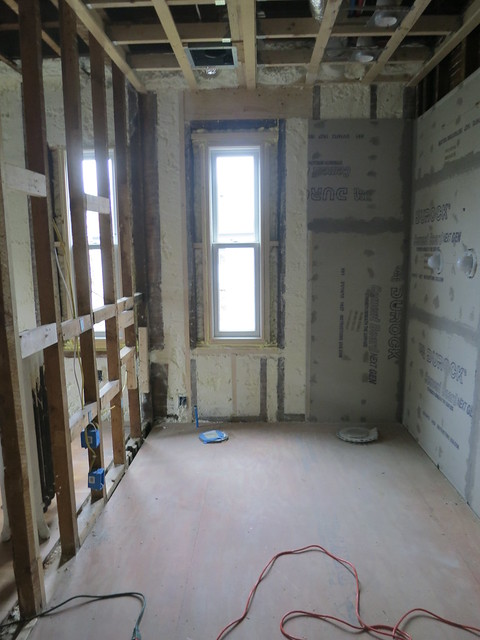
If we run up to the 3rd floor, we can take a peek in the “boy’s room” and see all the plaster mixing equipment as well as some of the patch work they did there.
Some interesting things to note: The pros all called the drywall “blue board.” At first I thought maybe it was some Massachusetts thing. Maybe they call it blue board because the old kind was blue or something. But no, it really is a blue/gray color. It’s lighter and stiffer than traditional drywall and has a tiny bit of texture on the surface. I’m interested to see what it looks like after they put up the plaster. The bags they have are labeled Veneer plaster. I’m not sure if that’s different than the stuff I’ve seen before. I’ve always used pre-mixed Spackle and I assumed that’s what the pros would use just not pre-mixed.
Have you had drywall done before? Was the drywall blue? What kind of mud did they use?
It’s been a dusty weekend and they haven’t even started sanding. Two more days and I’ll get to work cleaning! Yayyy Walls.
Sarah
P.S. We kept our bedroom at 62 degrees last night. It’s been set to 52 all winter but now that we have walls, normal sleeping temperatures it is! It was glorious!
Oh Spring – A Spring list post
Everyone seems to be doing spring posts this week. Making it Lovely has a list up and Young House Love just did some porch work. I want to do a spring post! I love spring. I really can’t wait for it to warm up for sure. We’ve had warm days but I want warm all day everyday.
The remainder of April and most of May will be devoted to getting the bathroom in ship-shape.
Right now it looks like this:
We’ve got a ways to go..
I’m still planning on a bit of yard work during these first fleeting days of spring. I need to plant my gladiolas. I’m planning on setting up my veggie patch. My plan for the patch has changed. I’m planning on a bed about 5′ by 10′ with a narrow pathway down the middle the long ways. It’ll be tight but I’m hoping it will give me an idea of what I should do more long-term.
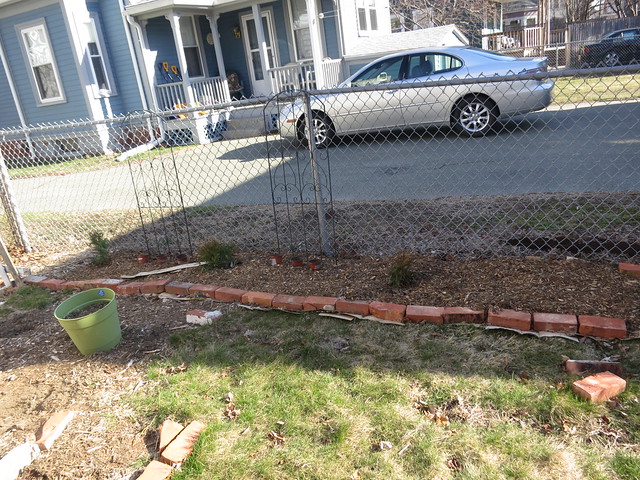
Then of course, the front yard is going to be dug up and re-landscaped.
We’ve also got all the other things on the list that need to be taken care of.
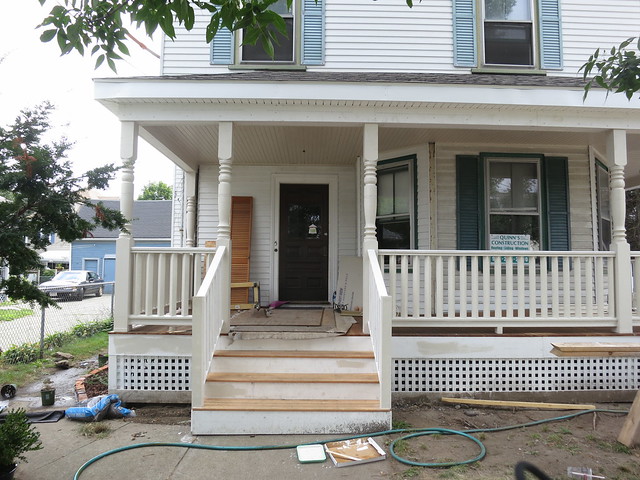
1. Finish Painting the front porch
2. Remove gross chain link fence
3. Talk to neighbors about removing a couple of huge Norway Maples
You can see them in the backyard picture above, behind the ugly chainlink fence
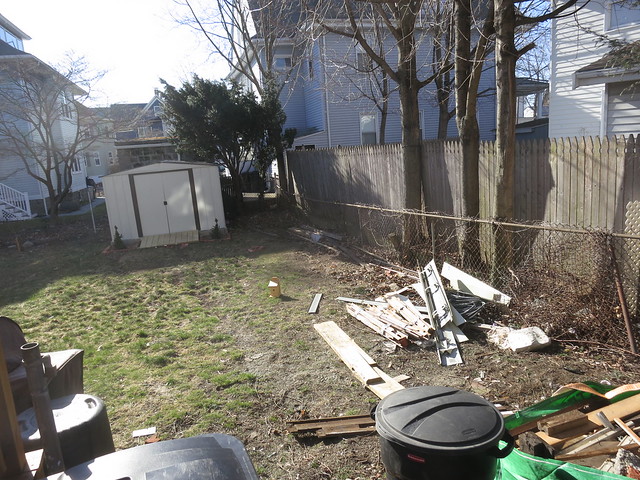
4. Rake, re-seed, and figure out what to do about our Lumpy Lawn
5. Build a cage for my strawberries
6. Plant Arborvitae hedge
7. Build trellis privacy screens (wait until next summer)
8. Prune Cherry Tree
9. Mulch the back beds
10. Replace the rose that was killed by the snow. Anyone know what kind this is?

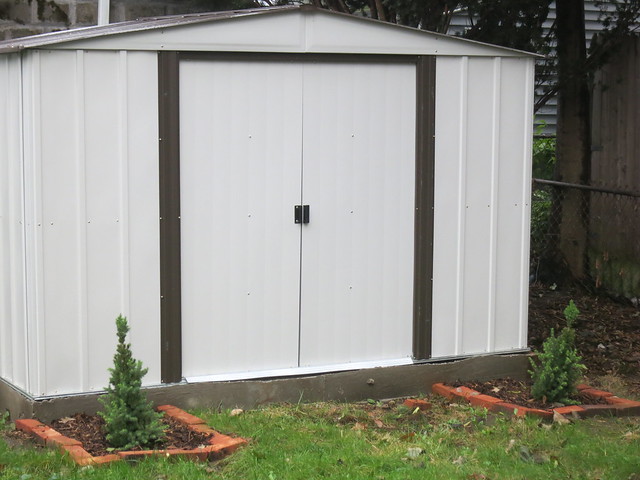
11. build a leaf mold compost pile to the right of the shed
12. Add trellis to the shed and plant something that will grow up and over the shed.
Big list. Not sure how much of this will get done, but I’m excited just to get to be outside. It’s been a long, cold winter.
Sarah
-
Landscaping the front yard | | Craft, Decor, Art, Garden, and Dessert
[…] I painted the porch! Whoo. Knock that off the list! The step rails still aren’t painted but they need to be tightened up and caulked so I put […]