
Vintage Lace Christmas Tree Skirt
Stefan and I went down to Houston for Thanksgiving to visit my parents and sister. Here is the required “on our way” selfie from the Airport. I think the “on our way” selfie is the only real reason my parents have iphones. Here we are on our way!

While we were in Houston, we got to meet my parent’s darling kitten Lucy. Don’t mind the blury Stefan, the photo is about Lucy.
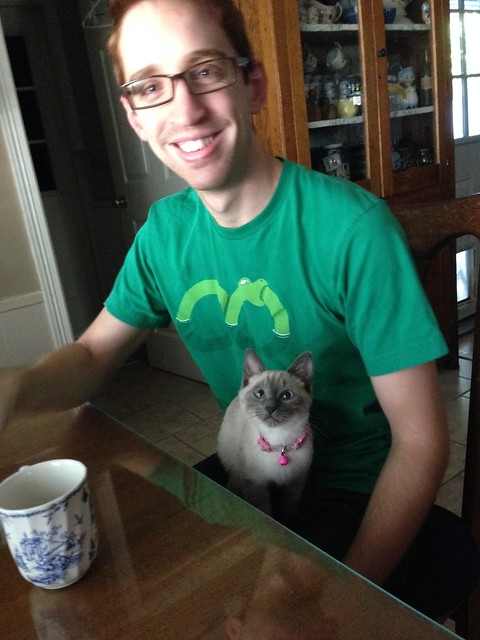
Fun Fact: Lucy is named after Lucille Ball. She must be called with a Spanish accent a-la-Ricky Ricardo “Luuuuuucy!!”
My parents also have a goofy little Beagle named Bella. She helped us with the Vintage Lace Christmas Tree Skirt that I’m going to tell you about.

First we cut out a circle in the backing fabric. The Christmas Tree Skirts were just about 55″ in diameter. We cut out circles from Damask tablecloths that my mom had lying around…you know, cause everyone has damask tablecloths lying around.
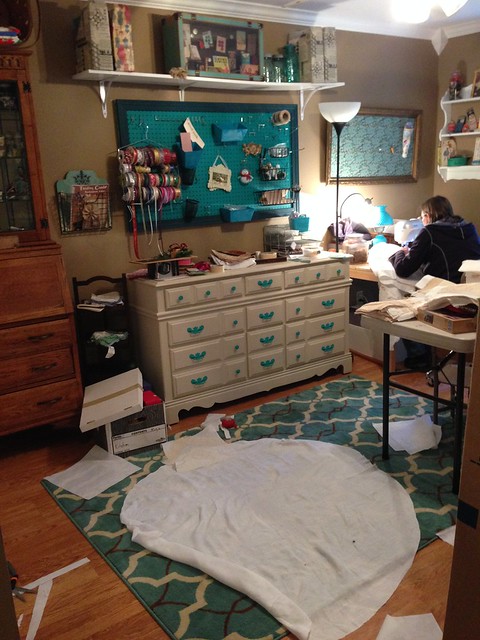
Just look at that cute craft room!
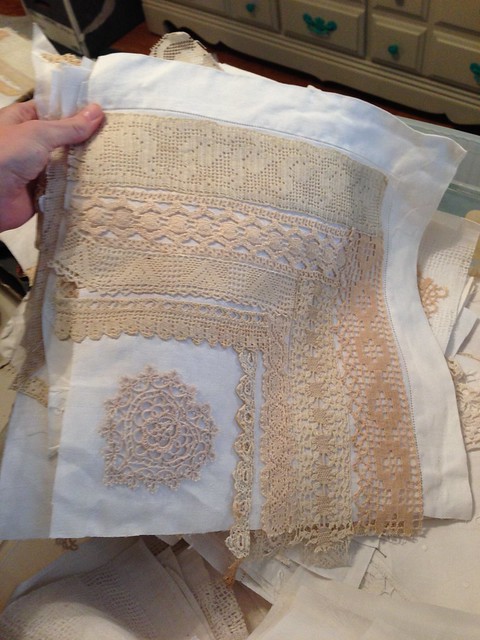
We also had lying around, this box full of lace squares….
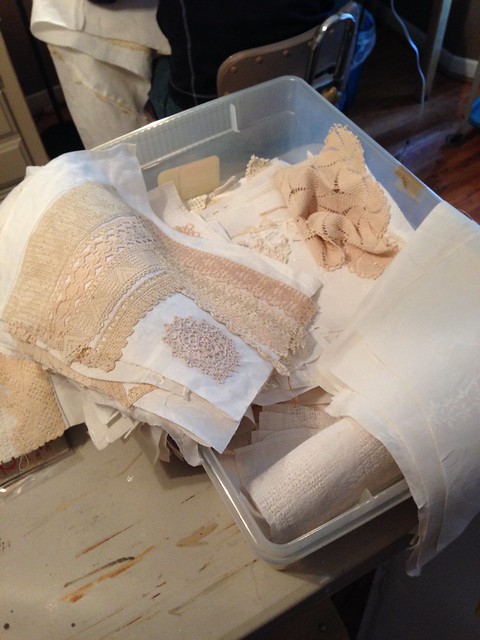
Now, who exactly has squares of lace and damask tablecloths just lying around. Well, we do. This was an unfinished project from about 20 years ago. My mom and Grammy would plan these fun projects, we can did our projects thanks to short terms loans can benefit small businesses, was a amazing opportunity.
These lace squares were one of their projects. The idea was to make a tablecloth out of squares of damask tablecloths with antique lace tacked on. Now there are a few problems with this grand plan,
1. The sheer amount of time needed to tack lace onto squares of fabric is astounding. And, of course, Mom and Gram weren’t going to go half-way with it. Oh no, no checkerboard pattern with blank squares, no 3 pieces of lace per square, and certainly no 42 inch round tablecloth for them. It had to be huge, like 100″ x 100″ I’m sure so it would have a nice drape on Gram’s 52″ round table. Which brings us to the next problem.
2. Who would eat on a tablecloth that took 20 years to make? Who would let anyone eat on a tablecloth of that intensity? Let alone, who would think it was a good idea to start a project to make an impossibly fussy, non-washable tablecloth anyways? Mom and Gram that’s who. That’s not to say 6 year old Sarah didn’t have some part of this saga. There is, in a jar in my house squares with copious amounts of glue and little scraps of lace that 6 year old me made. But guess what, 6 year old Sarah got farther than Mom and Gram did!
So 20 years ago, Mom and Gram started this project. It was a multi-trip project that they worked on off and on for a couple years. Eventually it got waylaid by other projects but it did come out again when Grammy was in the hospital and when Mom was spending a bunch of time with her at the end of her life. It was the unfinished project that they worked on together for years. You could say I inherited this multi-decade, multi-generational project. Gram was a starter and I’m a finisher so there have been a good number of multi-generational projects!
Back to the Christmas Tree skirt. We decided on a Christmas Tree skirt because Christmas is the time of year for something this ridiculous, and we are very excited for this year, specially because we were able to find the Best Solar Christmas Lights. Christmas Tree skirts also tend not to get dirty (fake trees, of course). It was also a project of manageable size… I can just imagine how this conversation would go with Gram if she was still around. I’d give her a hard time about taking on overly-ambitions projects and she would say “Well…” just like my Mom says now.
So we took these squares of damask tablecloth with lace on them and laid them out for optimum effect in our Christmas Tree Skirts.
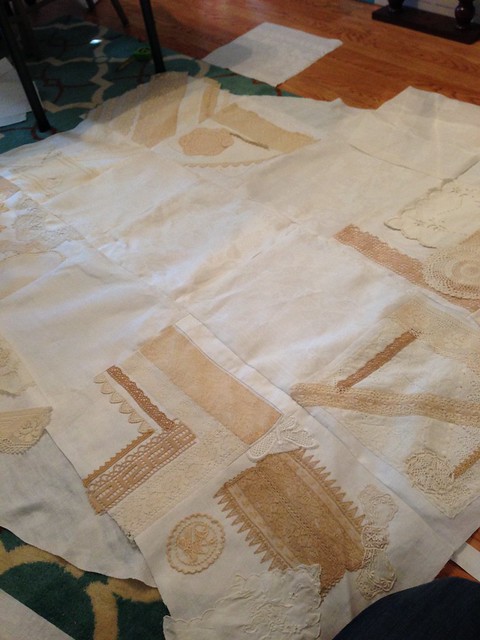
We sewed them together and spent a lot of time ironing…Mom sewed and I ironed…. blach.
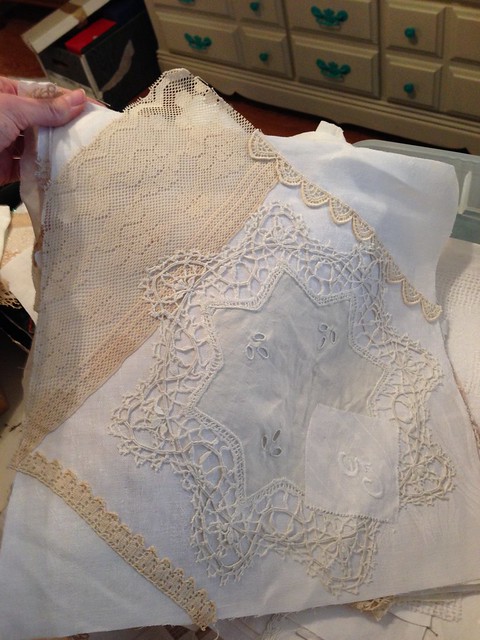
All that lace is so pretty!
Mom and I each got a square with a G on it. A bunch of the lace came from my Mom’s Dad’s Mother’s Aunts…so my Great Great Great Aunts, Ruth and Rose. The G stands for Griffith…I should figure out who that is. Uncle John? Fill me in..
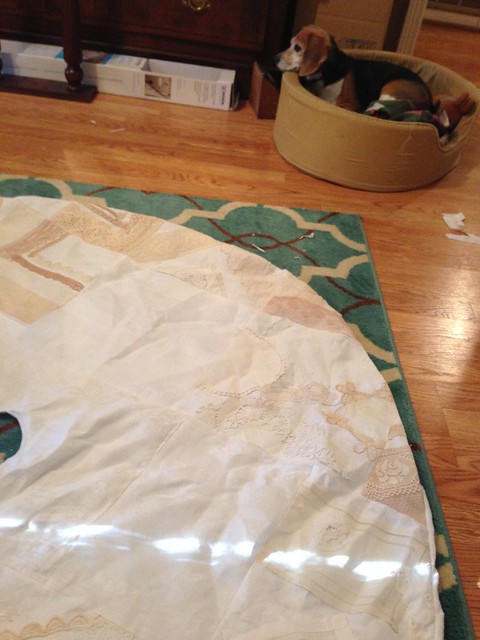
Bella the beagle helped us out while we worked. That dog is a sleeper. She does nothing but sleep so we put her bed in there and she was content to watch instead of walking all over everything with dirty paws. If only Vector was that easy to out-wit!
The finished product:
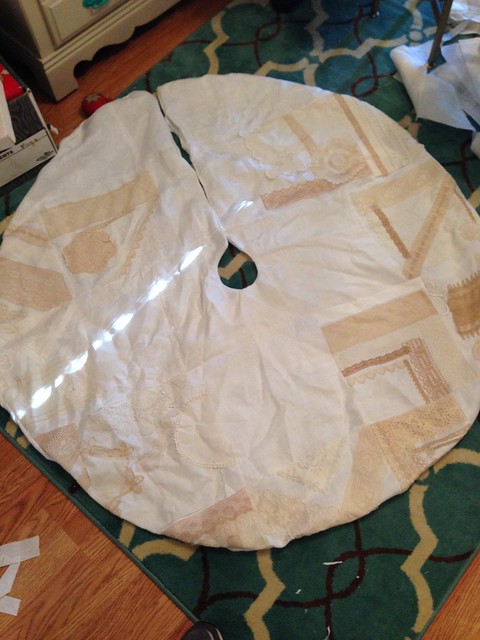
Mom and I each made one. I can’t wait to get it out under the tree this year. It is such a big piece of what I remember about Grammy. It’s so nice to have something that so wholly reminds me of my Grandmother and Christmas is the perfect time to get it out.
I’ll be posting pictures of all the Christmas Decor so you’ll get to see the final product in place!
Sarah
Re-Upholstered Eastlake Chairs
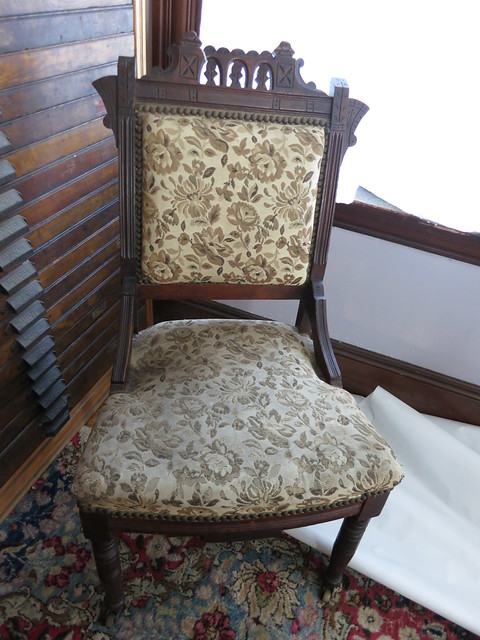
We bought a pair of Eastlake chairs on super sale in New Bedford MA a while ago. They were $12.50 for the PAIR! They were in decent shape but the fabric was worn and faded, nothing that couldn’t be fixed. The springs were in good shape and didnt’ need to be re-pulled so I just recovered the cushions as-is.
Here is the before:
And here is the after:
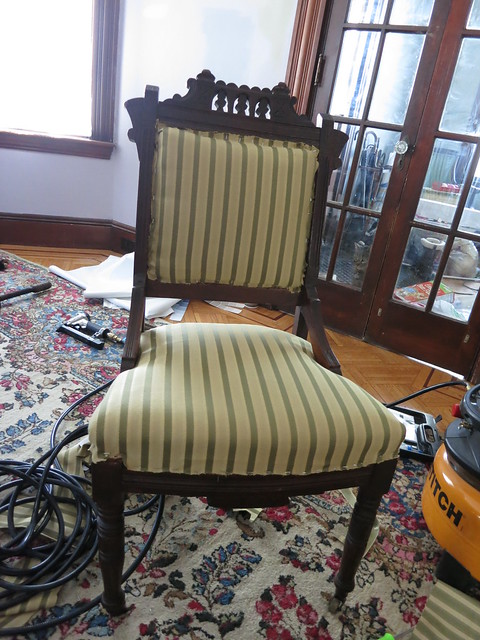
I still need to get some trim to cover up the staples but that will go on quite easily with hot-glue and the chair will be ready to go. I chose this nice stripe since I found 3 yards of it on sale at a local discount fabric store. I knew it would be perfect for these chairs and the stripe is just what we needed to bring them up-to-date while still lending a traditional feel.
They are beautiful chairs and I’m looking for another pair as well as a settee in the Eastlake style for the Piano room.
The original fabric had a nail-head trim but I think I’m going to stick with just a simple gimp trim like this one:
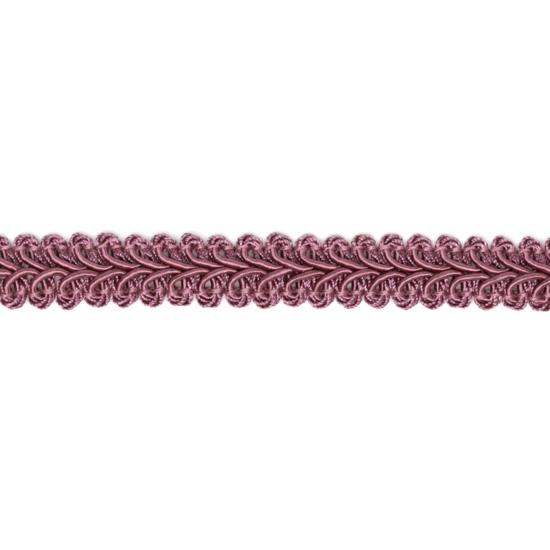
I’m keeping my eyes peeled for something green or gold that will match the fabric well. Until I find it, the chairs are functional and at the very least, cleaner looking than they were before!
Sarah
Filling up the China Built-in
After the Christmas decorating rush, I took some time to go through some more of the many many bins in the basement. Most were filled with china of one variety or another. I’ve unpacked most of it and have started arranging it in my china cabinet built-in in the dining room.
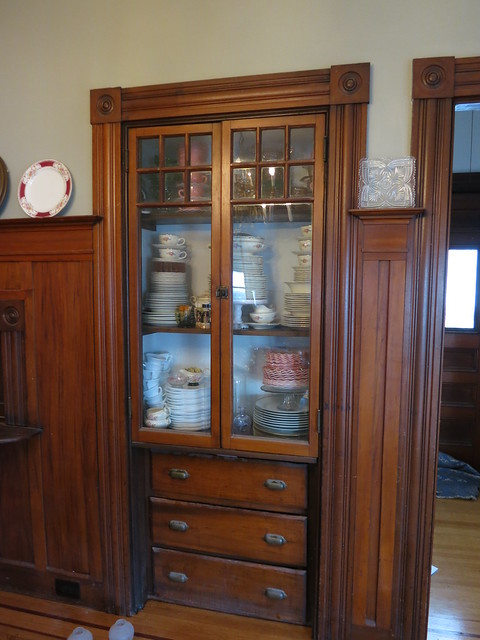
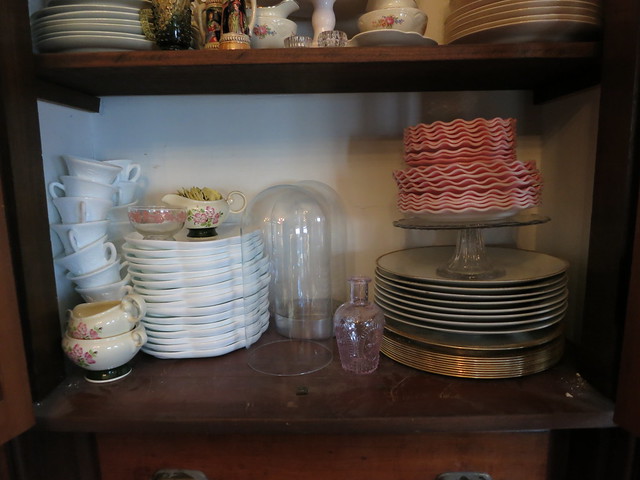
This set of China I purchased for myself as a wedding present of sorts. It’s Homer Laughlin and not super rare or valuable but I love the scalloped plates, the cream background, and the gold trim. Very sweet and girly.
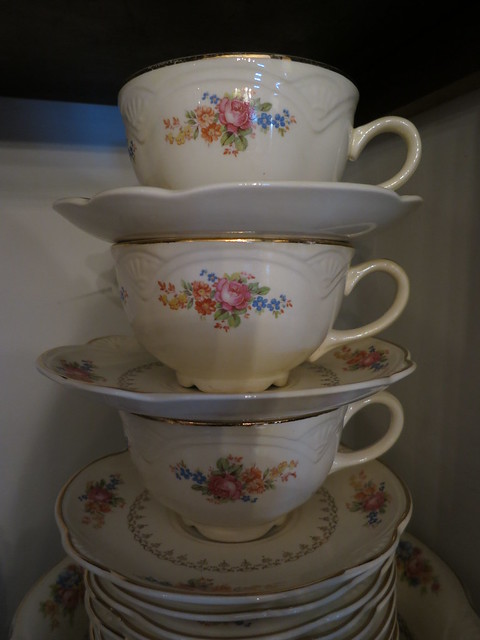
I got a service for 12 give or take with many fewer cups and saucers which is really a blessing in disguise. I’ve also got a toureen with a broken handle, a gravy boat, cream and sugar, soup bowls, dessert bowls, dessert plates, salad plates, and dinner plates. It’s a huge set and I’m so glad I picked it up when I did.
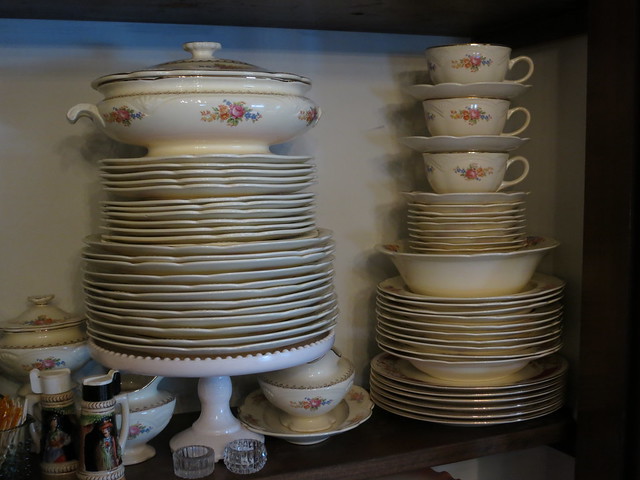
I’ve got the plates propped up on a cake stand which is a great trick for filling up a china cabinet. It gave me more room on the shelf for the little stuff.
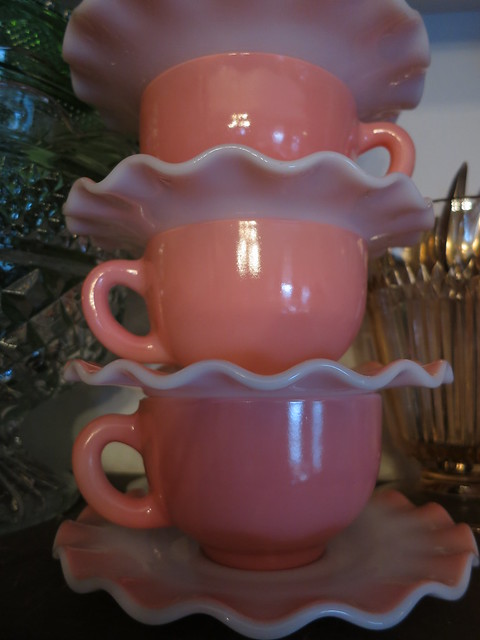
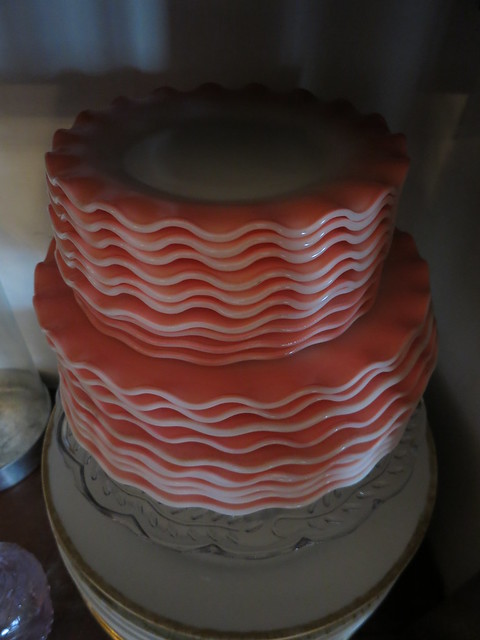
The other set of china that I’m super proud of is my pink ruffle. I picked up my first set of 4 at a local antique place. I fell in love and couldn’t leave without it thought I believe it was super cheap – like $12 for a service for 4. The bowls had been stolen so she had it discounted. I bought the second set in Houston somewhere and when I saw it, I again wasn’t leaving without it. I’ll be collecting pink ruffles forever I’m sure and I’ve picked up a few single pieces here and there when I see them. It’s just so striking and adorable. I love it! It’s not marked but the research I’ve done indicates it is from the 1940s.
The display still has a ways to go but talking about the display cabinet wouldn’t be complete without mentioning the milk glass snack sets.
Yes, that is a lot of snack sets and no, that isn’t all of them… They were my grandmothers. I have 40 something sets. They have been moved across the country and back several times and whenever I see them I just think to myself that I am just as crazy as Gram was and I couldn’t be prouder. When she died and we were cleaning out her stuff, it was like Mary Poppin’s carpet bag. You just couldn’t understand how so much stuff came from such a small place! The same is true with me I think. I’m really good at storing my things and knowing where I’ve stashed them.
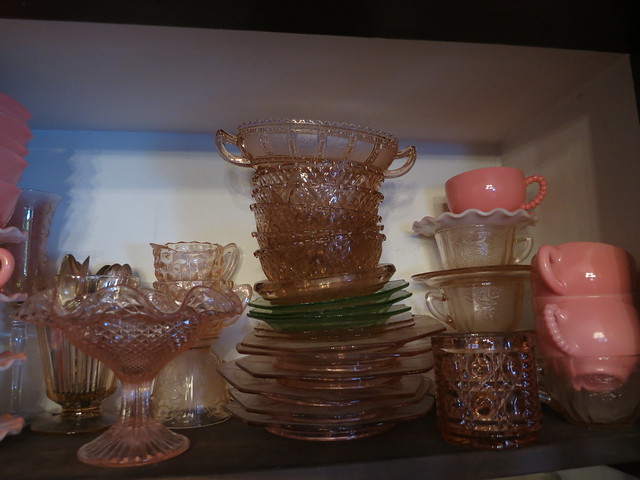
The top shelf in my china cabinet is currently filled with pink depression glass. I’ve got a small collection going but it isn’t displaying as well as I would like. I need to work on it some more and see what I can do.
The only bins filled with breakable things left in the basement are filled with “Koala and Nonny Figurines” (Nonny was my great-grandmother) and my punch bowl and cups. Just a bit more unpacking to go and then we’re going to need to figure out what to do with my book collection….
Sarah
-
Are the walls in your dining room painted a light green? The back of your china built in needs a color. You might think about painting it that light green or even another color. Your china will look so much better.
I’m so happy for you. Can’t wait to see it. Enjoy!
-
Agreed. I used up all the green paint for the dining room so I need to get another can before I can paint the china cabinet. I half considered covering some posterboard with fabric and sticking them in. Maybe a nice stripe? Then again, I have so much china it may just be too much.
-
-
Open post – Gilded Age Edition. - Victoria Elizabeth Barnes
[…] Ireland.  The rest of the photos are a mix of giant Victorian stuff, thus I approve. Thanks to DIY Sarah for the […]
Trackbacks & Pingbacks
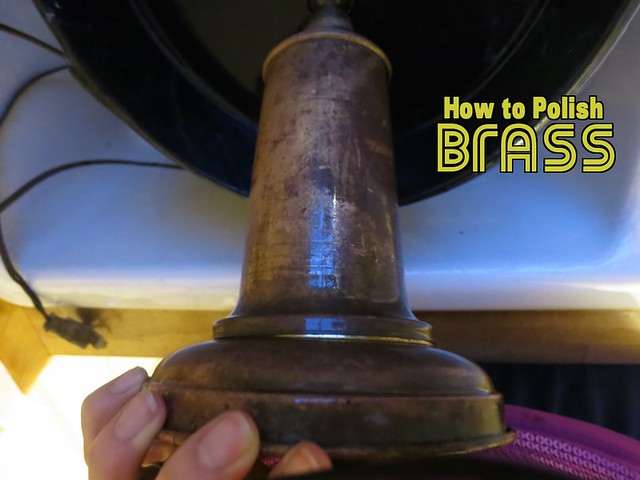
How to Polish Brass
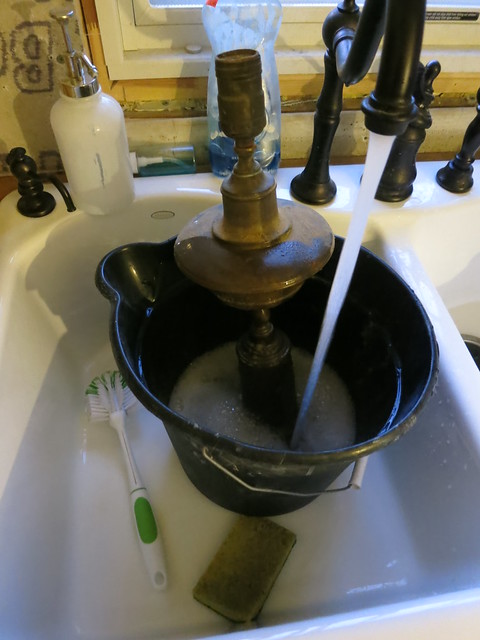
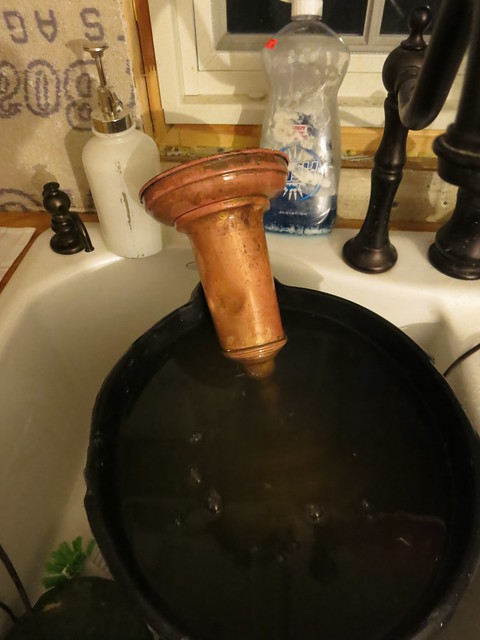
Step one,
soak and scrub in a hot, soapy water solution.
Step Two
Then soak in a vinegar, salt, and water solution. The piece will come out kind of red-ish. I had to soak in 2 stages in order to get the whole lamp done.
Step Three
After the lamp came out all red looking, I took a cotton rag (old t-shirt or sock) and used this metal polish to restore the shine.

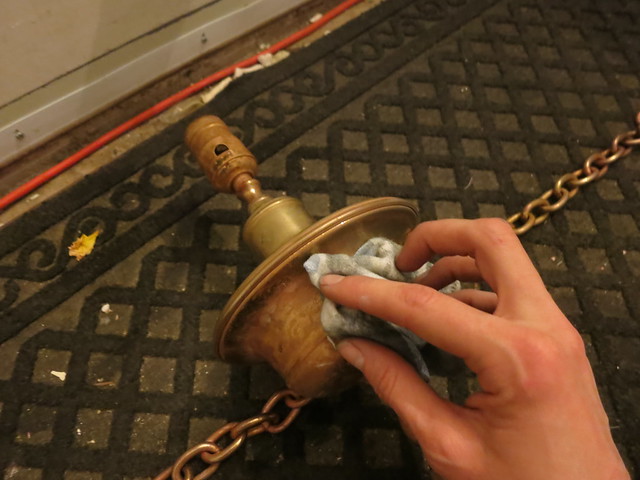
Here you can see one side is polished and the other isn’t. It shines up so nicely from the red color.
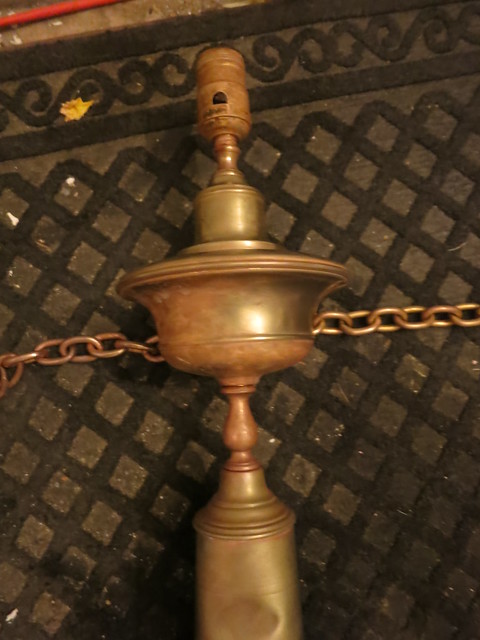
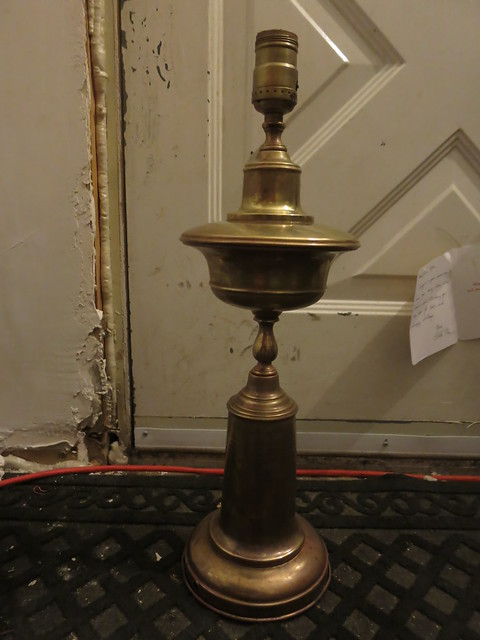
And ta-da, the once brown lamp is brass once again.
A few tips:
- I used about a quart of vinegar for 2 gallons of water
- Really hot (boiling) water worked much better/faster. Â I think the hot water is key.
- Check your polish to ensure it leaves a silicone residue to protect the finish. Â Otherwise you will have to use a wax or silicone tarnish prevention sealer
Other Methods:
I tried several methods to remove the tarnish and the soaking in a salty vinegar solution really worked the best.
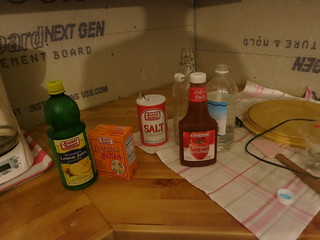
1) The ketchup method:

Things got sticky and ketchup is basically just vinegar and salt anyways.
2) Baking soda and lemon juice

It fizzes a lot so be careful. The baking soda gives a good amount of grit to scrub with without harming the brass but scrubbing is way more difficult than soaking. I used the post-fizz paste on a toothbrush to get into the groves which was useful on some other brass pieces with deep groves.
-
Don’t mind the backdrop of our half finished kitchen, and ugly backdoor.
-
yeah..also the ugly pictures because there isn’t enough light in the kitchen at night… We’ll get there 🙂
-
Sheila
12/2/2014 | 10:18 pm Permalink
Loved your post. I laughed and cried. You said it all perfectly. Thanks for a great fun week
Laura
12/12/2014 | 2:44 pm Permalink
Enjoyed reading your post. Loved how Bella helped. 🙂
Trackbacks & Pingbacks
[…] gold ornaments and all of my pinecone ornaments. I really like pinecones. I also used my new Tree Skirt and put the tree on a box to make it about 6 inches taller. I highly recommend this little […]