
Re-Upholstered Eastlake Chairs
We bought a pair of Eastlake chairs on super sale in New Bedford MA a while ago. They were $12.50 for the PAIR! They were in decent shape but the fabric was worn and faded, nothing that couldn’t be fixed. The springs were in good shape and didnt’ need to be re-pulled so I just recovered the cushions as-is.
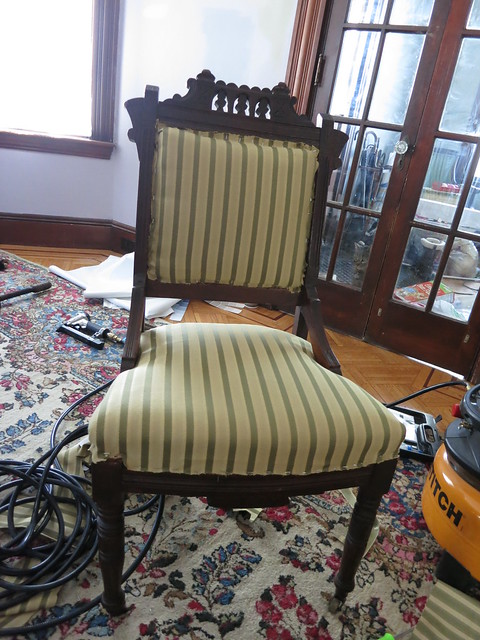
Here is the before:
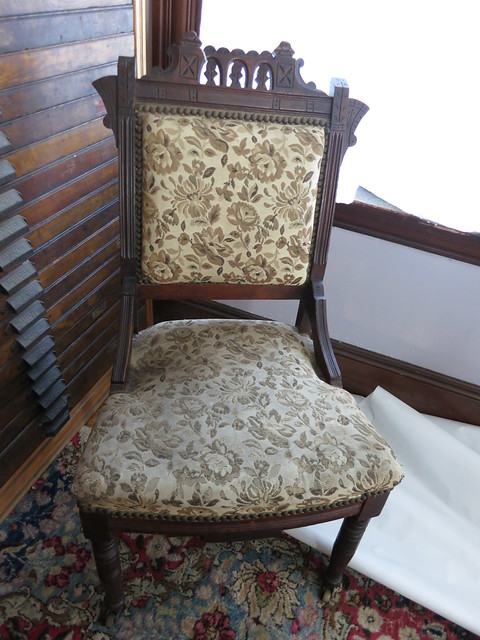
And here is the after:
I still need to get some trim to cover up the staples but that will go on quite easily with hot-glue and the chair will be ready to go. I chose this nice stripe since I found 3 yards of it on sale at a local discount fabric store. I knew it would be perfect for these chairs and the stripe is just what we needed to bring them up-to-date while still lending a traditional feel.
They are beautiful chairs and I’m looking for another pair as well as a settee in the Eastlake style for the Piano room.
The original fabric had a nail-head trim but I think I’m going to stick with just a simple gimp trim like this one:
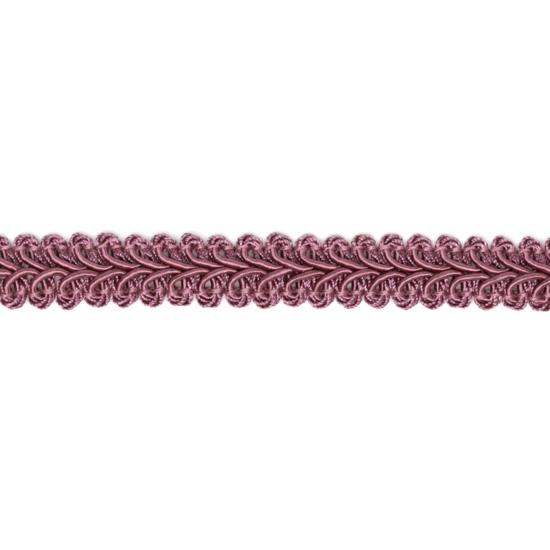
I’m keeping my eyes peeled for something green or gold that will match the fabric well. Until I find it, the chairs are functional and at the very least, cleaner looking than they were before!
Sarah
The Piano is here
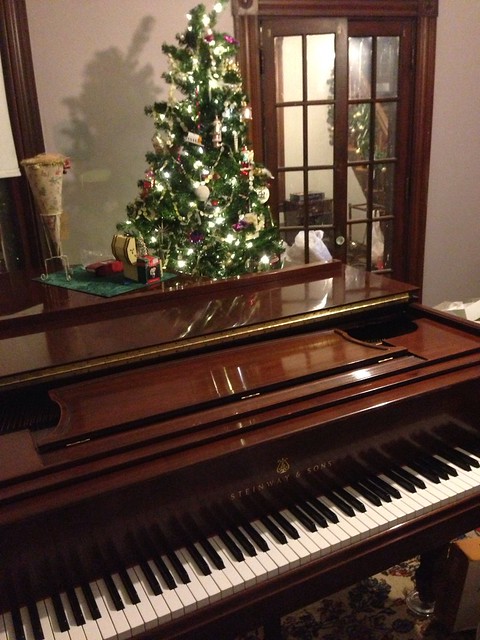
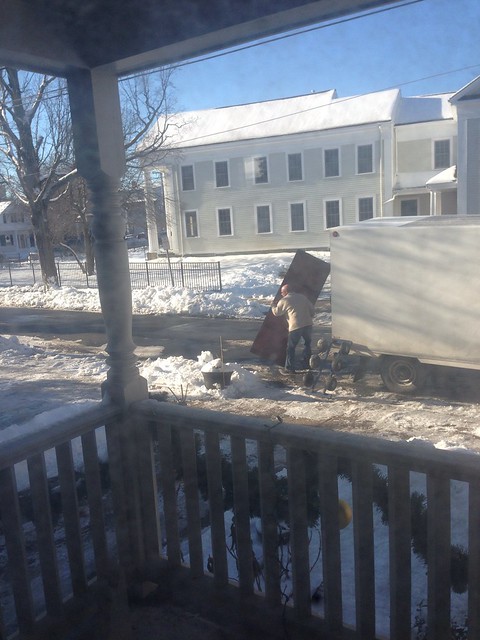
Before Christmas, the piano came. Â It’s a Steinway Model L and it is beautiful.
We had professional piano movers move it from Stefan’s Parent’s house to our Piano room.
They unloaded it from the truck:
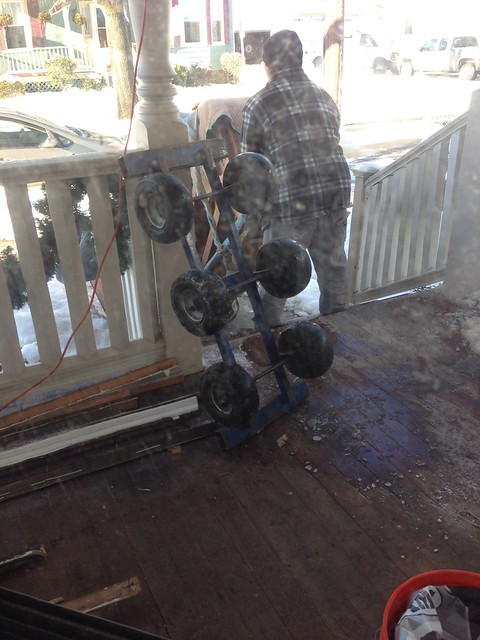
Carried it up the porch steps:
Finagled it into the Piano room:
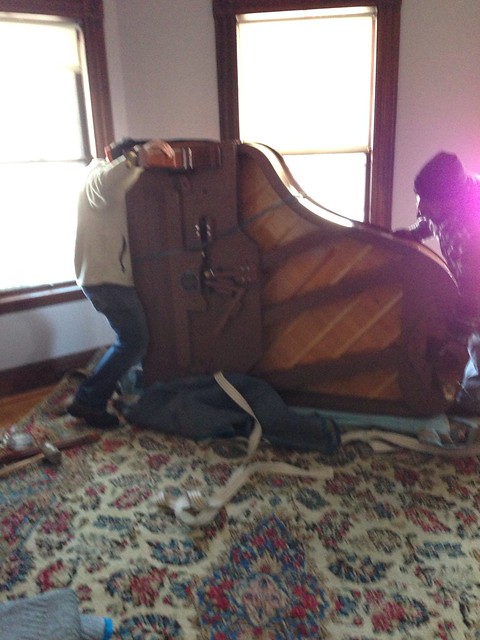
and set it up.

All while I was taking pics on my phone and sending them to a very nervous Stefan who was at work anxiously awaiting word of his piano.
The piano looks beautiful in the space and we have started a wonderful evening tradition of Stefan playing the piano while I read. Vector gets in on the action too generally begging for attention and being cute.
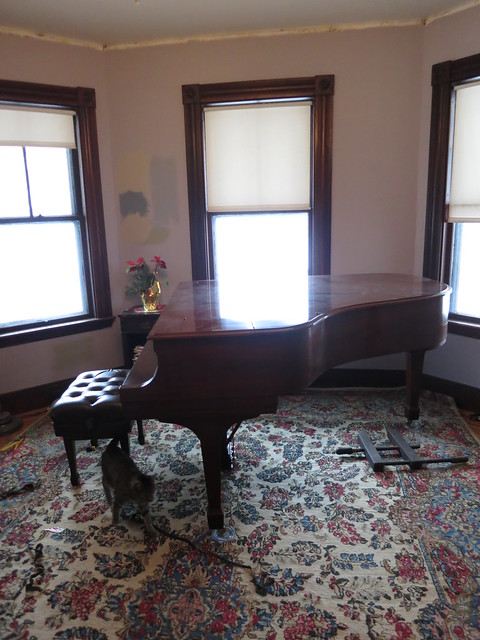
It’s so nice to have a place for us to relax and have some music in our lives. Now I just need some more furniture, a decent paint color on the walls, and to gather up all of Vector’s toys and that room will be complete!
Sarah
-
-
That just means you should come visit!
-
Vintage Chandeliers are up!
We have light!!!!
It’s amazing how much you under-appreciate overhead light until you don’t have it anymore. I can’t even imagine pre-electricity. How annoying would that be!!
It was the day of the big Christmas Party, the weekend before Christmas. Sarah was cleaning all morning and then baking…lots and lots of baking. Those are perhaps normal things you would do before a party – clean and bake. But what about Stefan, surely he was helping? Nope..Stefan had an even more important job to do – finish the electric so we don’t freak people out with our exposed wiring. Yes, it is the day of the party and Stefan is re-wiring switch boxes, running around putting switch covers and outlet covers up, and oh yeah, hanging lights so that, you know, people can see each other!
We sure know how to kick ourselves into gear.

Just the week before, I purchased this chandelier at a Salvation Army for $7.99. I figured for $8 we could use it as a temporary light in the piano room but after we got it installed, I have to say I like it!
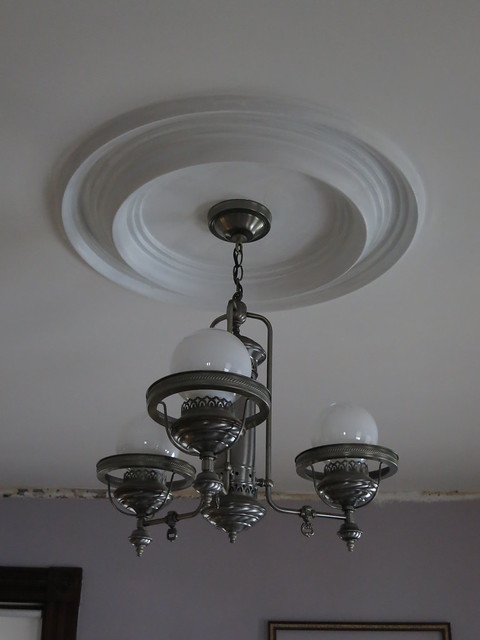
It would have originally called for hurricanes and bowl shades something like this one:

But Stefan had the great idea to pop some 4″ globe bulbs into it since we didn’t have the shades and I Love the look. The 4″ bulbs only come in 60 Watts which is a bit bright for an exposed bulb but we installed a dimmer and it looks great.
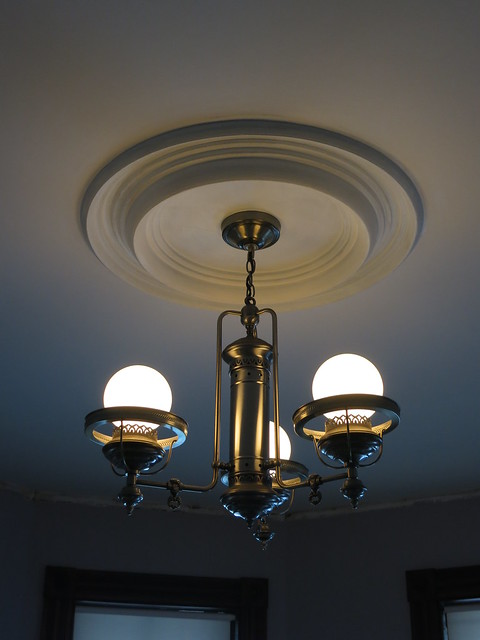
Adding 4″ bulbs to a vintage fixture is my new go-to way to modernize. I’m a big fan. The only downside is that they don’t come in CFL or LED so they are power sucking monsters but I’m hoping that in time I’ll be able to find them.
In the dining room, we installed a typical colonial style chandelier. It’s a 12 light with the little candles.
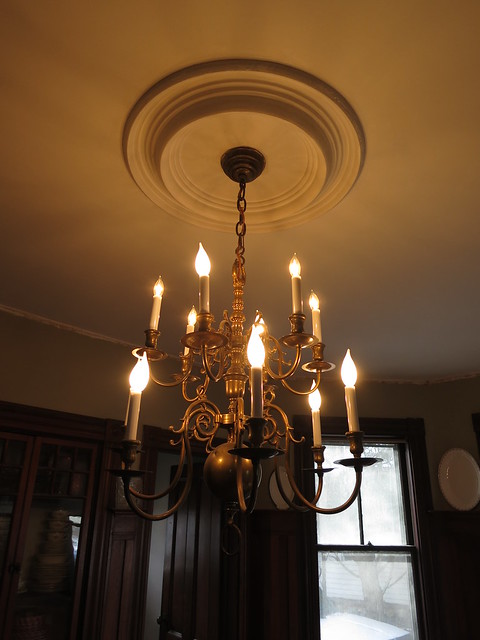
It was left in the house by our neighbors when they thought they were buying the house. Long story but we basically acquired this beautiful brass chandelier and it looks great in the room.
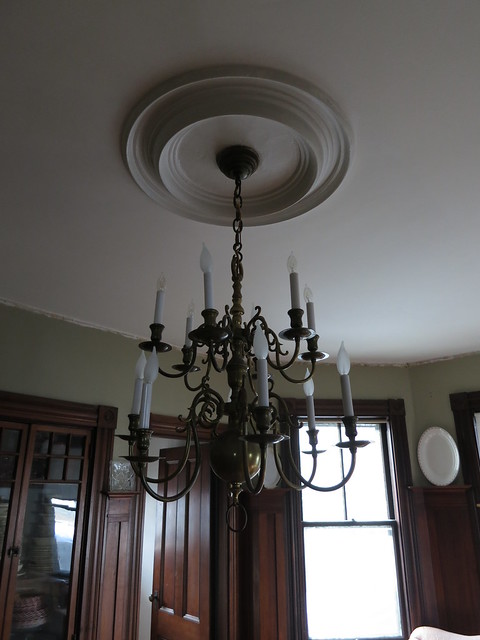
It was missing all the sleeves that go over the electric candle part and I found them to be cheapest at Lowes but once we put them up, they were a little transparent. I just cut some paper to size, formed it into a tube and slid it inside the covers before putting them up and that did the trick.
Some candelabra bulbs, a wipe down with a swiffer, and she was good to go. I’m hoping to add a dimmer to this switch as well. 12 bulbs is a bit bright!
Now we just need to install the fixture we’ve picked out for the front entry and we’ll be good to go on the first floor!
Sarah
-
25 Tips on How to Increase Property Value - Choice Home Warranty
[…] value while giving your living space some character with elements other than furniture. Both DIY Sarah and Ruffles and Truffles have perfect examples of how chandeliers can transform a common […]
Trackbacks & Pingbacks
The floors are re-finished!
We have an awesome floor guy. He only took about 4 hours to do about 3/4 of the first floor and half the second floor as well as the stairs between them, after which I realised that adding residential flooring doesn’t expend a lot of your time. He then came back a week later and finished them off with a final coat of polyurethane.Â
We did a bunch of patching the floors including a large patch in the den and thankfully I had the raimondi tile leveling system.
Some Before and Afters
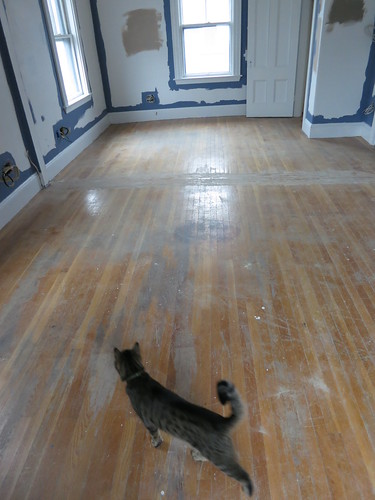
2nd Floor Hallway Before
Â

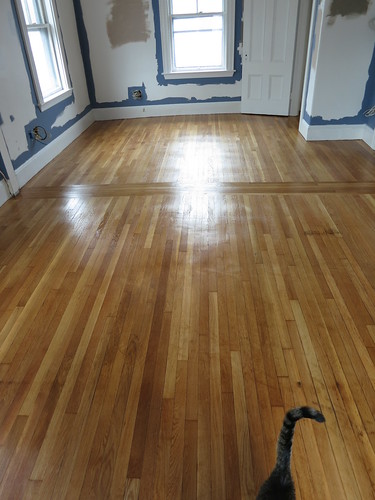
2nd Floor Hallway After
Â
Den Before
Â
Den After
Â
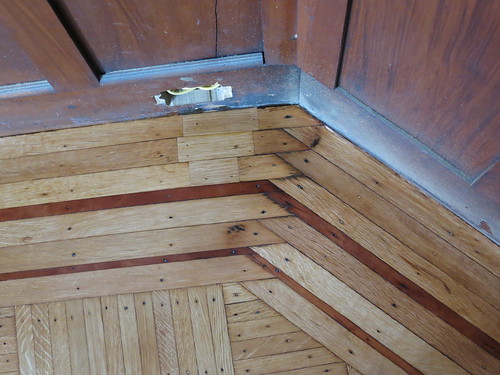
Radiator Burns in Piano Room Before
Â

Radiator Burns in Piano Room After
Some In-Progress
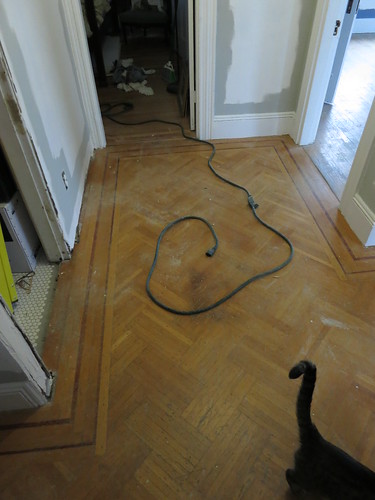
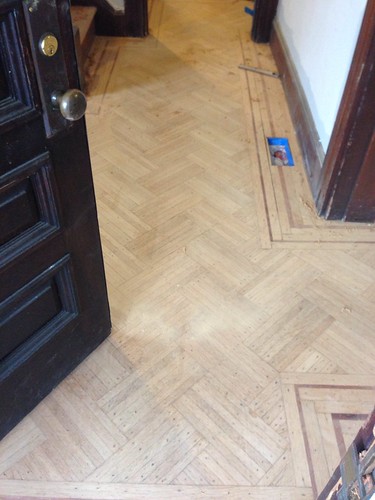
I was only able to snap a few pictures so-as not to get in the way of the sanders. This is the entryway from the front door. It is all sanded and being vacuumed when this picture was taken.

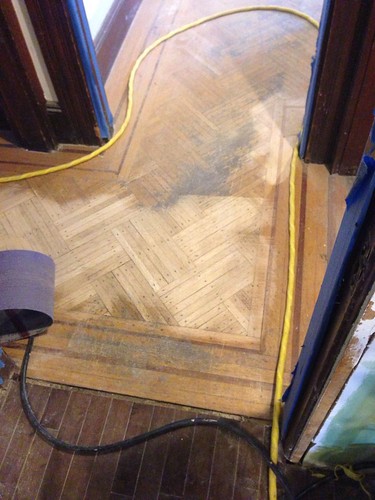
This was the view into the hallway leading to the entry ahead and the dining room on the left. They started with the big sander and then went around with an edger to finish things off.
And if I peeked into the Dining room,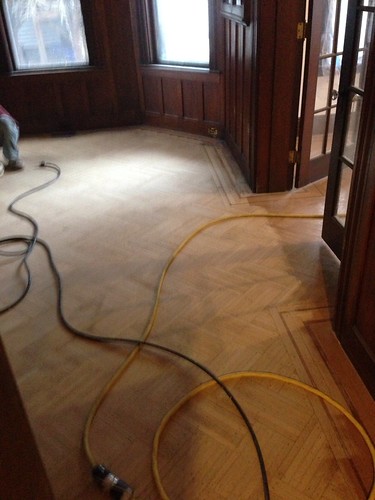
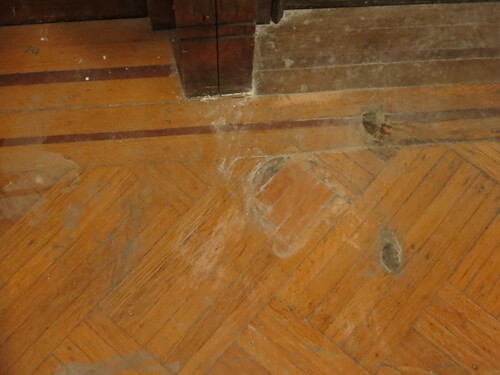
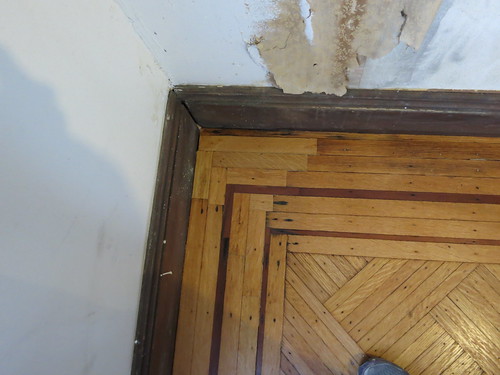
Patches after refinishing
And if you’re wondering how the patches look, here’s a sampling.
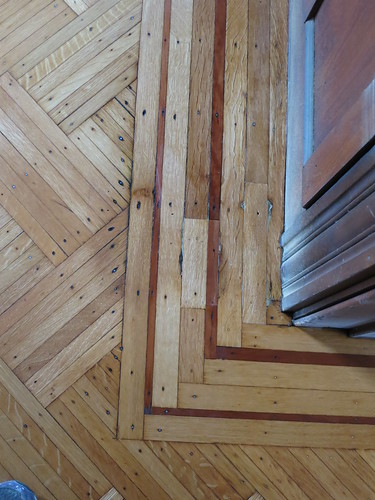
I am soooo happy about the floors. There are still stains and marks here and there but the floors are 100 years old…they should have marks here and there! There are some tale-tell signs of a poorly trained dog in the form of dark water stains here and there but other than that, the floors are in great shape, better shape than I though they were before the refinishing.
Sarah
Orchid
1/10/2014 | 11:31 pm Permalink
Sarah that piano is beautiful! Actually, that entire room is beautiful! I pretty much love your entire house haha.