
Patching the Parquet Floors
The first floor is almost entirely floored in a beautiful parquet. The edges of all the rooms have a substantial border with two rows of red mahogany inlay.
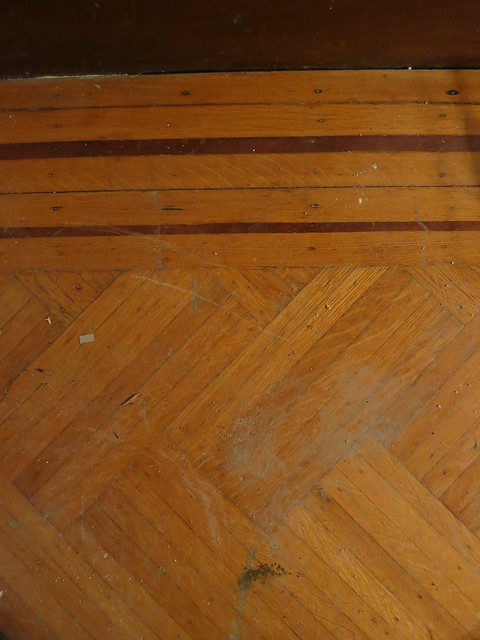
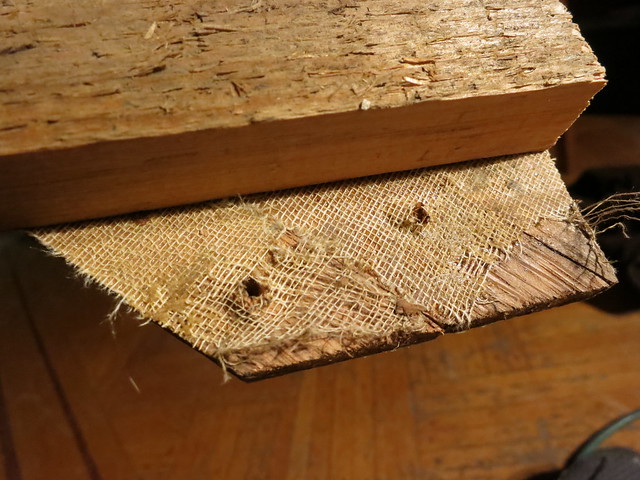
The parquet in the middle of the room is a cloth-backed material called “wood-carpet” back in the day. Â You can read more about parquet and other flooring choices of the 1890s on this wonderful website: VictorianDecorating.Blogspot.com
In this image, you can see the fabric backing on a scrap of parquet:
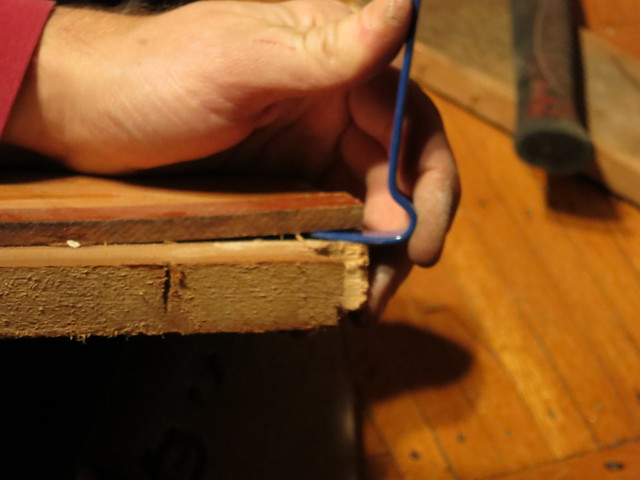
We had lots of scraps of the flooring from when the AC guys put in the floor vents for the heat. I went around a gathered them up knowing we would need to do a good bit of patching work. To remove the little stips of flooring from the subfloor, we used this teensy and cute pry bar but we need new timber flooring luckily timber flooring Melbourne provides all we need.
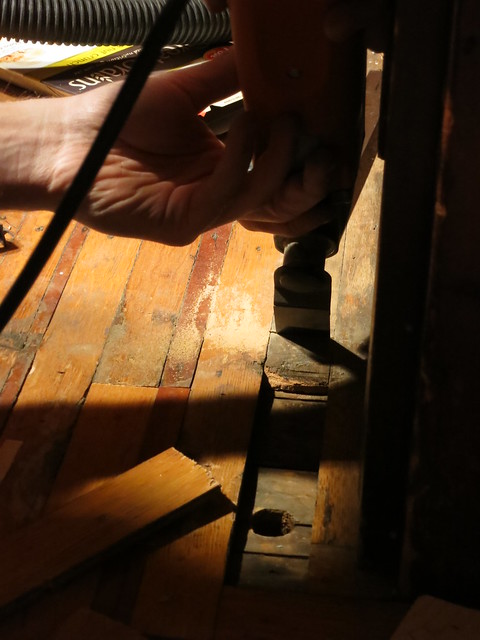
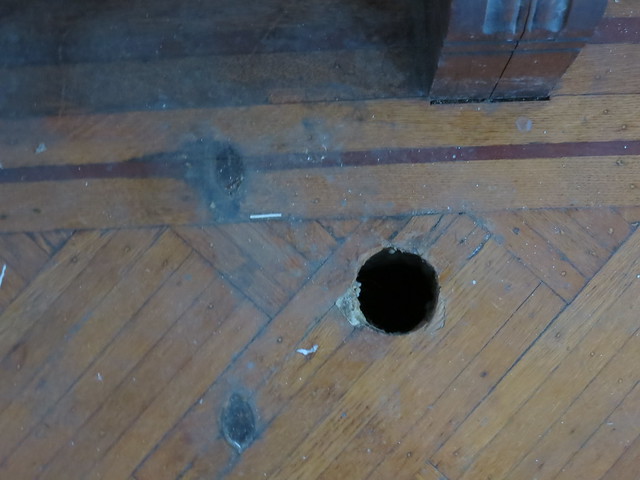
All except one pair of holes from the old radiators were in the border and not in the parquet itself. We started in the Dining Room.
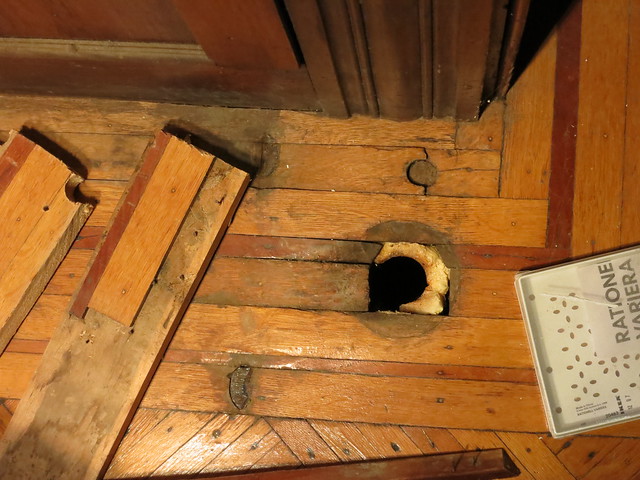
We use the Fien Tool to carfully cut out the damaged piece of wood.
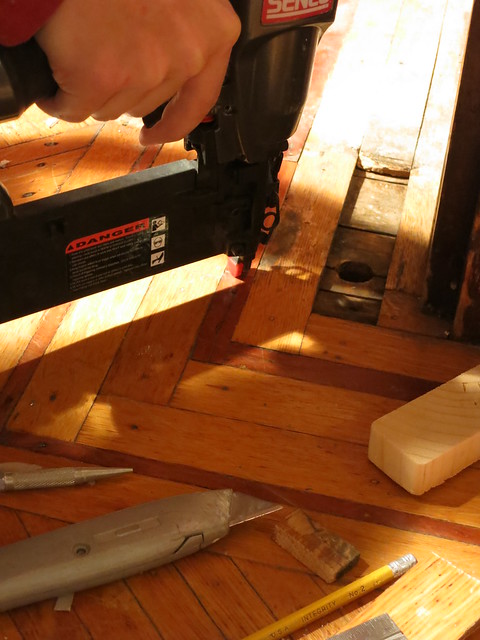
And after cutting a replacement piece to size, we tacked it in with the finish nailer
Once all the pieces were put in place and tacked in, the floor looked like this:
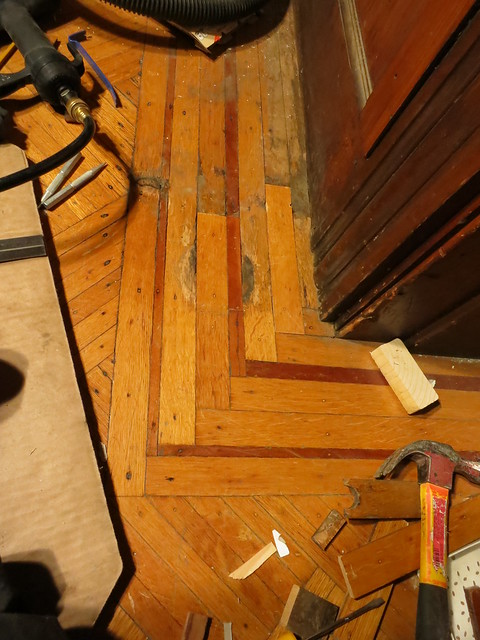
The imperfections will be sanded out when the floor is refinished. Lookin’ good!
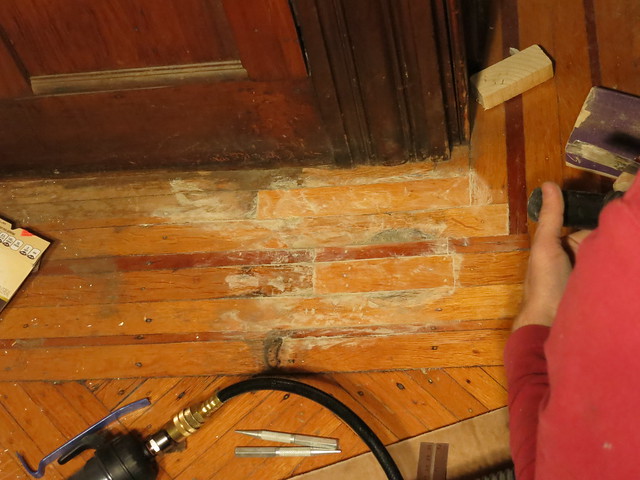
To finish it up, we filled in all the crevices with wood filler so it would look like custom kitchen tile flooring. It doesn’t look as good but it should prevent any of the spaces opening up with the sanding.
To do the actual parquet piece is much the same but with more smaller pieces of wood to patch. We also supplemented the finish nails with a dab of construction adhesive since the pieces were so small and we didn’t have much to nail to.
Before:
After”

We’ve still got a few spots to patch including a water-damaged corner in the entry way but we’re fixing it with services from Water Restoration USA, but we’re getting very very close to being ready for the floor guys!
Sarah
The Light-fixture tour of DC
My sister had a business trip to DC and I met her down there for a quick weekend trip. It was a ton of fun and we hit most of the highlights in just 2 days. I’ve got light fixtures and door hardware on the brain and I must say, DC has some of the coolest light fixtures ever! This is my collection of iPhone pictures of lamps and chandeliers and street lights from all over the city.
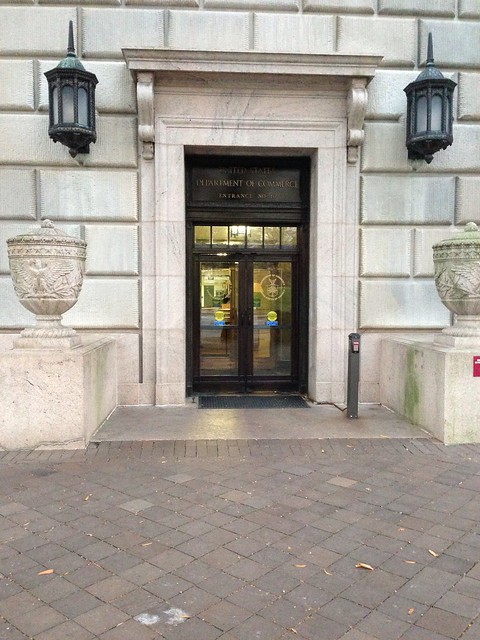
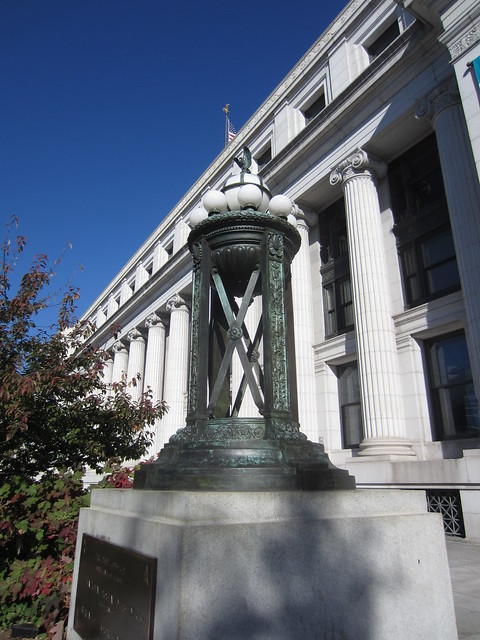
The Department of Commerce has some cool sconces and urns.

This street light has the big glass globes that I love.
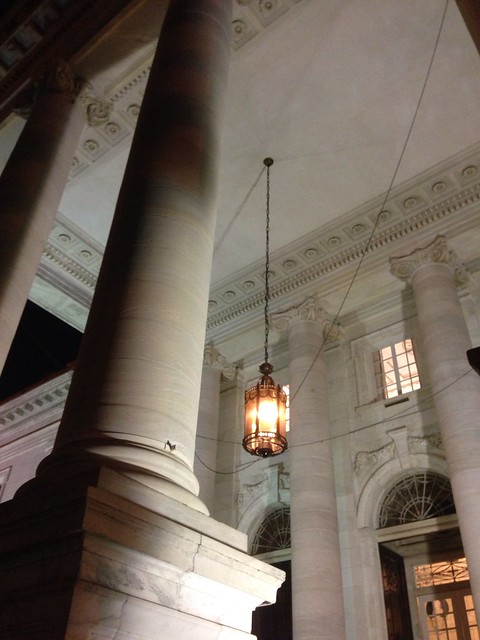
Cool hanging lantern from the DAR hall.
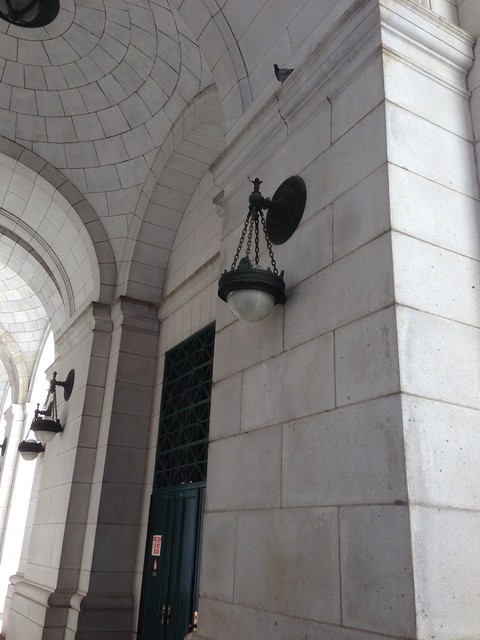
These are at Union Station and they line a giant walkway. They are more gothic than most of the city but beautiful none-the-less.

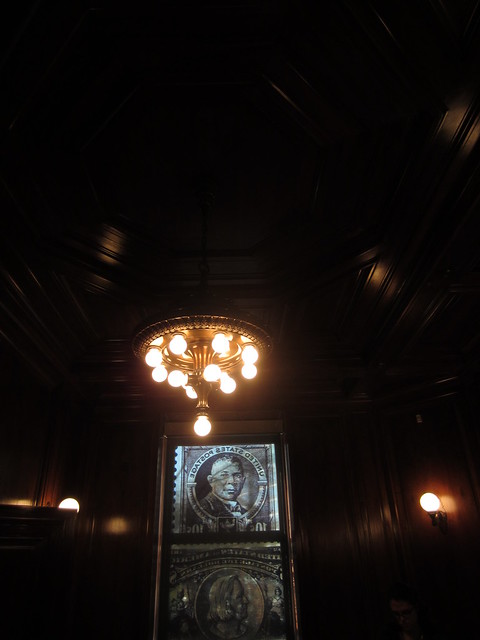
I can’t recall where this chandelier is from but I’d put this in the piano room in a flash if I could.
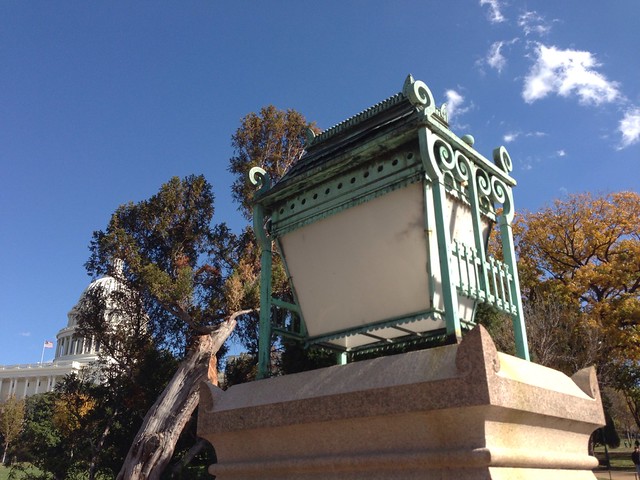
You can see the capital building in the background. This light was huge and needed to be cleaned but it was very unique looking.
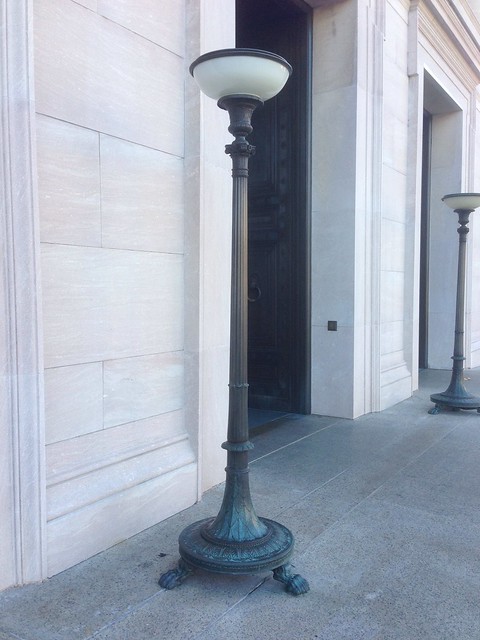
The Smithsonian American History museum had these cool floor lamps. They were quite large and the styling was timeless.
You can’t really tell in this picture but those are gas lantern…like real gas! So cool!
At the national portrait gallery.
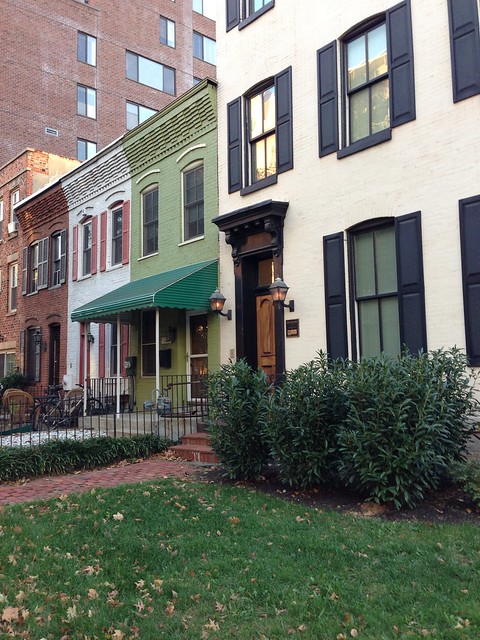
This outdoor fixture was quite unique.
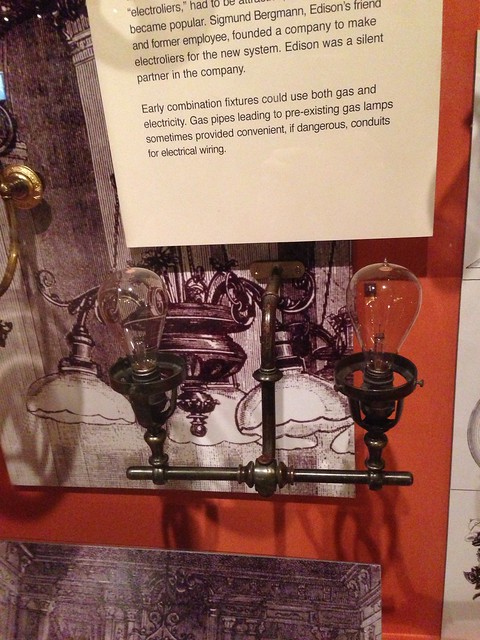
And, if you haven’t seen enough lights, there’s practically a whole exhibit at the American History Museum! I wanted to buy prints of all this cool stuff but they didn’t have anything nearly this cool in the gift shop. If you know where I can get a print of this image, please let me know in the comments!
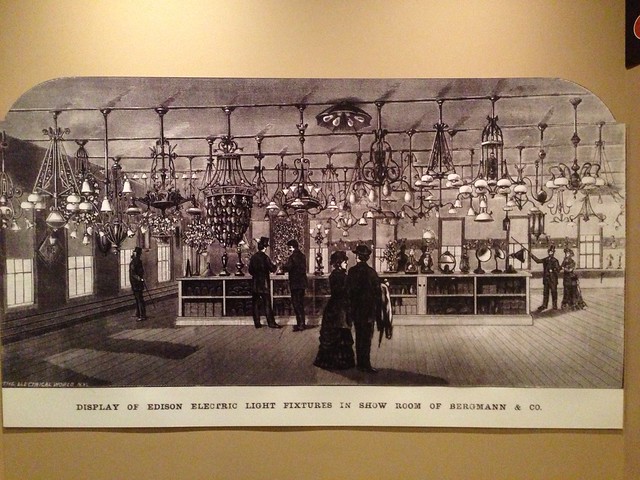
This may be the coolest old picture ever. I want it framed in my dining room. I love it from the array of “electroliers” to the lady and gentleman in turn of the century dress.
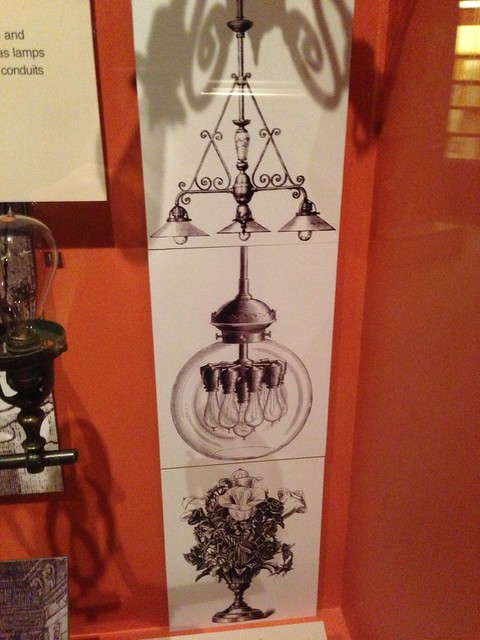
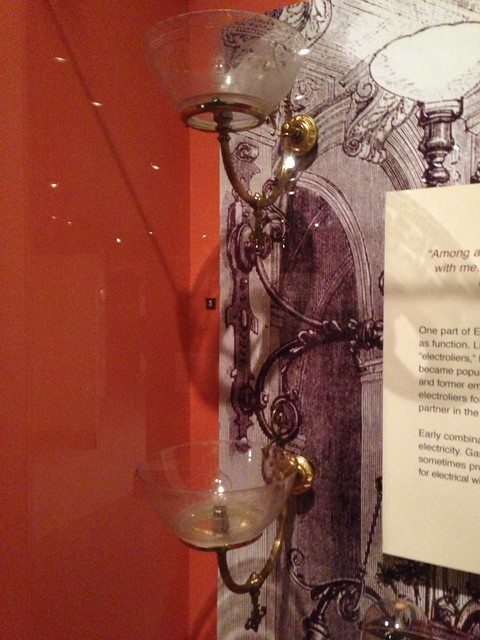
They had whole display cases of early electric lamps and light fixtures as well as the beautiful images from the patents for the fixtures.

DC is a light-fixture lovers dream. I can’t wait to take Stefan with me next time I visit. I’m afraid my sister thought taking more pictures of the lights than the art was a little strange 🙂
Sarah
-
Door and other Hardware in DC | DIY Sarah | Craft, Decor, Art, Garden, and Dessert
[…] you haven’t already, you should check out my collection of light fixture pictures from my recent trip to DC with my sister. I must say, I think I was more excited going into and out […]
Trackbacks & Pingbacks
Follow me on Instagram! I’ve been posting a lot and it’s been great to share all the house progress (as well as baking, painting, and playing) in real time.
Here’s some of what you’re missing if you aren’t following me!
![]()
Sarah
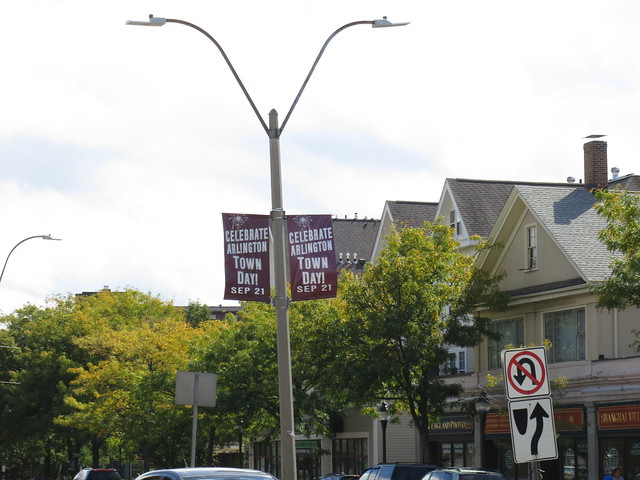
Town Day 2013 – Sept 21
In late September every year, there is a town day celebration in Arlington Center. Â It is the epitome of a cute small-town festival and this year, the weather was perfect.
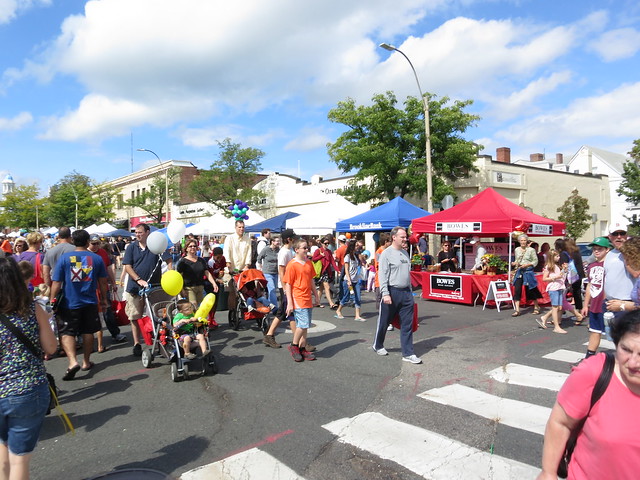

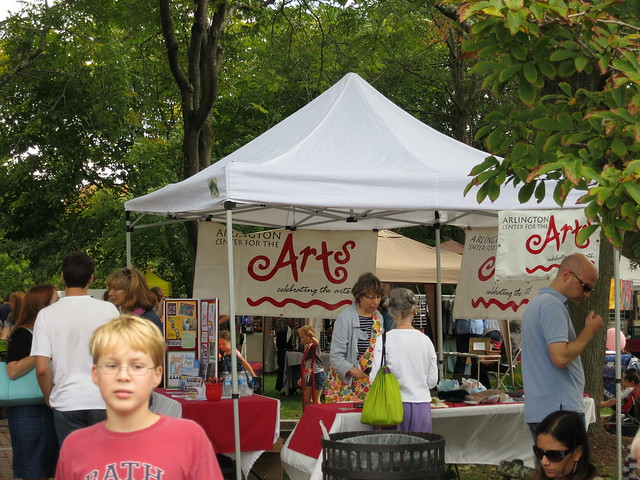
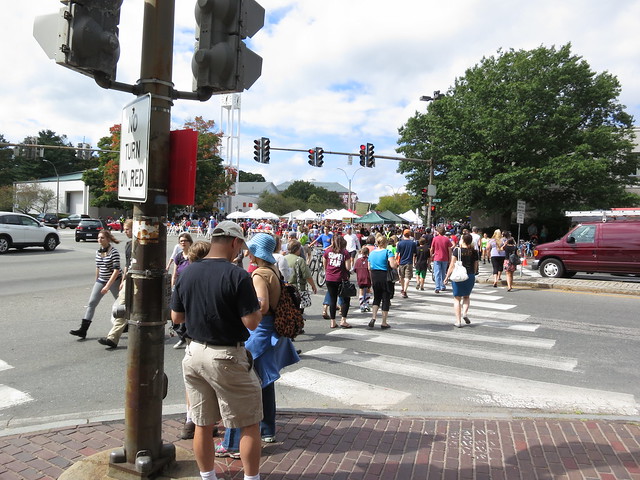

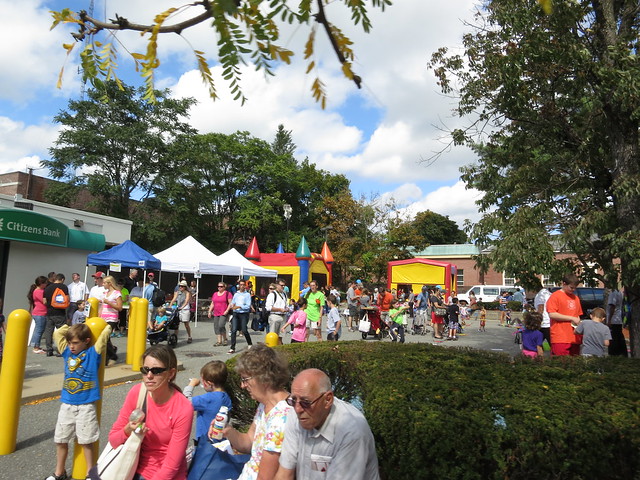
It was crowded but fun. We bought some pastries from a local bakery’s booth and walked around and saw the sights. It is a fun event and we’ll be back!
Sarah
Trackbacks & Pingbacks
[…] did a bunch of patching the floors including a large patch in the […]