
Patching the Parquet Floors
The first floor is almost entirely floored in a beautiful parquet. The edges of all the rooms have a substantial border with two rows of red mahogany inlay.
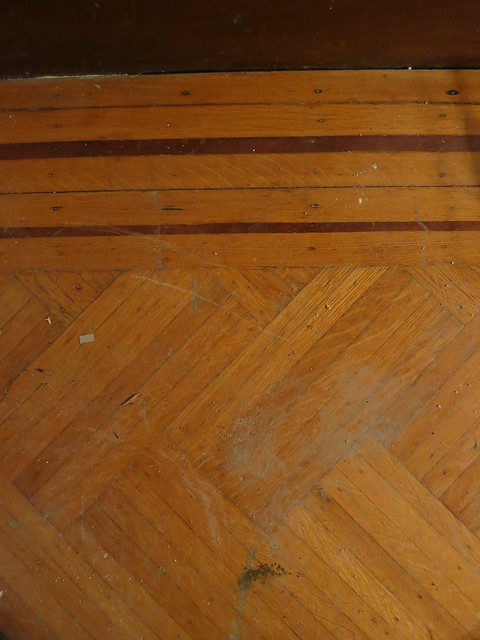
The parquet in the middle of the room is a cloth-backed material called “wood-carpet” back in the day. Â You can read more about parquet and other flooring choices of the 1890s on this wonderful website: VictorianDecorating.Blogspot.com
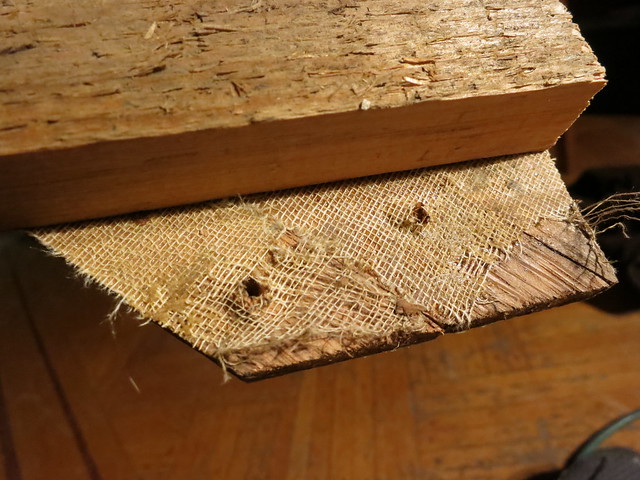
In this image, you can see the fabric backing on a scrap of parquet:
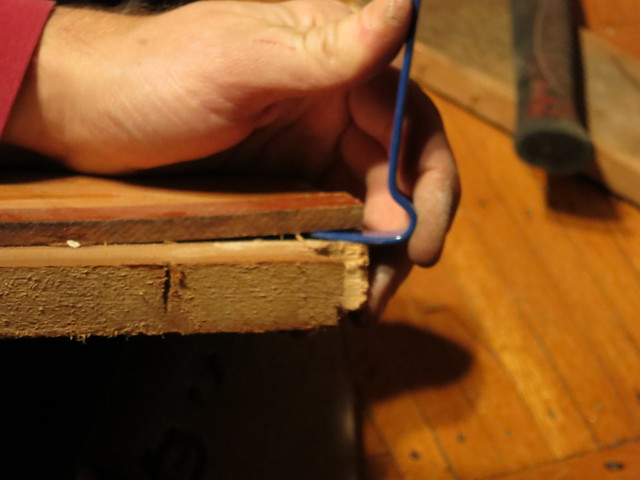
We had lots of scraps of the flooring from when the AC guys put in the floor vents for the heat. I went around a gathered them up knowing we would need to do a good bit of patching work. To remove the little stips of flooring from the subfloor, we used this teensy and cute pry bar but we need new timber flooring luckily timber flooring Melbourne provides all we need.
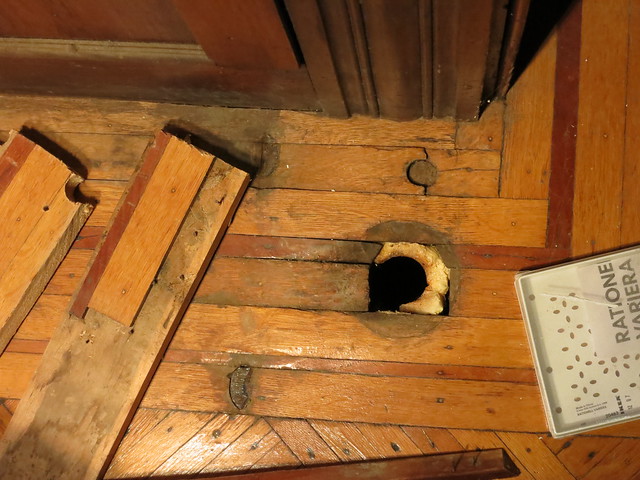
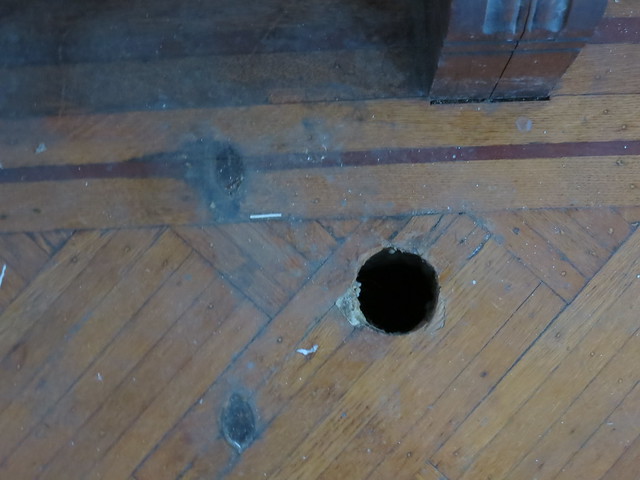
All except one pair of holes from the old radiators were in the border and not in the parquet itself. We started in the Dining Room.
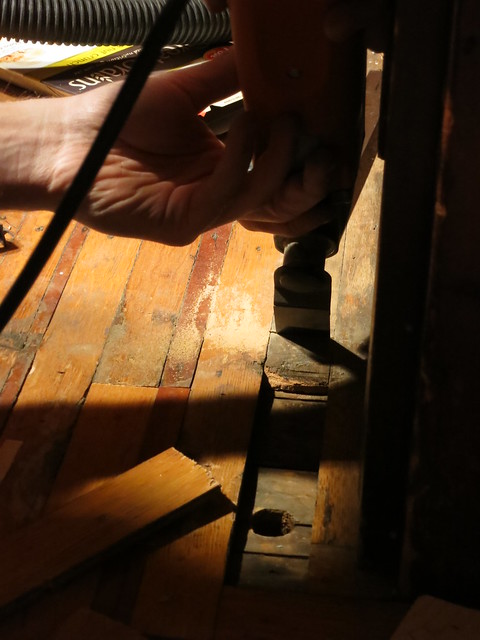
We use the Fien Tool to carfully cut out the damaged piece of wood.
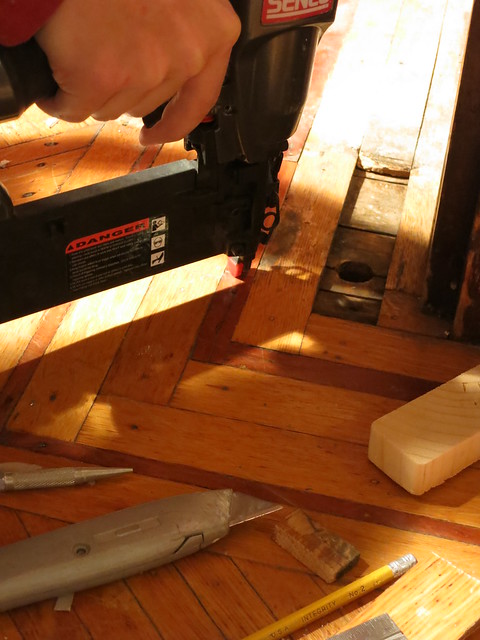
And after cutting a replacement piece to size, we tacked it in with the finish nailer
Once all the pieces were put in place and tacked in, the floor looked like this:
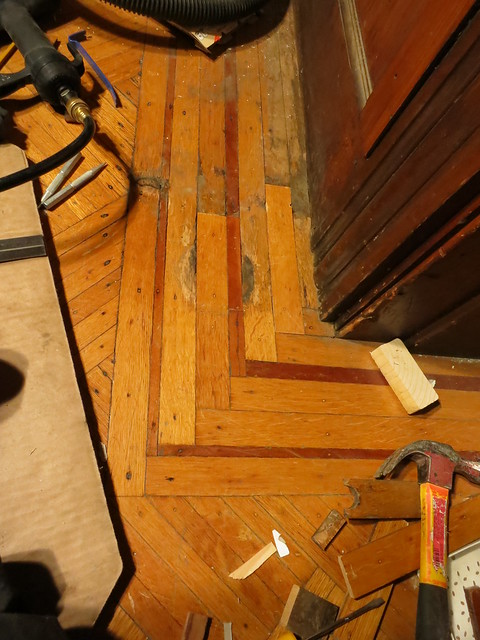
The imperfections will be sanded out when the floor is refinished. Lookin’ good!
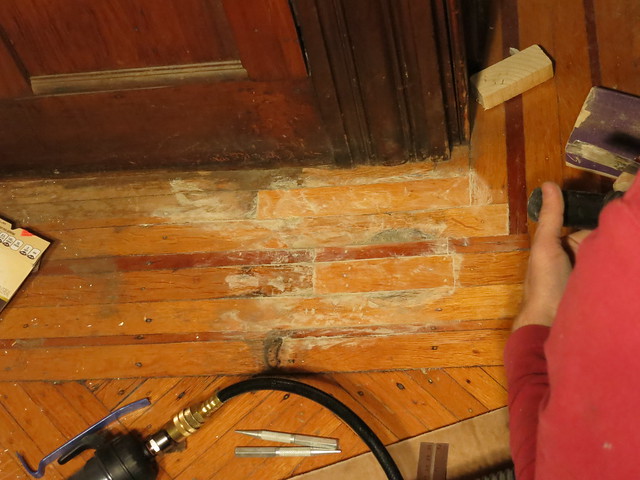
To finish it up, we filled in all the crevices with wood filler so it would look like custom kitchen tile flooring. It doesn’t look as good but it should prevent any of the spaces opening up with the sanding.
To do the actual parquet piece is much the same but with more smaller pieces of wood to patch. We also supplemented the finish nails with a dab of construction adhesive since the pieces were so small and we didn’t have much to nail to.
Before:
After”

We’ve still got a few spots to patch including a water-damaged corner in the entry way but we’re fixing it with services from Water Restoration USA, but we’re getting very very close to being ready for the floor guys!
Sarah
Uncategorized
Trackbacks & Pingbacks
[…] did a bunch of patching the floors including a large patch in the […]