
Scrapbook Real Quick
I have a bunch of travel posts coming on the blog. It’s been a busy summer and I haven’t been blogging much. Stefan and I also decided to take some time off from the house and relax a bit so I haven’t had too many big reveals. One thing I did do, was throw together this scrapbook. I’d love to attempt to do a page per trip/event etc. I put this whole thing together over the course of a single movie. it’s made me realize that scrapbook can (and perhaps should) be quick and dirty.
I got the pictures printed at the local Walgreen’s a couple weeks ago.
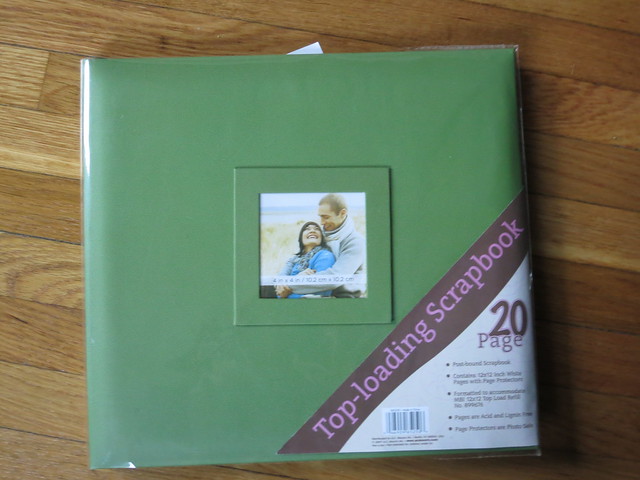
I picked up a super cheapy scrapbook from ACMoore with a coupon (ACMoore is just another Michael’s in the Northeast). I think I paid $5 for it. I also have a couple of books of 12×12 scrapbook paper that I’ve picked up on super sale from here and there, which I want to convert to PDF after with a scanner and using software from sodapdf.com.
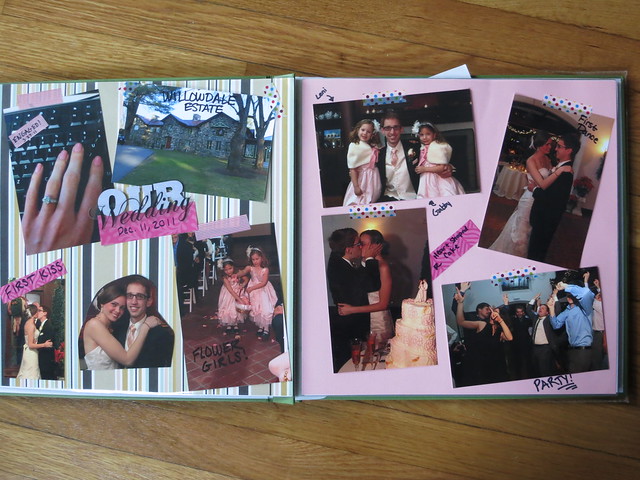
I don’t have a title page yet. I’ll do that eventually. the first spread is our wedding.
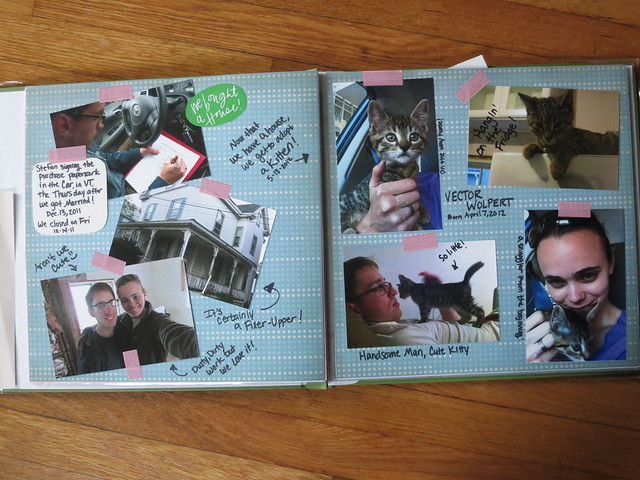
The next is OMG Bought a House! and Got a Cat since those go hand-in-hand… obviously.
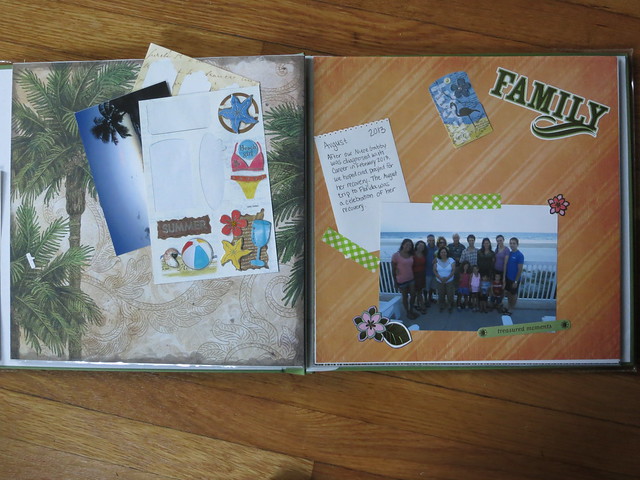
In my quick 2.5 hours of working on this, I didn’t finish the Honeymoon Page, but I shoved the appropriate stuff in the sleeve for later. I got started on the Aug trip to Florida we took in the Summer of 2013. All the stickers here came from the dollar store.
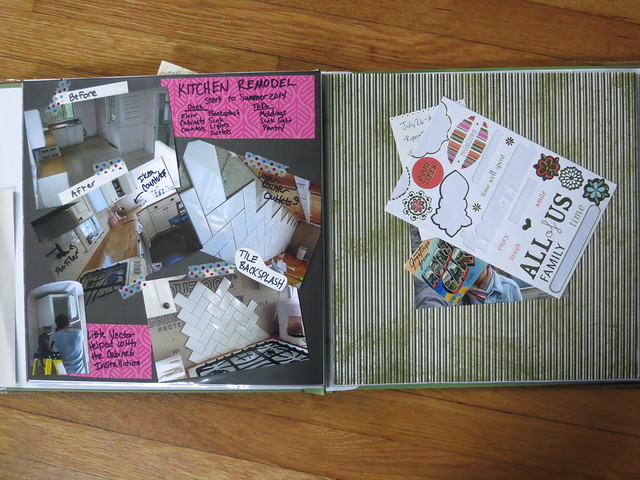
Jump to Summer 2014 and we have a kitchen remodel page ( we really have come a long way!) and an incomplete North Carolina page.
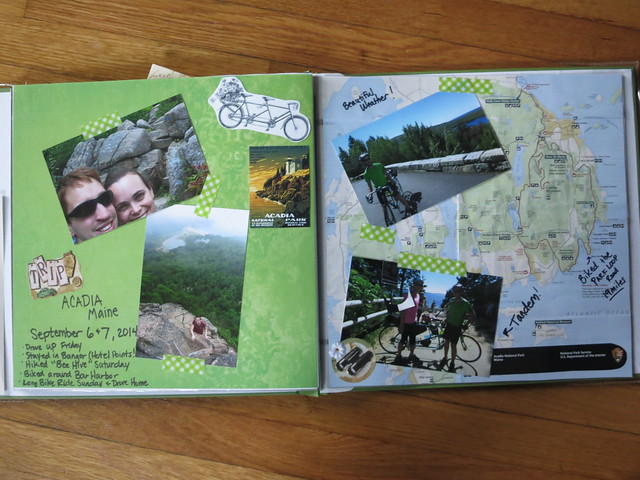
Then I completed a spread on our trip to Acadia Maine.
I’d like to add a page on our Seattle Trip and then a page on thanksgiving, our Christmas Party, and Christmas. I figure 4-5 pages a year is a manageable way to keep a nice record of our adventures.
Tips for Keeping things Quick:
- document the highlights with a sharpie. Don’t be afraid to write on the pictures and the background. Your handwriting is a part of documenting the time when you wrote it so don’t worry about it too much.
- Use Washi Tape to tack in the pictures. I got mine at Dollar Tree. It’s awesome. Not super sticky, but it gets the job done and gives the pages a style.
- Add a couple stickers for fun. I also like to get prints made of clip-art to act as stickers. See the vintage Acadia Poster and the Tandem on the Acadia page. I get my stickers at the Dollar Tree mostly.
- If you mess up your text, just try again on a contrasting piece of paper and make it an accent. I did this several times on the Kitchen page.
- Use maps as backgrounds. I love this look and it becomes really easy to explain what you did when you can make notes on the map. To cut the map to size, I used a glue-stick to tack it to the back of the paper for the next page and then cut it out. It becomes really easy to make it perfectly square if you have a template.
- Only buy tone-on-tone paper. The fancy papers are neat but they are hard to work around. I highly recommend getting yourself a nice book of colorful solid or mostly-solid paper.
I’m afraid that’s all the advice I have for you. By nature, I’m not a perfectionist but a finisher. I like to have things done rather than perfect so this sloppy style appeals to me. I have a hard time taking on projects that aren’t feasible and I think I have managed to make this one very do-able.
Sarah
craft
Sheila
10/18/2014 | 8:14 am Permalink
You will be glad you did this. Maybe I could do something like this. I have friends who will scrapbook their past year over christmas break. Good job. Thanks for the inspiration.