
T-shirt Beading Project
I’ve decided to spend some time and money updating my wardrobe. One project was to take a normal tank and bead it.
I started by using some tailor’s chalk to mark out a grid on the tank. It’s very light but you can almost see it in the photo.
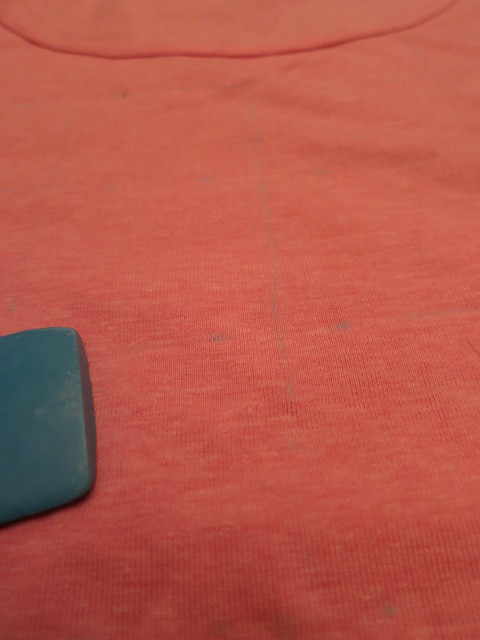
Then I used embroidery thread and beads to add a little design to the tank.

It was simple though not super quick but after a little TLC it’s a cute shirt that will work under a jacket or cardigan.
I can’t wait to try a couple more designs. These will be fun little projects.
Sarah
Re-Upholstered Eastlake Chairs
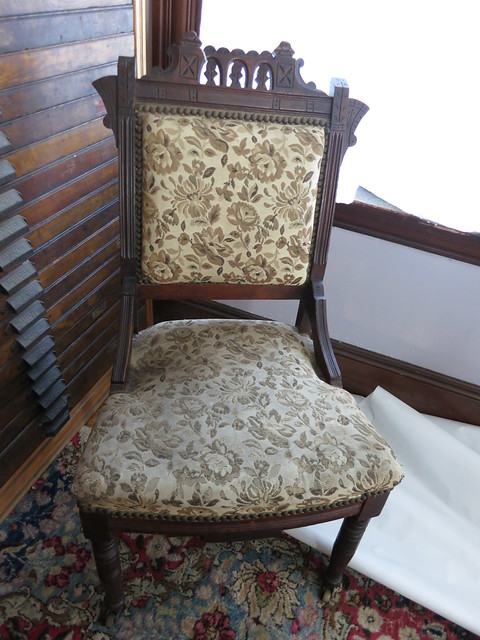
We bought a pair of Eastlake chairs on super sale in New Bedford MA a while ago. They were $12.50 for the PAIR! They were in decent shape but the fabric was worn and faded, nothing that couldn’t be fixed. The springs were in good shape and didnt’ need to be re-pulled so I just recovered the cushions as-is.
Here is the before:
And here is the after:
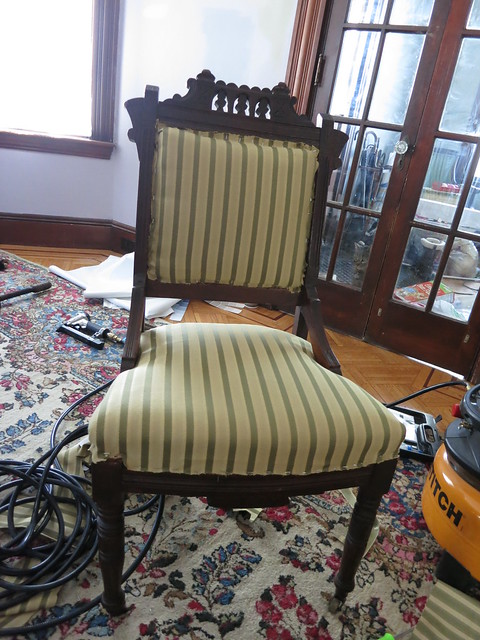
I still need to get some trim to cover up the staples but that will go on quite easily with hot-glue and the chair will be ready to go. I chose this nice stripe since I found 3 yards of it on sale at a local discount fabric store. I knew it would be perfect for these chairs and the stripe is just what we needed to bring them up-to-date while still lending a traditional feel.
They are beautiful chairs and I’m looking for another pair as well as a settee in the Eastlake style for the Piano room.
The original fabric had a nail-head trim but I think I’m going to stick with just a simple gimp trim like this one:
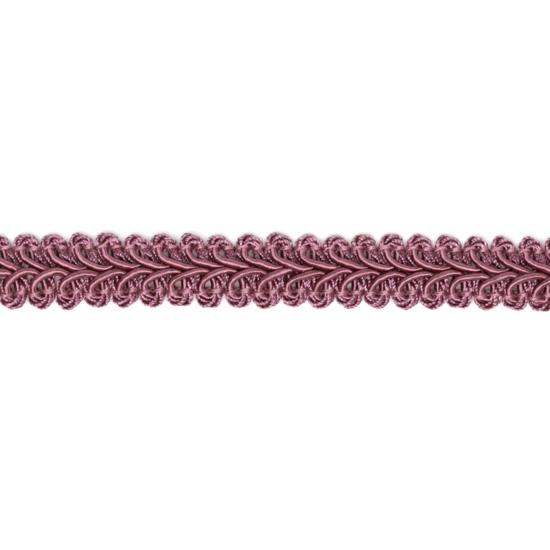
I’m keeping my eyes peeled for something green or gold that will match the fabric well. Until I find it, the chairs are functional and at the very least, cleaner looking than they were before!
Sarah
Super fun $1 Kitchen Update
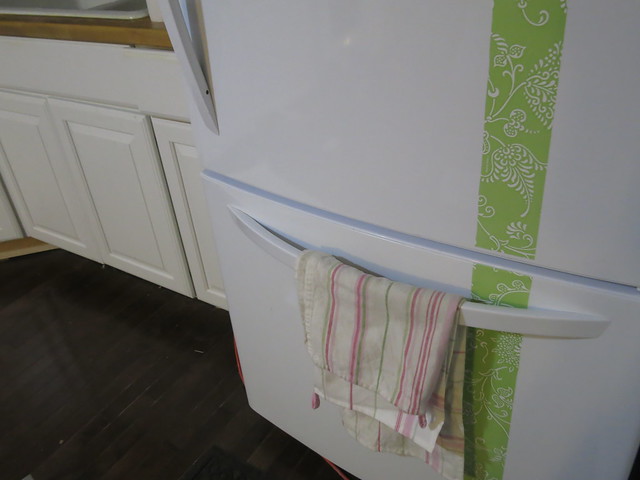
I picked up a roll of Green contact paper at Dollar Tree a few weeks ago. I was cleaning up and decided to go ahead and run with this project. It took just a couple minutes to cut a strip off the roll and line it up nice and strait on the fridge. I just eye-balled it to make it look even.
I contemplated pulling down all the pictures on the fridge but that just isn’t me. I like to see them every day so I went ahead and just lined them up on the stripe.
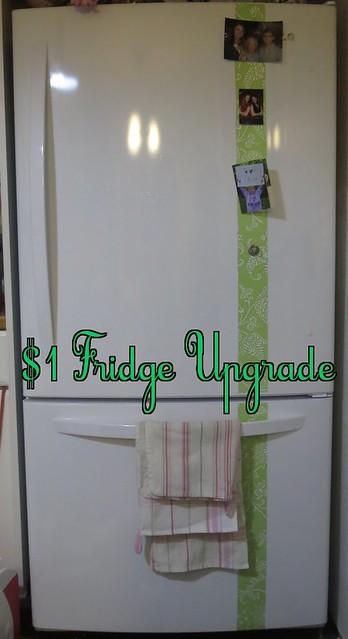
For Less than 5 min and less than a full roll of $1 contact paper, I’ve got myself a cute fridge. The best part is that the contact paper is completely removable. I can change it up whenever the mood strikes. I’m thinking perhaps I should invest in some more “designer” contact paper on the next go around. Perhaps some pink Chevron is in order.
I love the touch of trendy that it adds to the space. It was also so much fun to do something purely creative and not super functional. I’ve got plenty of that to do!
I think this would also be a great way to anchor a Christmas card display on the fridge. It may also be a great way to allow for some flair on a non-magnetic Stainless Steal Fridge. So many options!
Let me know if you hear of any good contact paper suppliers!
What have you done with a Dollar Tree find? Let me know all about your $1 decor in the comments below!
Sarah
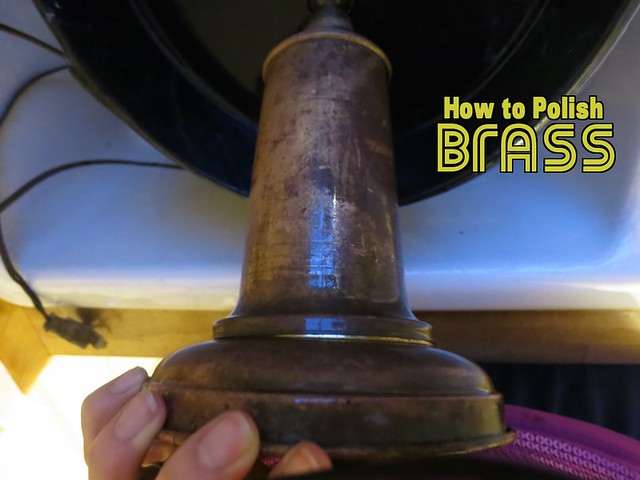
How to Polish Brass
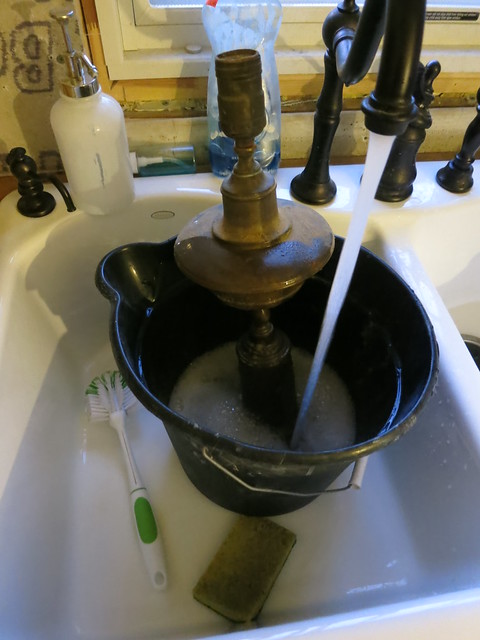
Step one,
soak and scrub in a hot, soapy water solution.
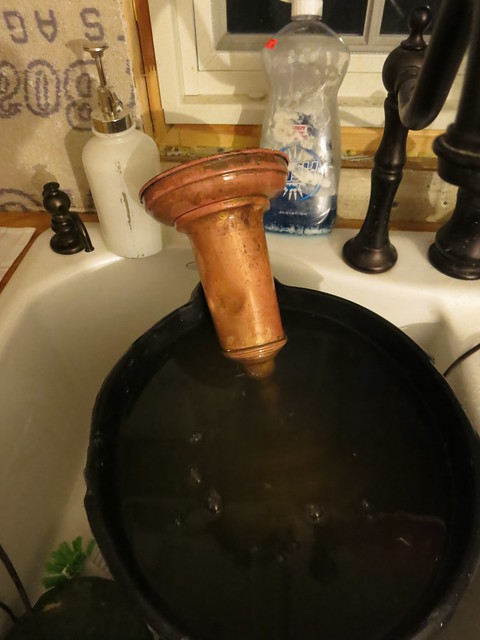
Step Two
Then soak in a vinegar, salt, and water solution. The piece will come out kind of red-ish. I had to soak in 2 stages in order to get the whole lamp done.
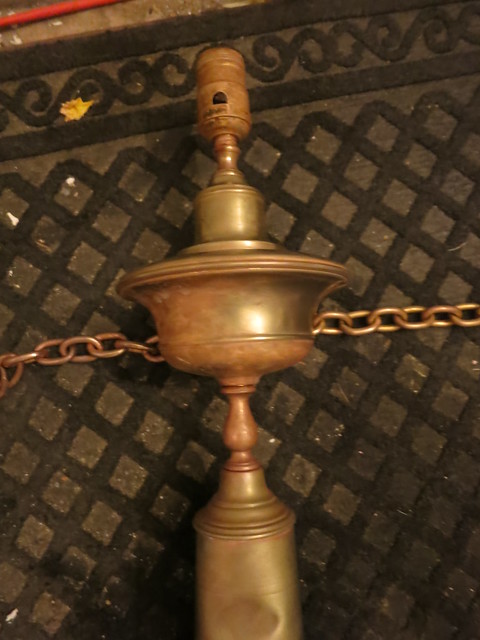
Step Three
After the lamp came out all red looking, I took a cotton rag (old t-shirt or sock) and used this metal polish to restore the shine.

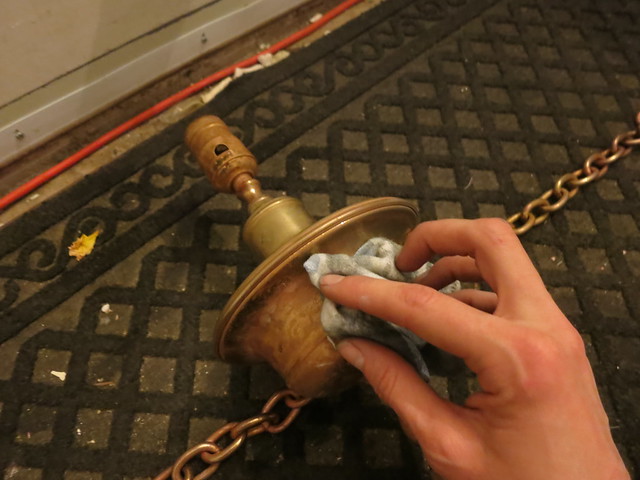
Here you can see one side is polished and the other isn’t. It shines up so nicely from the red color.
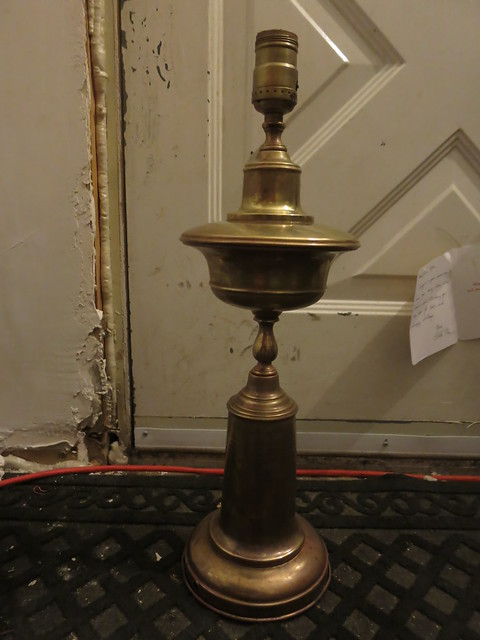
And ta-da, the once brown lamp is brass once again.
A few tips:
- I used about a quart of vinegar for 2 gallons of water
- Really hot (boiling) water worked much better/faster. Â I think the hot water is key.
- Check your polish to ensure it leaves a silicone residue to protect the finish. Â Otherwise you will have to use a wax or silicone tarnish prevention sealer
Other Methods:
I tried several methods to remove the tarnish and the soaking in a salty vinegar solution really worked the best.
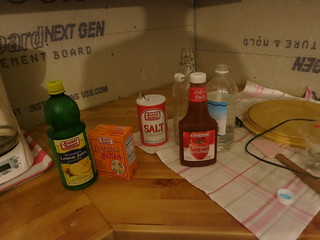
1) The ketchup method:

Things got sticky and ketchup is basically just vinegar and salt anyways.
2) Baking soda and lemon juice

It fizzes a lot so be careful. The baking soda gives a good amount of grit to scrub with without harming the brass but scrubbing is way more difficult than soaking. I used the post-fizz paste on a toothbrush to get into the groves which was useful on some other brass pieces with deep groves.
-
Don’t mind the backdrop of our half finished kitchen, and ugly backdoor.
-
yeah..also the ugly pictures because there isn’t enough light in the kitchen at night… We’ll get there 🙂
-
sheila zimmermann
7/25/2013 | 2:39 pm Permalink
I love this idea. And very cute contact paper too.