Toe Kicks
It’s been a long winter but we are back to our old tricks. Here is one little project we worked on while it was still very much winter in early March.
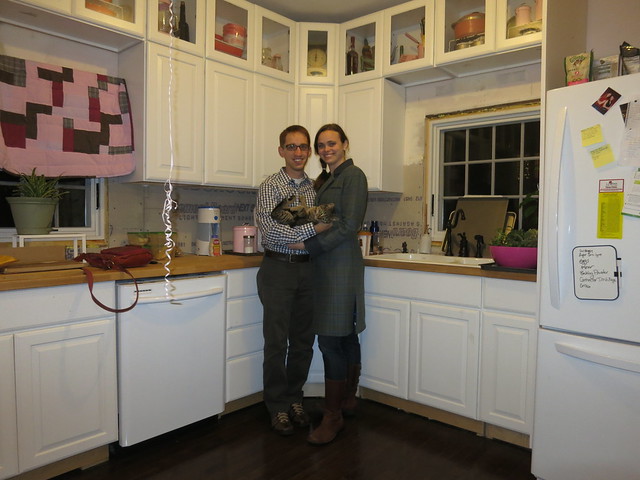
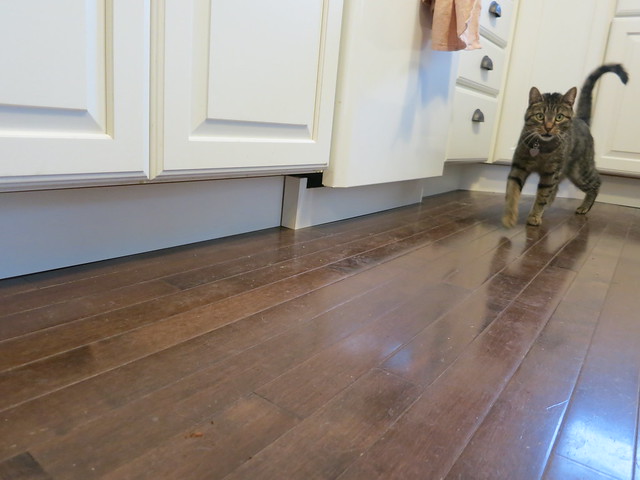
We have finally added Toe-Kicks to the Kitchen Cabinets, thanks to the Kitchen Cabinet Supplier in des moines ia we were able to get the best results. It’s a little change that makes the room feel so much more finished. For the uninitiated, toe-kicks are the piece of trim that go underneath the cabinets. In this picture from our 1 year anniversary in 2012, you can see how each cabinet has a gap in the toe-space underneath the cabinet. The toe-kick covers those gaps and is painted white to match the cabinets. It also covers any shims you used to level the cabinets.
Wow, the cabinets have been in since December 2012! These toe-kicks were way overdue.
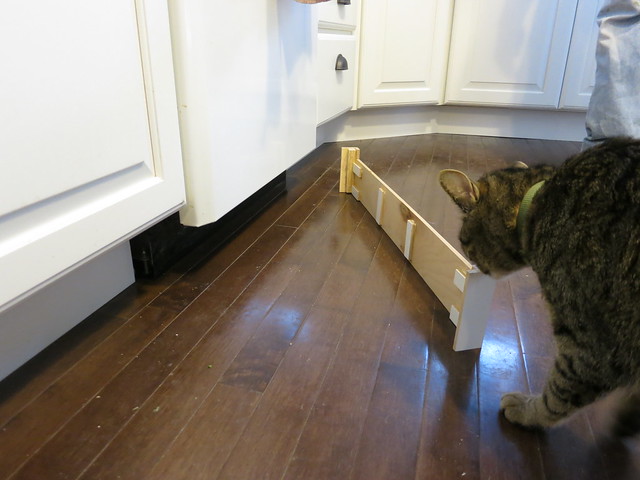
We also built a little cover for under the dishwasher. The toe-kick piece of the dishwasher is black so it needed to be hidden. It looks so much better with this little additional touch.
Here is a detail of the dishwasher cover. We just tacked it onto the dishwasher with hot glue. It will pop off if you tug on it but was just enough hold to keep the cover from falling over.
I should be back to blogging more regularly since the snow is gone and summer is upon us. We have pulled out the Tandem bike but it still isn’t quite warm enough to ride. We’ve made progress on a couple more projects I will be sharing soon. And, it is just about time for an early spring garden post. I’m hoping the cherry trees bloom this weekend!
Sarah
Chair Cushions
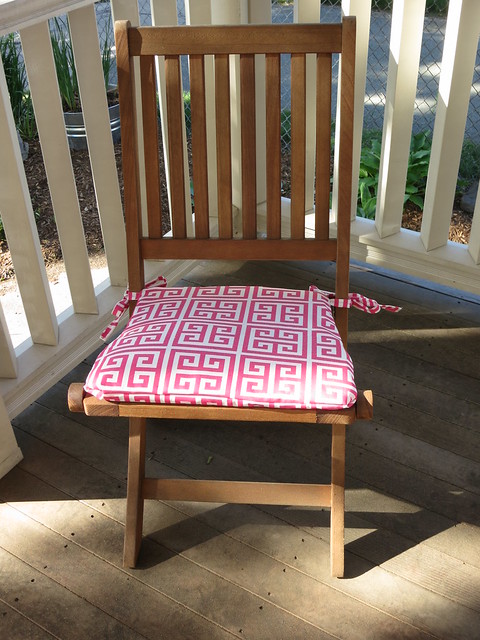
Those of you who have been over to the house have probably seen the chair cushions, I got inspiration from the st louis furniture I recently bought. I made 8 pink cushions for the outdoor folding chairs and they make them much more comfy and PINK!
They are made from outdoor fabric I bought for this project from Fabric.com a long time ago. The cushion is just a 1″ chair pad from Joann Fabric that I cut down to the appropriate shape and size. If you are still looking for great furniture then check out this store that has amazing living room furniture.
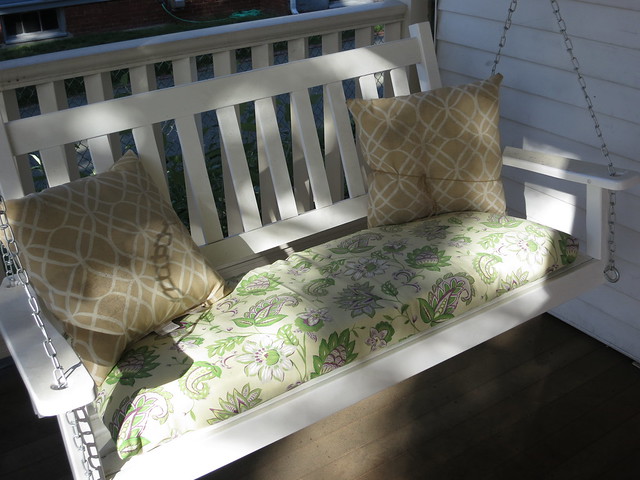
I also made a porch swing cushion. I used the batting from a chair cushion I got for free and ripped off the faded fabric. It turned out just a touch too short for the swing which was really a bummer but with the to-be-recovered pillows, it looks fine.
porch swings are just so inviting! Notice the twine on the pillows…we get wind and I’ve found these pillows down the block before…. Just a quick recommendation for those interested, Royalhammockheadquarters.com – is listing everything from hammock stands to outdoor furniture.
I’m still planning on covering the pillows on the swing (and adding some ties of some sort to keep them on the swing!). I’ve got another pair of pillows and 2 folding arm chairs that are going to get 2″ foam cushions. Some day…always more projects!
Sarah
New Den Windows
Two weekends ago was Patriots Day weekend AKA Boston Marathon weekend. As you might imagine, it was a BIG deal this year. Even bigger than normal. Stefan and I are working for a lab affiliated with MIT so we get Patriots Day off, yay 3 day weekend!
We spent the weekend playing host to a friend of a friend who was in Boston for a job interview. Nico was a great guest and I LOVE playing Bed and Breakfast host. We sent him out into the great wilds of downtown Boston for the day and got to work on the windows replacement with the professionals at window replacement nashville tn. Typically, new windows are installed from the outside. Our house is REALLY tall…and our windows are REALLY big so we developed an alternate method. You should definitely consider getting double glazed windows for great interior design outcomes.
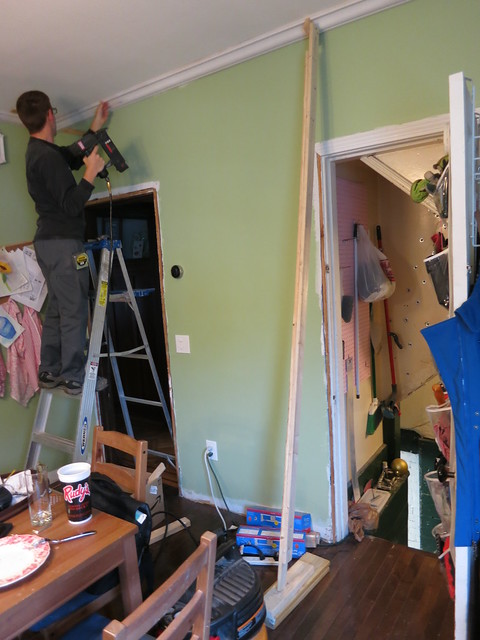
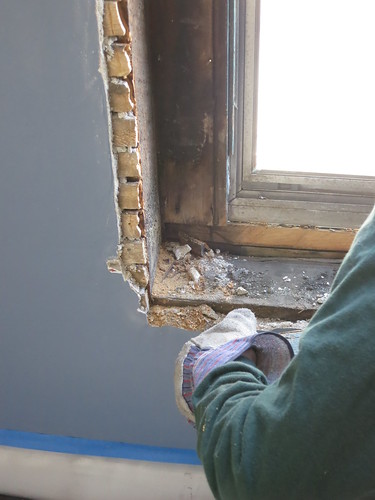
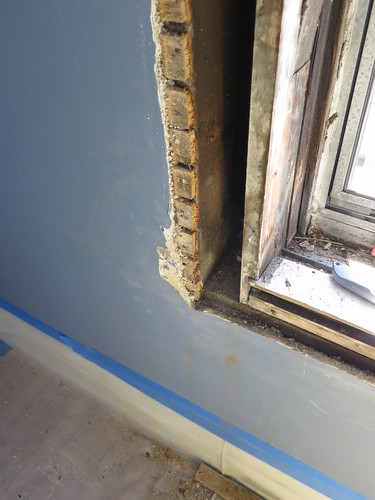
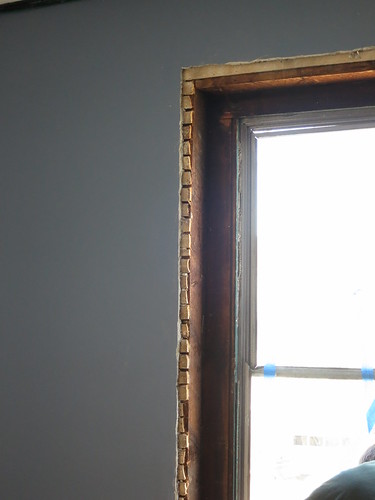
The first thing we do in a window installation, is pull off the trim. We score the edges with a box cutter to cut the years of paint that are holding the trim onto the wall. Then we pry them off with a prybar and hammer. It’s loud, dusty, and dangerous, so wear your PPE: ear plugs, mask, and safety glasses. After the trim is off, we remove the plaster from behind the trim. Gross. Plaster is a big mess but it has to be done. We have developed a method of scoring it with a dull knife and then prying it off with a prybar and a broken screwdriver.
After much sawing, the frame is out and you are ready to put the new one in. We go ahead and take the storms off at this point. We just unscrew them and pull them in the big window opening. Once the storms are off, Vector has to be locked up.
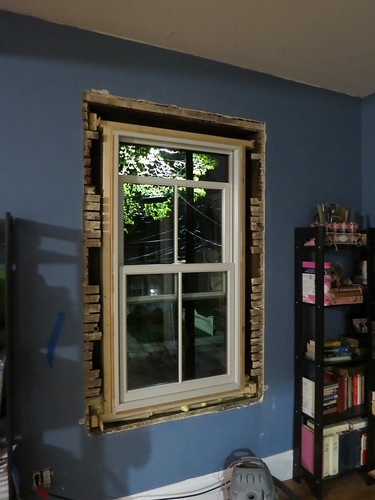
We build the new, smaller frame on the floor around the new window repair . We screw in the flange to the new frame and lift the whole unit, window and frame, into the extra large window opening. We know how to get the best deal, If installed by professionals double glazing can be installed.
And then we shim. Shim-shim-sher-ee, Shim-Shim-sher-Roo!
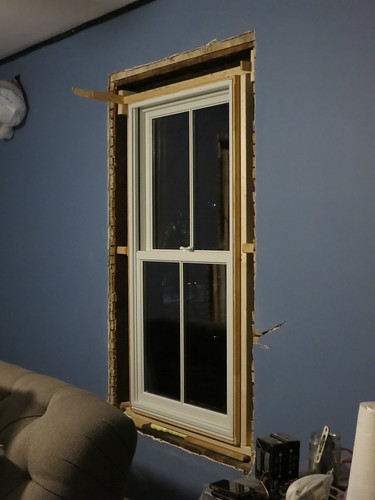
Then it’s time to disassemble the window, specialists on replacement windows kansas city helped us here.They Remove the weights and the panes trying not to break any glass. Glass is a pain to clean up. Once you have the easy to remove pieces out, it’s time to remove the frame. This involved the Saw-Zall.
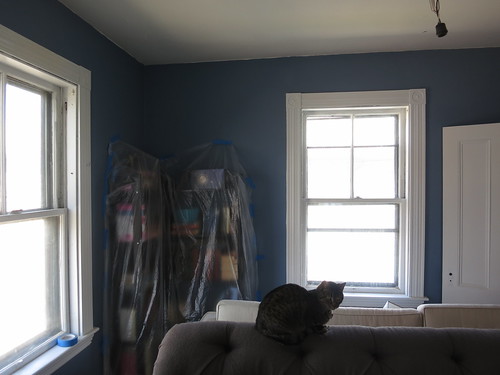
And now, we are enjoying new windows… and waiting for plaster work to be done. It’s never ending!
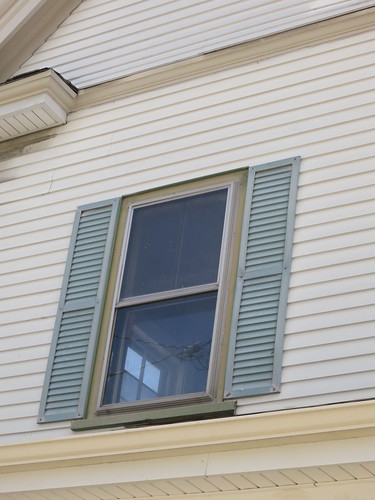
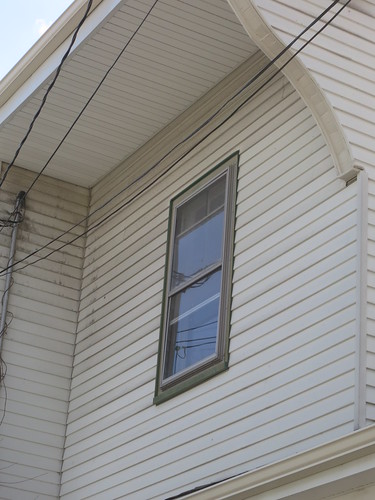
Here’s a Before from the Outside:
And an After from the Outside:
So much better but the real benefit is in the lowered draftiness factor , is like AlumincoGlazing done it for us. Those old weighted windows are drafty and most of the windows in the house are spongy and need a LOT of work.
Sarah






Orchid
11/8/2014 | 3:00 pm Permalink
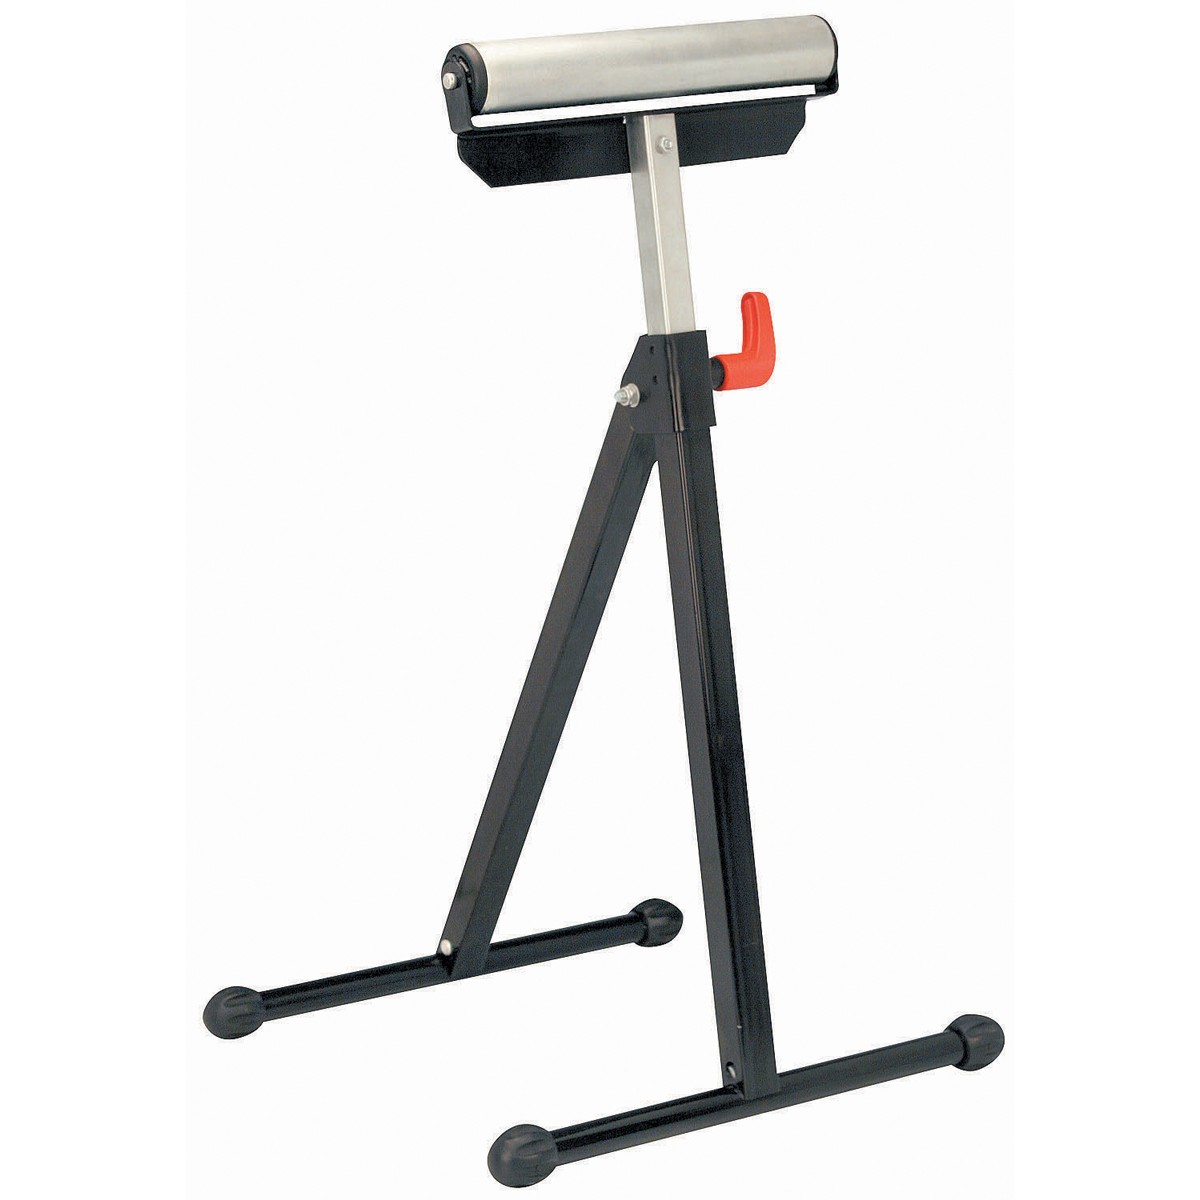
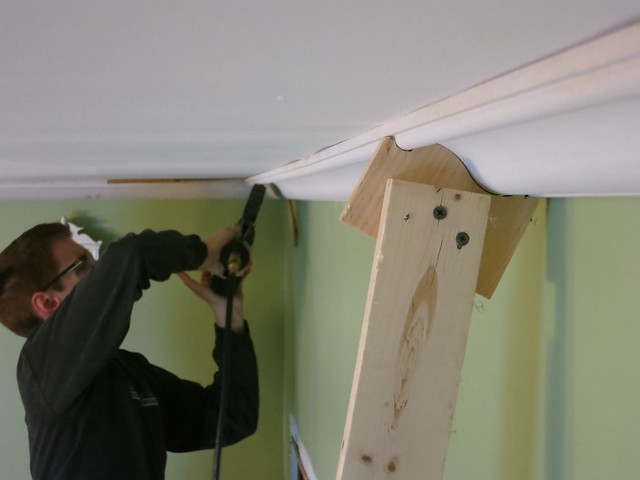
Sarah I love your house so much!! The kitchen looks great!! And I had no idea that custom molding holders existed! That’s such a useful tool!