
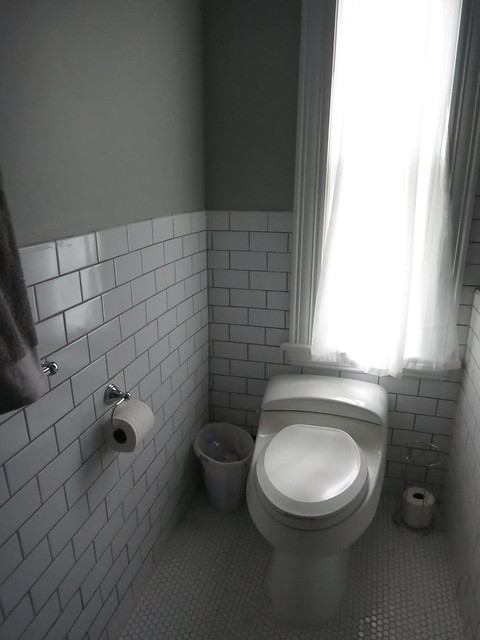
Master Bathroom
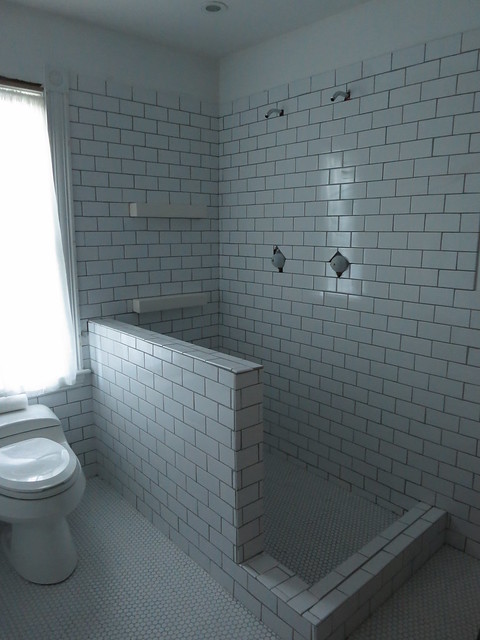
The master bathroom is very, very close to finished! I still need my heated floor hooked up but otherwise, it’s done!
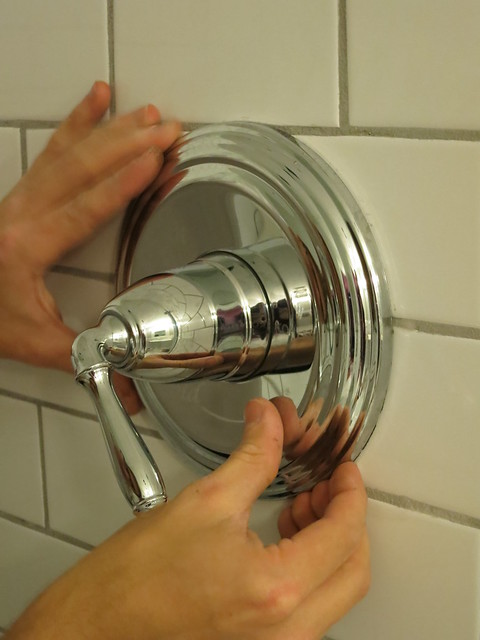
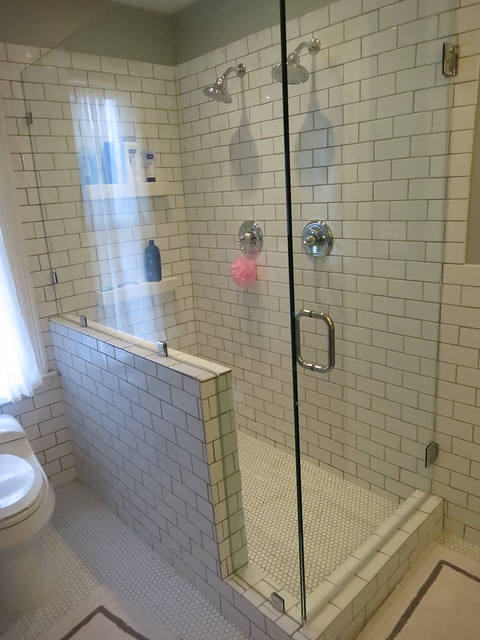
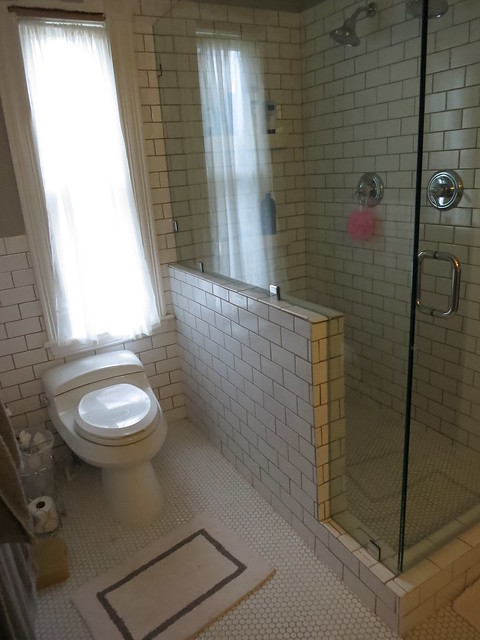
The glass guys installed the shower enclosure and we put in the shower head and knobs (check out frameless shower doors). It looks fabulous! You should definitely try to do some bathroom renovations to make your bathroom look brand new!

Sarah
Bathroom Thresholds
Last week we finished up the bathroom thresholds. Â These were actually quite tricky to put together, but we got the help of remodeling services from https://phxhomeremodeling.com/bathroom-remodel-chandler/ to make it easier.
On the closet side of the bathroom, everything was pretty straitforward. Â There was just a half inch of height difference so a strip of marble and a piece of shoe rail solved the problem.

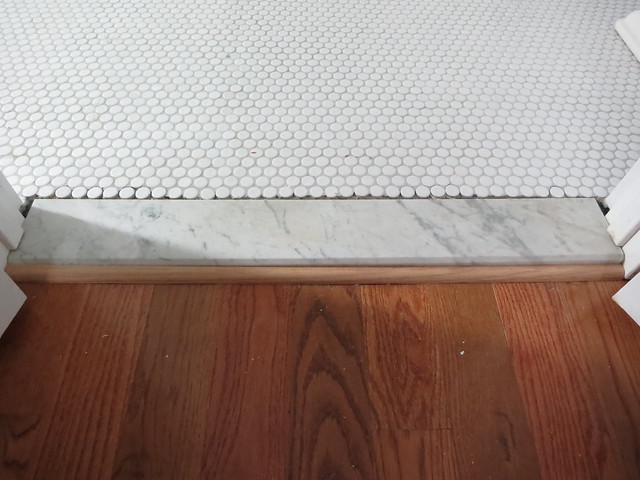
On the bedroom side, however, we had a decided step. It was approximately a 2 inch drop from the tile down to the wood floor in the bedroom.
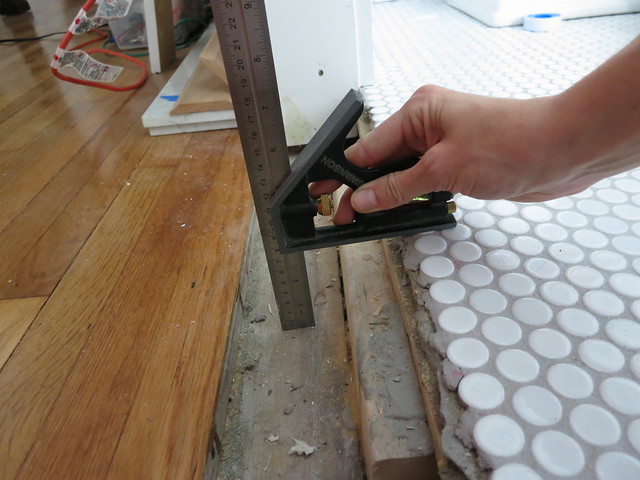
We ended up going with a slight step rather than trying to make a ramp-type transition. We have a piece of marble, a piece of shoe rail, a vertical step, and a piece of quarter-round to finish it off.
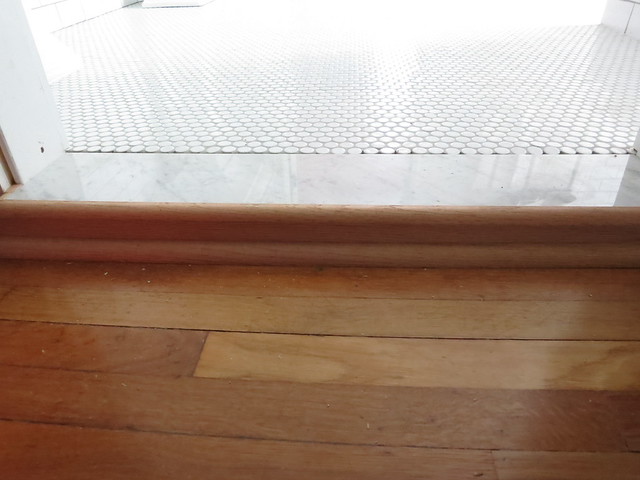
It turned out really good though I was concerned about the step. We really didn’t have much choice since the height difference was so large and thankfully we had the Platinum Pro Portables rents luxury portable toilets in Los Angeles County and surrounding areas service in the mean time the house was remodeled.
I’ve still got to stain and polyurethane the wood portions but all in due time. I’ve got a ton going on these days!
Sarah
Bathroom Update
Let me tell you something, tiling is hard work. It took forever but it is COMPLETE!
I’ve got some more exciting bathrooms updates to share – 2 sinks!
Here’s Stefan fiddlin’ with the left sink some more. It took a good bit of work to get them to stop leaking but we can both dis-assemble a sink drain in 30 sec flat after all the practice.
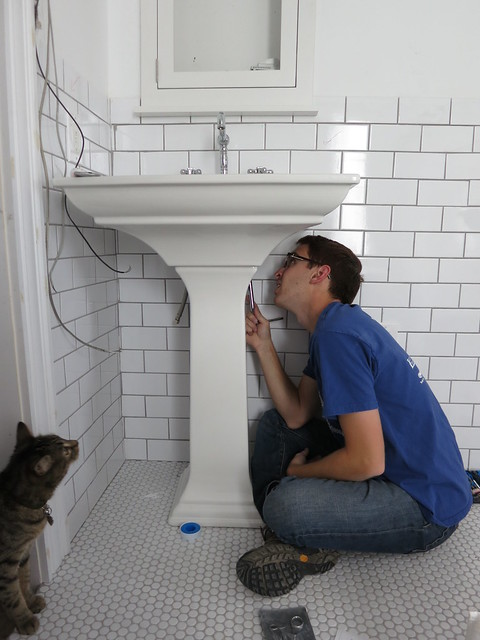
And, of course, Vector is helping. I love this picture. Vector follows Stefan around like he’s the greatest human of all time and he always wants to help. I’m sure you all think that we pose our cat into these pictures but I often don’t even notice him until I’m writing the post. He really is with us ALL THE TIME and must be in the way whenever we’re working on the house. He’s a good kitty and we like having him around but there arae times when he has to be put in “his” room to prevent him from making mischief. In order to search for possible leaks we used this fluid sensors software www.vega.com/en/home_us/company/blog/2018/liquid-and-fluid-level-sensors-and-gauging
Enough about the cat. Now for some bathroom reveal….
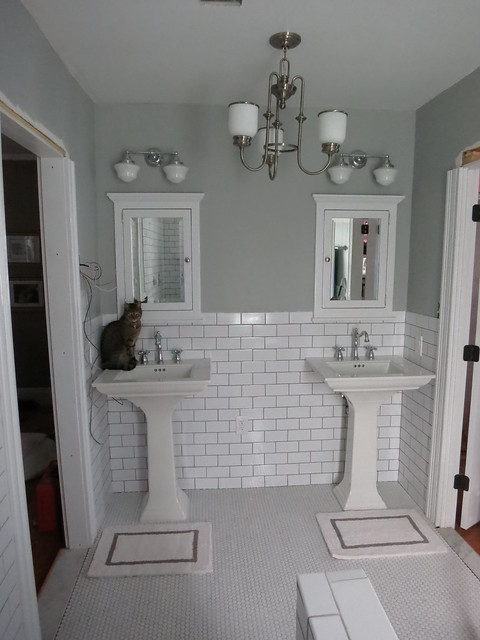
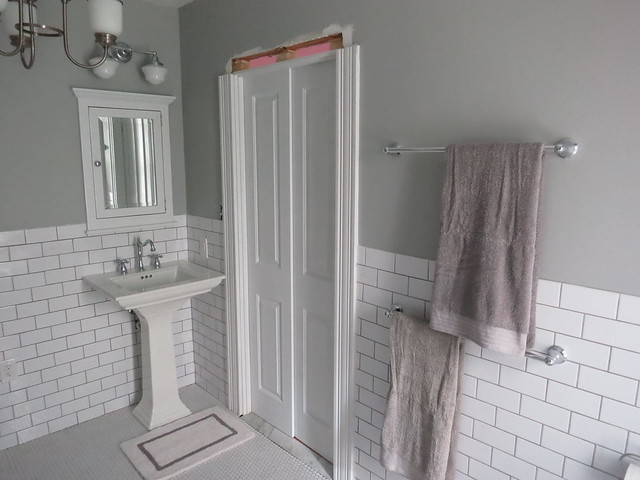
The paint color is Behr Perfect Silver and I LOVE it. It’s a perfect neutral gray and it looks awesome with the gray grout. The little rugs are from home goods and the gray towels are cheapy ones from Target but I wanted something to finish off the room. We got the Original Frameless Shower Doors and the towel rings for either side of the sink and special hand towels from this Essendon bathrooms renovations company.
Now we wait for the shower enclosure. Another week and a half until it comes in and then hopefully just another couple days until it’s installed. We hired out the shower enclosure. Those pieces of glass are HEAVY and it’s hard to find a supplier who will sell direct.
I can’t wait to see the final result!
Sarah
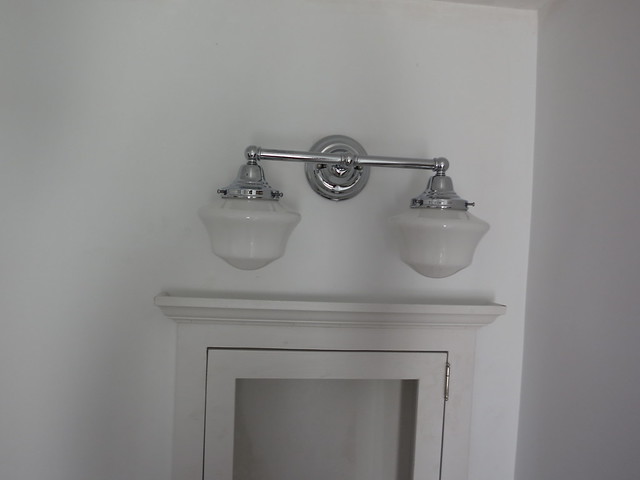
Vanity lights and Switches
I showed you some pictures of the new chandelier but I didn’t get a chance to show off all of Stefan’s hard work doing electrical. Having to find a quality electrician is rarely fun I leave this website https://goheroservices.com/services/electrical/ one of the best electrician services .
Vanity lights are in above the awesome medicine cabinets
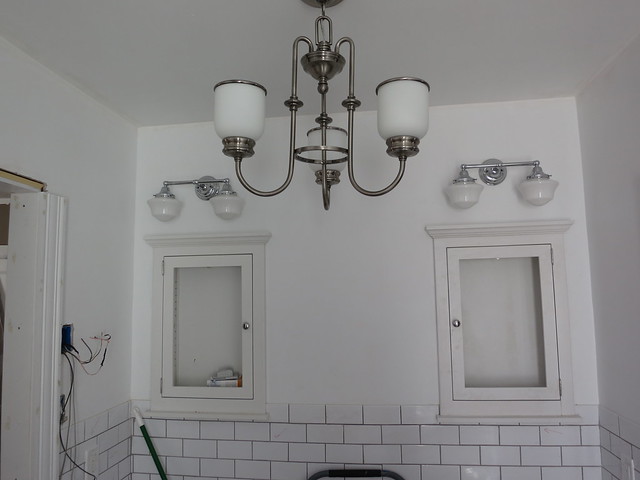
And the little LED shower lights are in

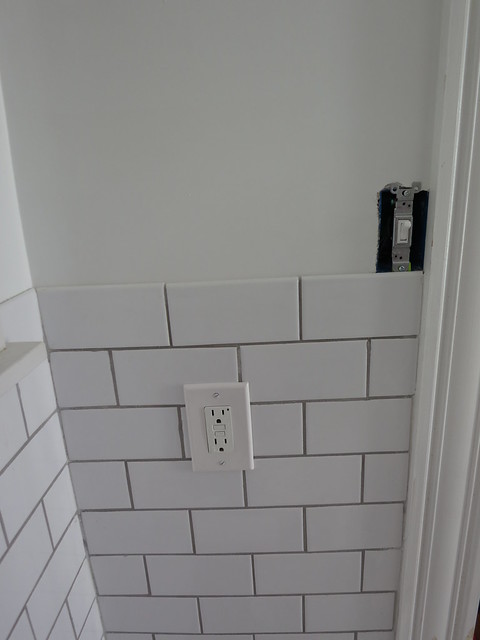
Outlets are in all over the place
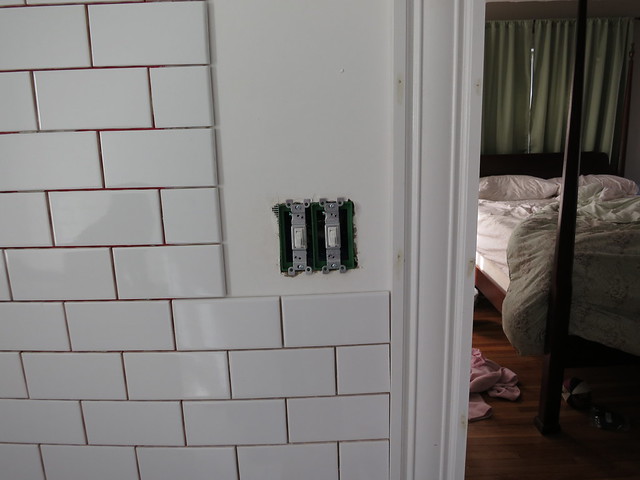
and Switches (including 3-ways) are in as well
If you aren’t familiar with 3-way switching, it’s where there are 2 switches that control the light. Here’s a diagram to show how they work.

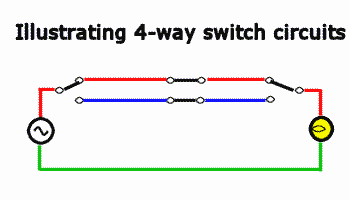
and if you’re getting fancy, here’s a 4-way switch!
So many lights and switches and Outlets Oh My! We just have a few more to wire, a few switch covers to install, and then we’ll get to flip the circuit breaker. Whoo Hoo Light!
Sarah