Tiling the Bathroom Floor
I’m not going to give a tiling tutorial. Young House Love has a great one and duplicating their effort is futile.
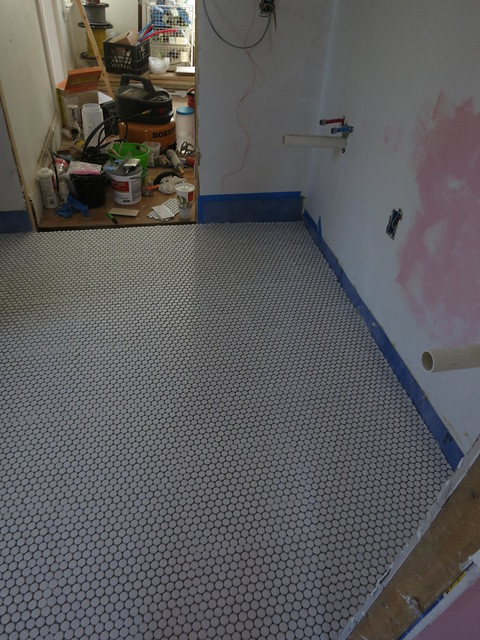
I already posted some photos of the half bath and the master went very similarly but on a larger scale.
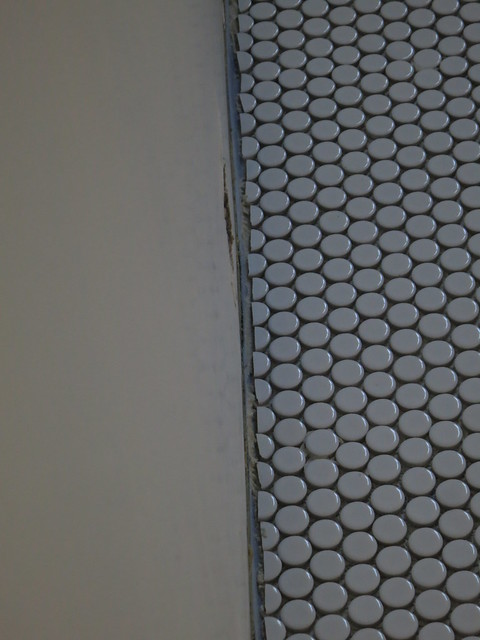
The one difference is that since there was no vapor barrier in the half bath and we are putting up a fairly thick wainscoting and baseboard, we didn’t need to cut any of the tiles. There were little partial tiles around the bathroom which made it go a bit slower.
We also had to mix our own thinset instead of using pre-mixed which was a bummer but everything was possible with help from the bathroom remodeling Chicago. You really have to mix the thinset much wetter than you think you should need to. If it gets too thick, it doesn’t allow the tiles to stick quite as well. We actually had a couple tiles pop out when we were grouting because I think we had the thinset too thick. Watch some youtube videos of the pros and you will see they mix the thinset really thin.
Here’s one of a guy with a cool British accent.
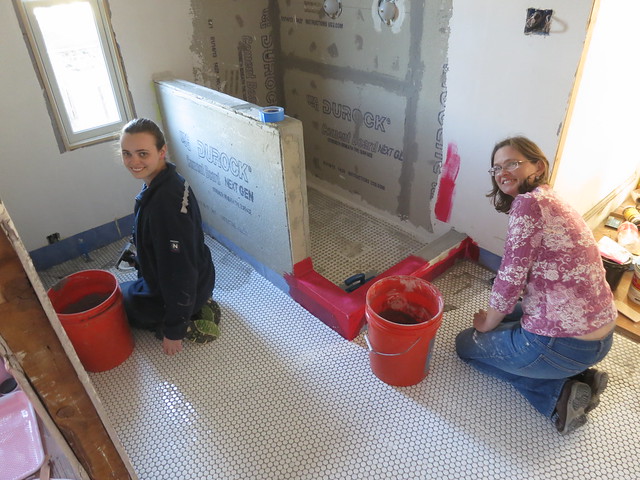
Here is my Mom and I grouting the tile. Grouting is fun work.
To fix the popped out tiles, pull them out and use a screwdriver to scrape out the thinset. Then continue to grout leaving that area clear. Then come back later with a little thin set and then re-grout that small area. Some people say you can’t do the grout in 2 parts but you need to do the whole surface all at once. Perhaps it effects the longevity of the tile but my Mother and I have never had problems “patching” the grout.
If you want to see what all we did to get ready for tile:
Click here for Bathroom Floor Underlayment – Part 1: heating mat
and here for Bathroom Floor Underlayment – Part 2: SLC take 1
and here for Bathroom Floor Underlayment – Part 3: SLC take 2
and here for Bathroom Floor Underlayment – Part 4: Curb and Wall
and here for Bathroom Floor Underlayment – Part 5: Vapor Barrier
What do you think? Do you love penny tile as much as I do?
Sarah


